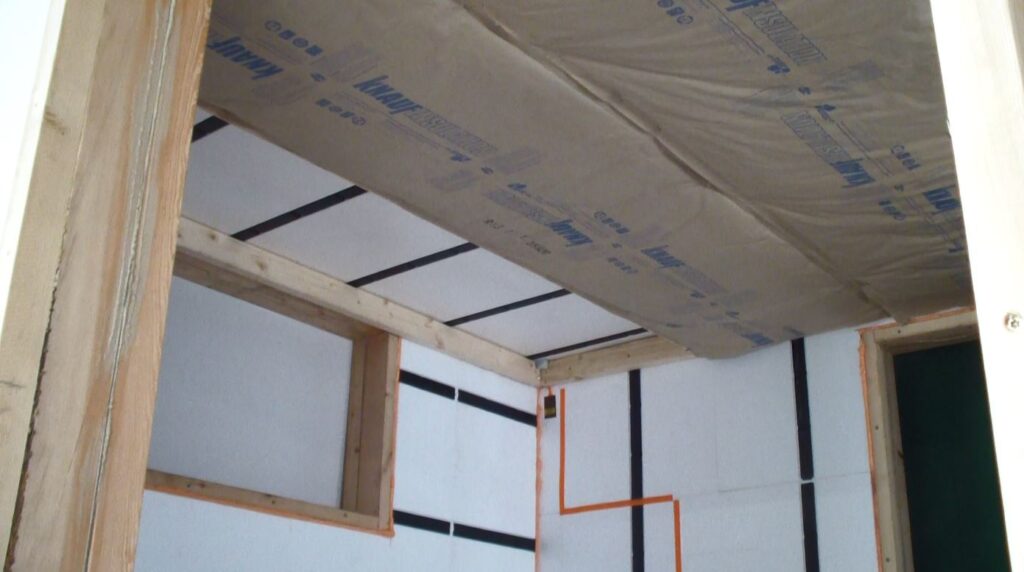
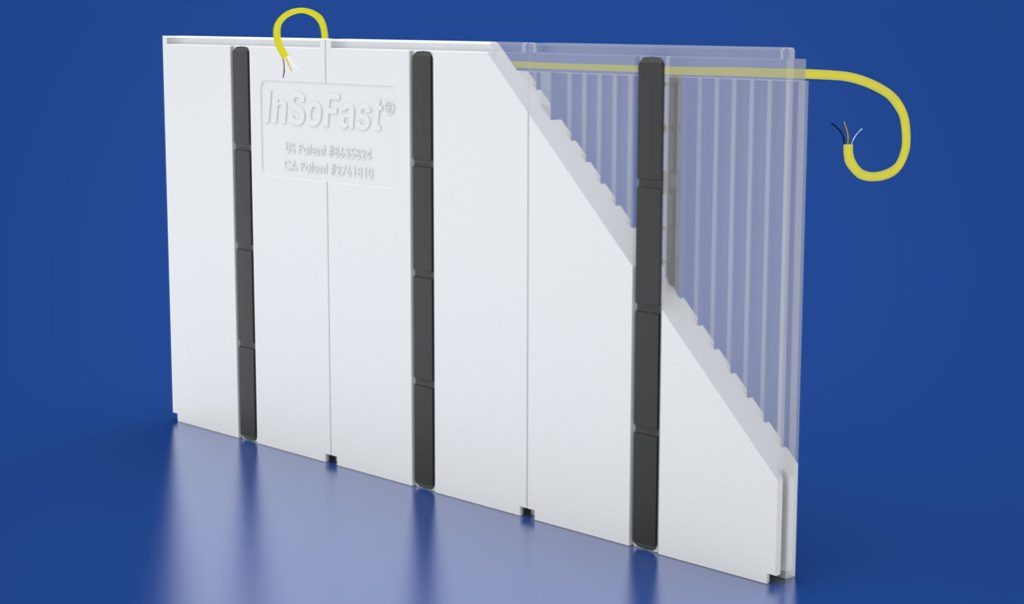
The ceiling of the shipping container is a two-step process. First you install the ceiling inserts to fill in the ceiling corrugations to level the ceiling surface. Then you install either the UX 2.0 or EX 2.5 flat panels. These panels are 48″ x 24″ and the direction of studs should run perpendicular to the inserts and parallel to the sidewalls of the container.
Ceiling Inserts
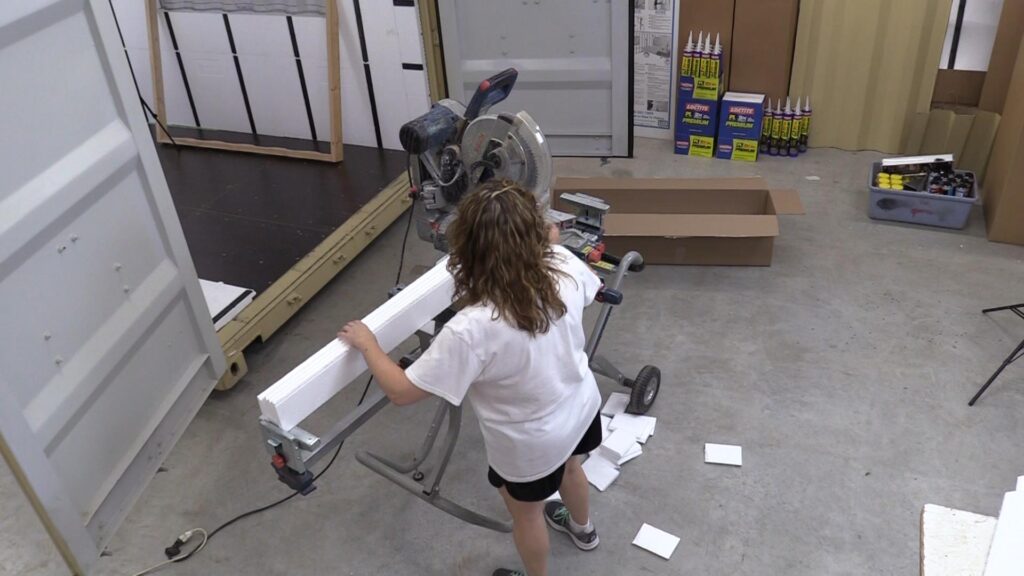
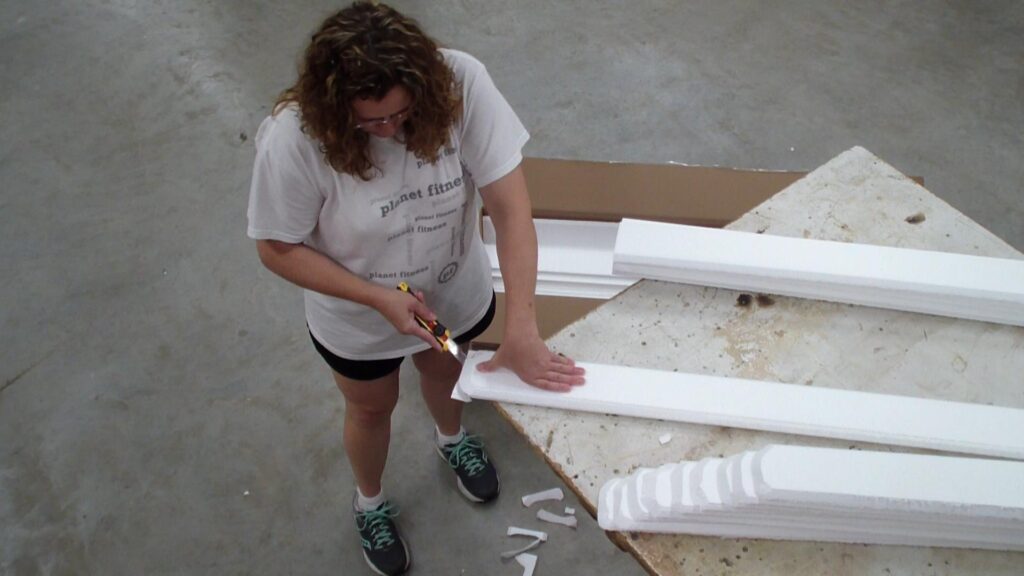
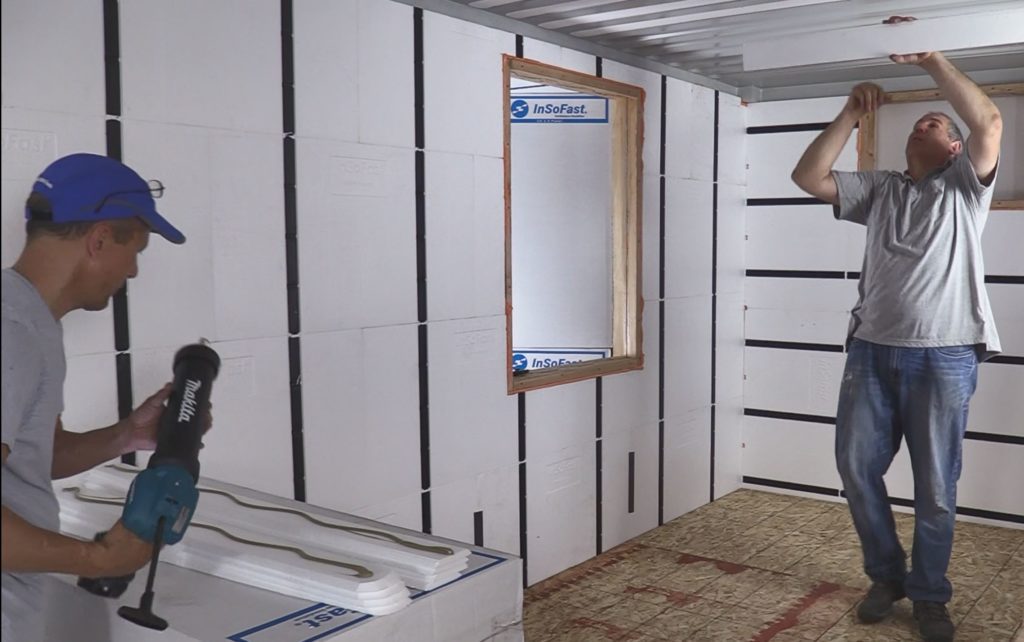
Start with trimming the inserts and apply adhesive in an “S” pattern
Cut and trim the ceiling inserts to fit. We provide inserts that are extra long to fit all containers.
Use a razor knife to trim for the contours for the outside edges. Alternatively if you do not want to razor trim each insert you can use spray foam to fill the outer insert contours.
Apply adhesive in an “S” pattern. Brace the insert until the glue sets. The inserts can be braced with the flat panels holding them in place.
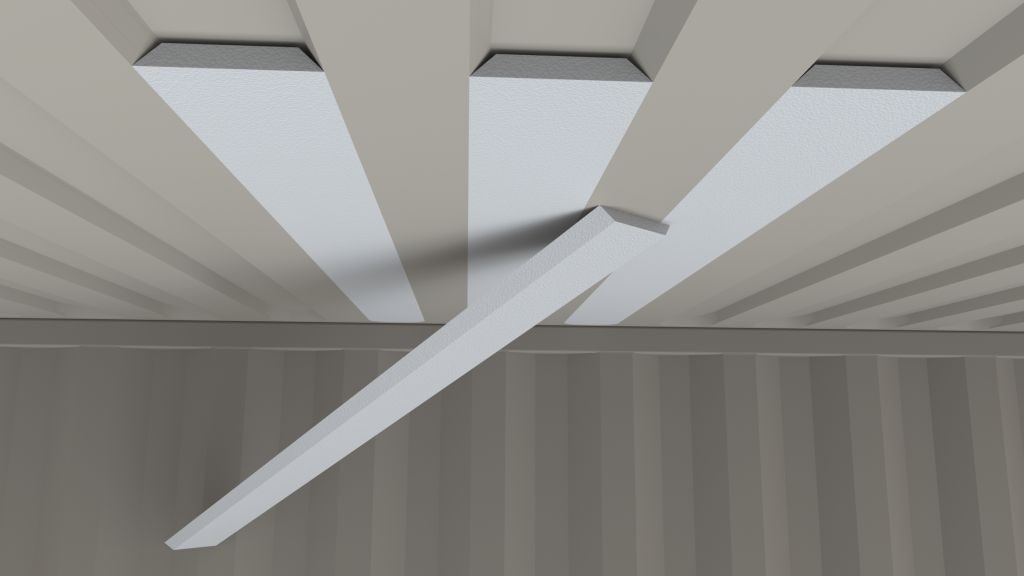
Apply an even bead of Pl Premium to the Ceiling Insert in an “S” pattern.
Brace the insert until the glue sets. The inserts can be braced with the flat panels holding them in place.
Important Notice about Adhesive:
Moisture is Necessary for Adhesive. When applying adhesive to the InSoFast studs, spray a fine water mist over the wet beads of adhesive following the adhesive manufacturer’s instructions. Use a plant mister bottle to provide a light atomized spray. The addition of moisture to the adhesive will allow the cure process to be activated. When bonding EPS and XPS foam insulation, use above 40°F (4°C) and avoid cure and surface temperatures above 90°F (32°C). Surfaces must be clean, dry and free of frost, grease, dust and other contaminants. Pre-fit all materials and protect finished surfaces. If using cartridge format, cut nozzle at a 45° angle to desired bead size and puncture inner seal. Be very careful not to allow Loctite® PL® Premium to cure on a finished surface.
Install Flat Panels
Two Step Process
Section 2 pertains to choosing the flat panel overlay, installing and bracing the panels.
-
- This video is about the application and bracing of the flat panels.
- Install either the UX 2.0 or EXi 2.5 to the Ceiling
- Download: Application Tip – Container Ceilings
The ceiling of the shipping container is a two step process. First you install the ceiling inserts. Then you choose to insulated with either the UX 2.0 or EX 2.5 flat panels. These panels are 48″ x 24″ and the direction of studs should run perpendicular to the inserts and parallel to the sidewalls of the container.
*In this application you are bonding two non-porous surfaces together, the metal ceiling and the InSoFast panel. Additionally you are working against gravity and the need to to brace the panels in place until the adhesive sets. Add water in the form of a very light or atomized spray from a plant mister bottle to the applied adhesive. This will accelerate the adhesive set time but decrease the re-positioning time. To increase the adhesion on a ceiling application it is advised that you use a 3/4″ bead of spray foam adhesive parallel and in contact with the expose metal rib. Be careful not to fill the electrical raceway if you are going to install wiring in the ceiling.
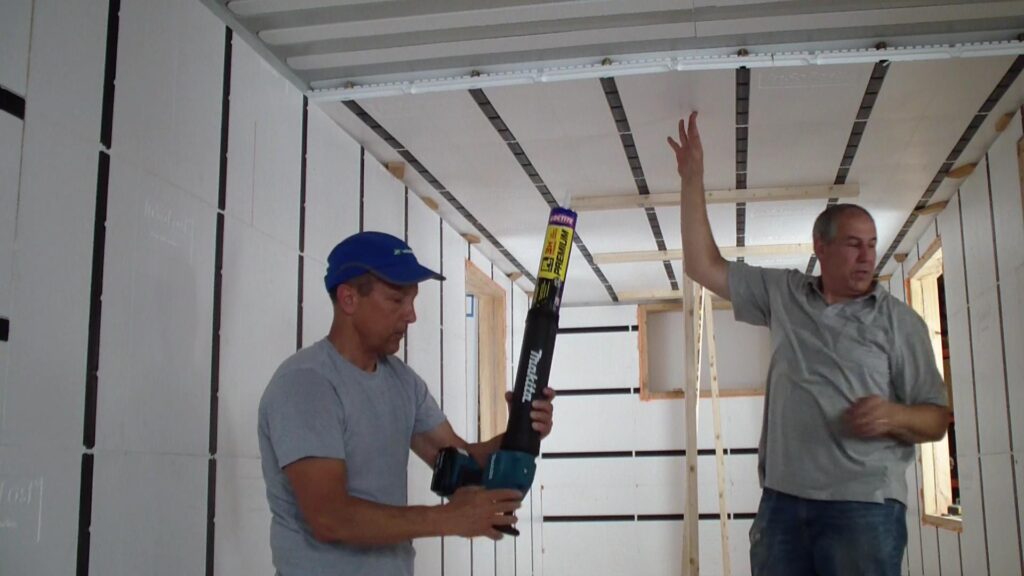
- Apply a generous 3/8” bead of PL Premium 3x Strong Adhesive to the ribbed surface of each stud.
- Apply an additional ¾” to 1” bead of Great Stuff Gap and Crack Spray Foam parallel to and approximately 2” away from the PL Premium adhesive. Do not use window and door foam as it does not have sufficient holding power. Do not block the electrical raceways with spray foam.
- Download: Application Tip – Container Ceilings
- Spray a fine water mist* over the wet beads of adhesive on the InSoFast panels following the adhesive manufacturer’s instructions.
- Brace panels in place overnight or until the spray foam has fully cured. Braces should not be forced into place but should be just tight enough to hold panels in place.
- Remove bracing. Braces can be removed when the spray foam adhesive has cured (usually in a few hours) The spray foam adhesive can hold the panels in place until the PL premium cures- *warning- do not apply any finishes until the Pl Premium adhesive has fully cured.
- Finishes can be installed after a minimum of 7 days or until the adhesive has cured. Warning: Dry conditions and cool temperatures can greatly delay the cure time of the adhesive.
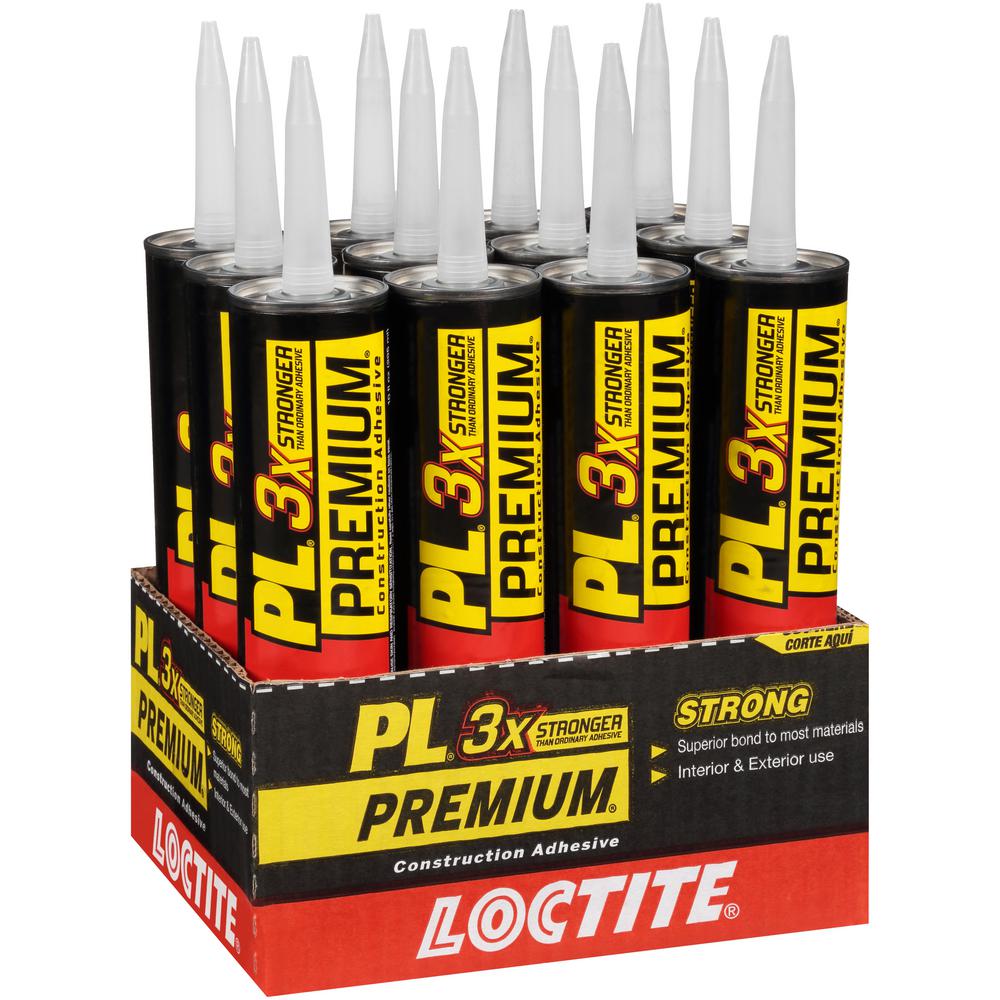
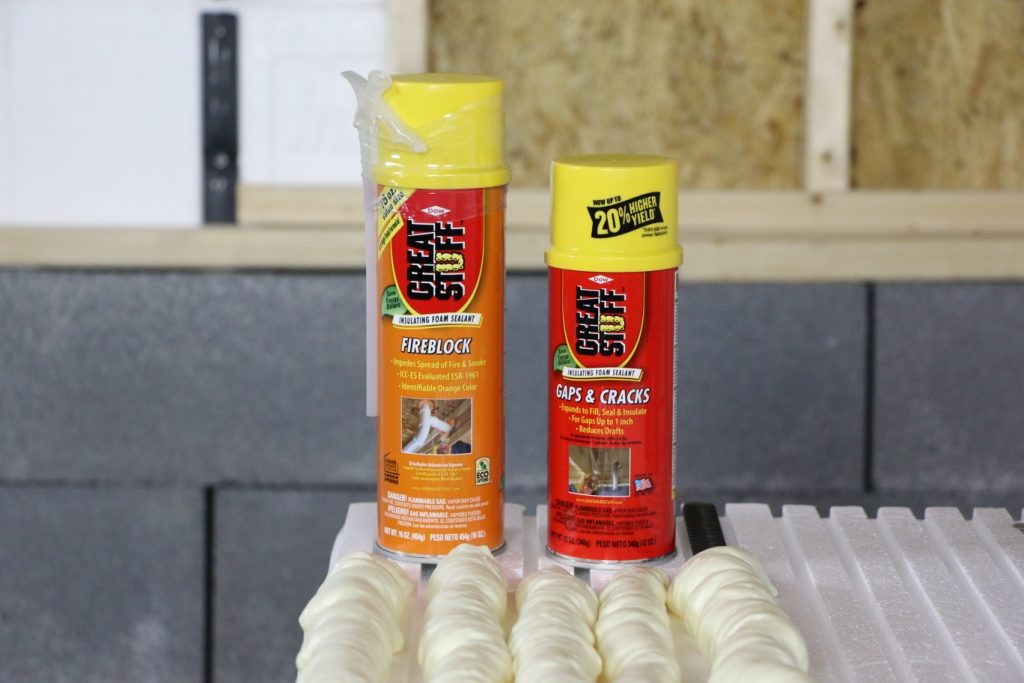
Important: Add a generous 3/8” bead of PL Premium 3x Strong Adhesive on the ribbed surface of each stud, (you are working against gravity here, DON’T SKIMP OUT or cut corners), next apply a ¾” to 1” bead of Great Stuff Gap and Crack spray foam next to the PL Premium. The spray foam cures quickly and provides additional holding power for the panels after the temporary bracing has been removed. PL Premium requires a minimum of 7 days to cure before any finishes can be installed.
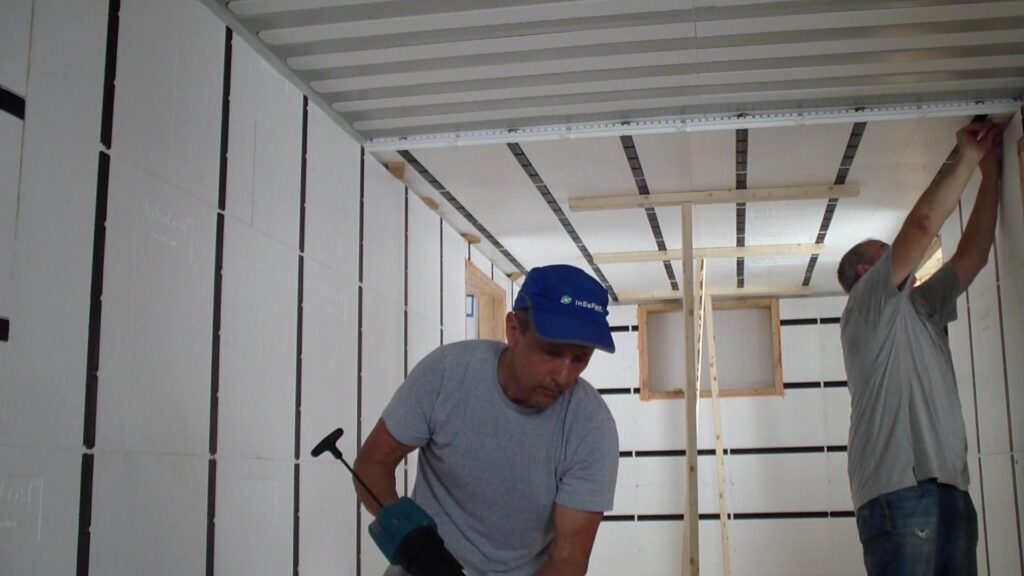
Installation and Bracing
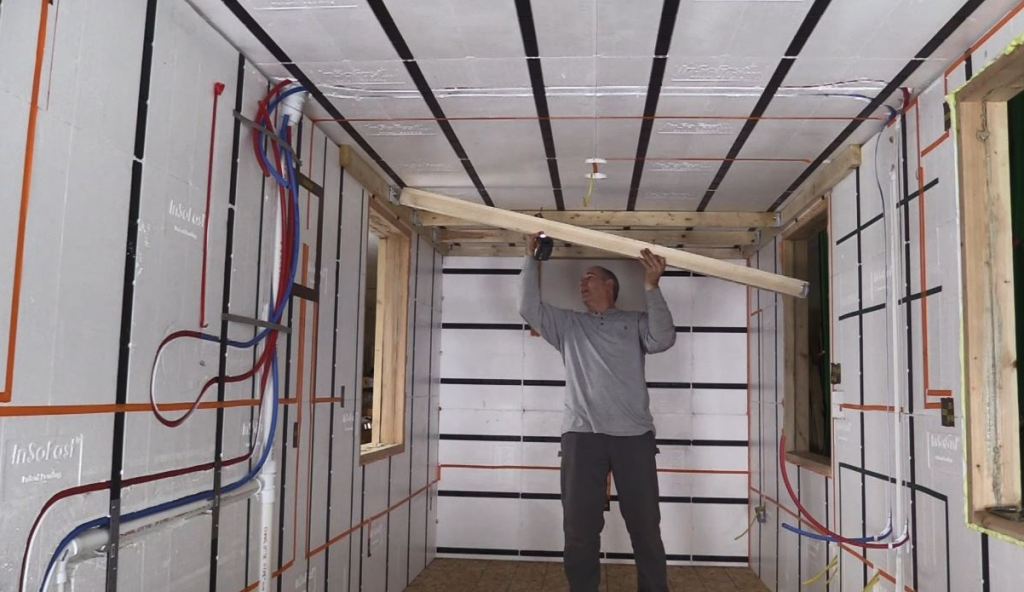
The UX 2.0 or EXi 2.5 flat panels installed on the ceiling will need to be braced until the adhesive has set. Installing the side wall panels fi rst enables you to shim the panels up in place at the edges. This eliminates a row of bracing on each side. Make a “T” style brace with 2x4s to hold the panels in place until the adhesive cures. A unique feature of the panels is that they have a tongue and groove edge, the braces can be installed roughly 4’ o.c. Be gentle – don’t pound the vertical braces into place to avoid bowing the ceiling.
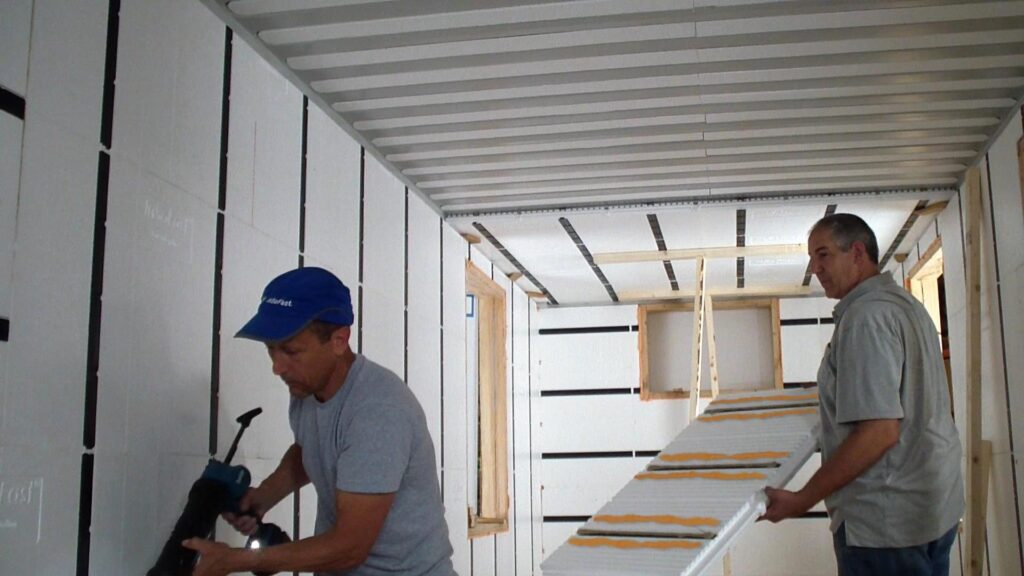
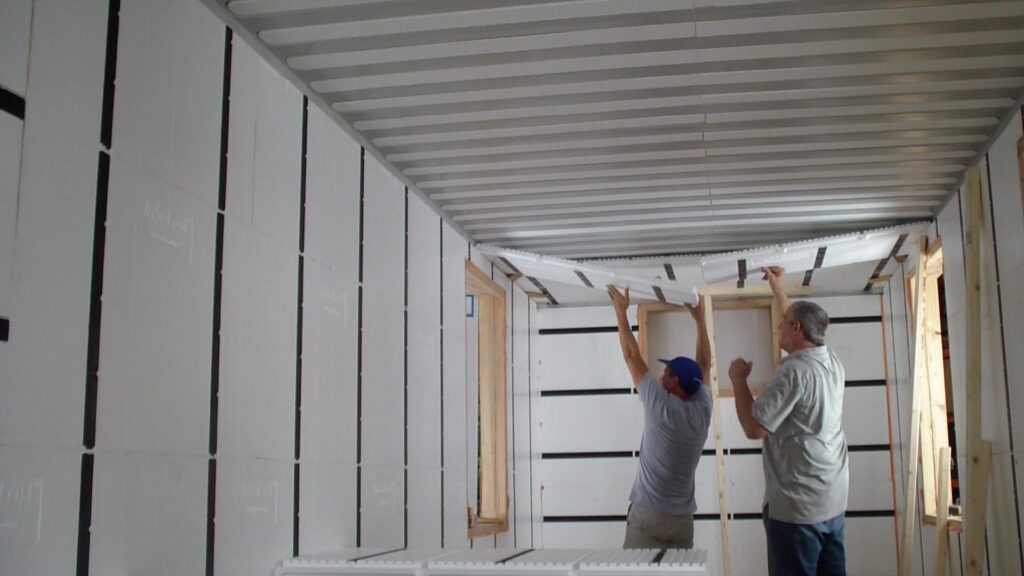
Press the panels into place
Press the panels into place and add a center “T”-brace at least 48″ wide and tall enough to firmly hold the ceiling panels in place.
Installing the side wall panels fi rst enables you to shim the panels up in place at the edges. This eliminates a row of bracing on each side.
The shims are removed after the adhesive has set. After utilities have been installed, fill gap with foam.
UX 2.0 Panels for the Ceiling
UX 2.0 Panels2″ thick of closed-cell, injection-molded EPS foam body achieves R-8.5 insulation The UX2.0 is our thinest profile panel, optimized for flat surface interior finishing. The UX 2.0 will work on floors, walls, ceiling and other unique applications. It is a good choice as a base panel for the InSoFast PLUS when higher R-Value is needed.
EXi 2.5 Panels for the Ceiling
EXi 2.5 Panels2 1/2″ thick of closed-cell, injection-molded EPS foam body achieves R-10 insulation. The EXi is optimized for interior finishing. The panel will work on floors, walls, ceiling and other unique applications. It is a good choice as a base panel for the InSoFast PLUS when higher R-Value is needed.
Increasing R-Value
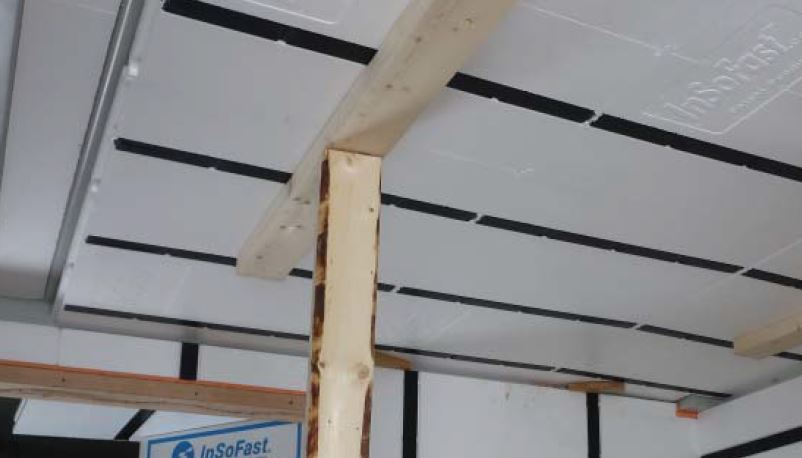
Adding a Frame

Additional insulation can be added to the InSoFast system to obtain higher R-Values. Install the ceiling inserts along with the UX 2.0 or EXi 2.5 flat panels. Here we are adding a rim joist attached directly to the CX 44 panel’s studs.
Next install the studs on the rim joist this can be aidded with pre-installed joist hangers.
The InSoFast panels serves as the prime moisture/condensation control layer
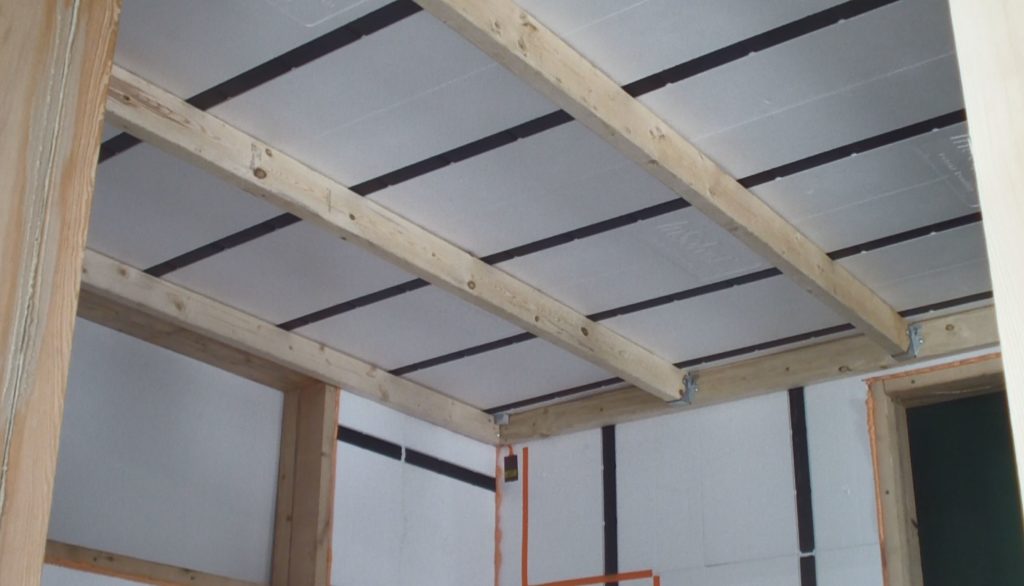
Add a 2×4 frame work to act like a drop ceiling. Ceiling 2×4 spacing can be 16″ or 24″ o.c. Install cavity insulation. This is an easy way to increase R-Values in the ceiling to meet local building codes requirements.
Ceiling Assembly R-Values
Framing may be lowered to allow for additional continuous insulation above the framing.
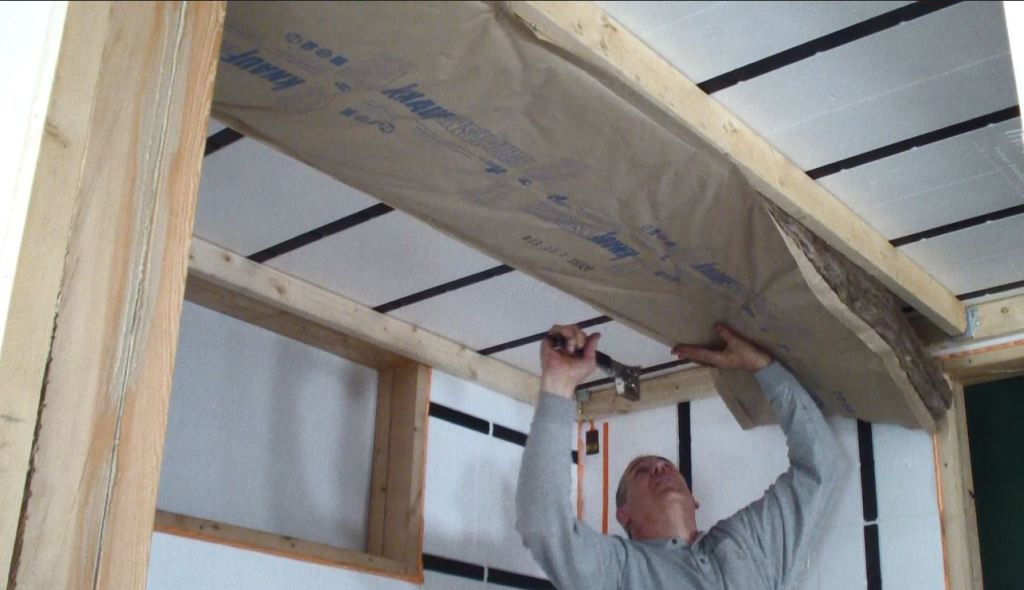
Lowering the framework also allows you to run servies like electric and plumbing through the ceiling without drilling through the lumber, Another benifit this keeps the water lines in the conditioned space.