Insulating the Container’s Swing Doors with (FP-2.5RW) Panels
Before you start
There are many styles of shipping container doors and just as many ways to insulate them. Doors vary from manufacturer to manufacturer, advanced tools and carpentry skills is required for this application. Like all of our panels they can be cut and modified to fit your size container. We will show how to use the InSoFast EX 2.5 flat panel (FP-2.5W) to insulate this door.
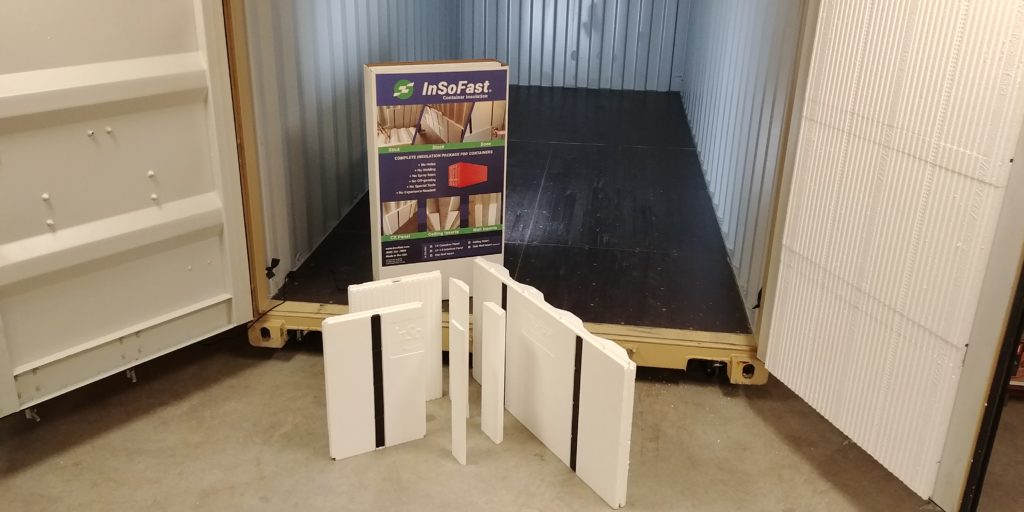
It is best to have a sample kit on site to fit and measure for your door. The inserts supplied in the sample kit represent most of the common role formed angles the container manufacturers use.
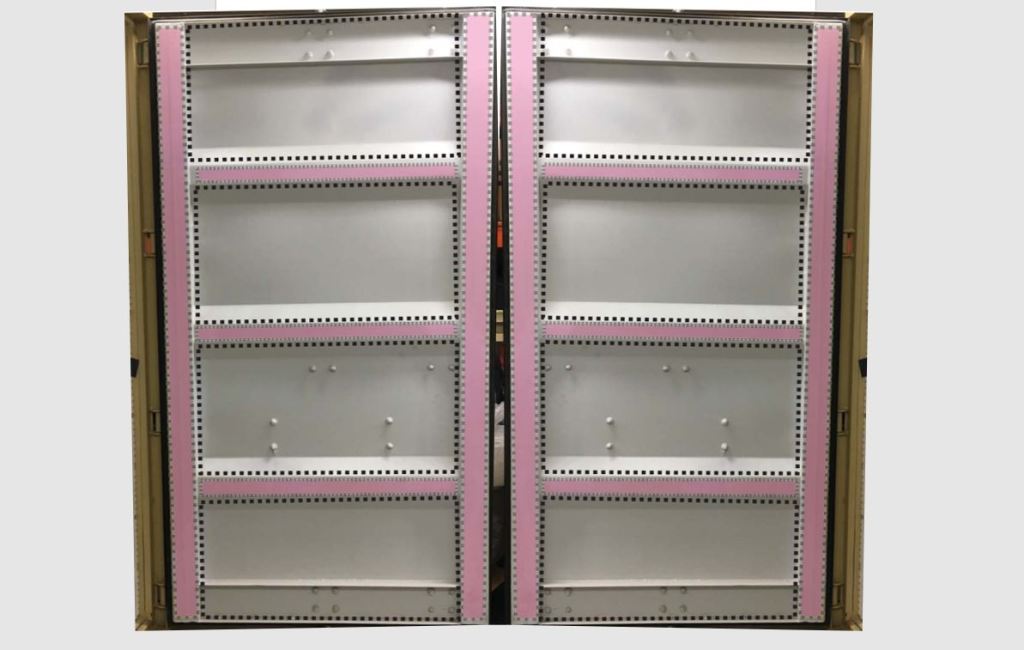
Finished Door
Cutting Panels to Width & Height
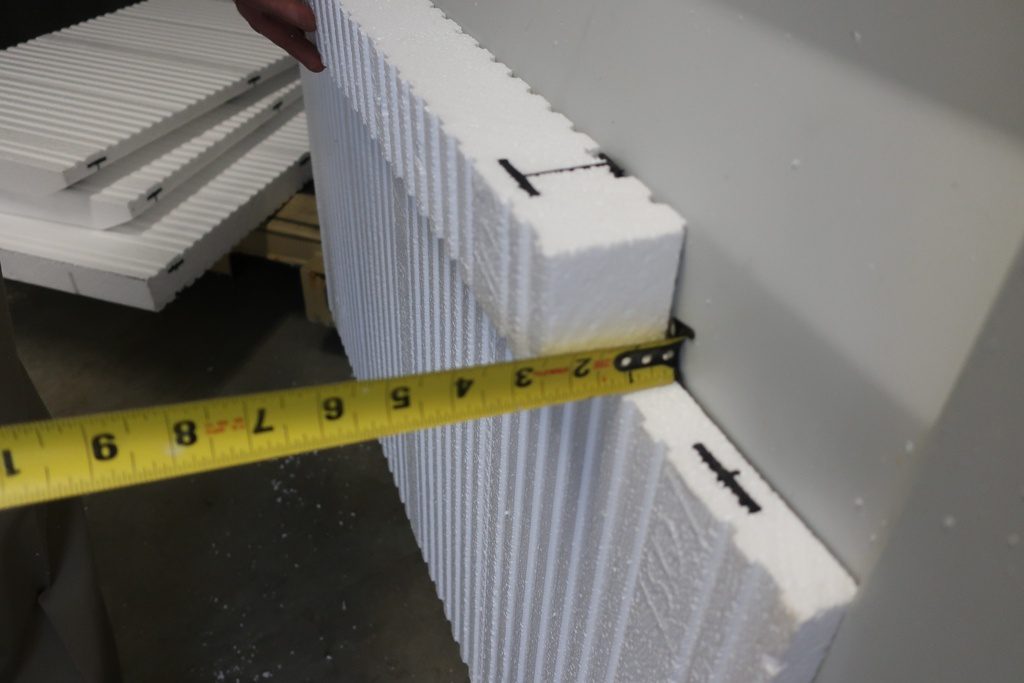
The EX Series panels (FP-2.5W) are 2-½” thick and will stick out past the door frame. Additional insulation will be added over the door frame to make a flush surface The EX panel is 48” long. You will need to cut the center piece out of four panels for each door. It should be friction fit but not so tight that the panel bows. This will eliminate the need to have to brace the panels while the adhesive sets. You want to make sure that the three studs in the panel are centered in the opening.
When measuring the bottom panel, include the angled part in the measurement as shown with the black dotted lines. In this application we are insulating the interior and exterior of this container.
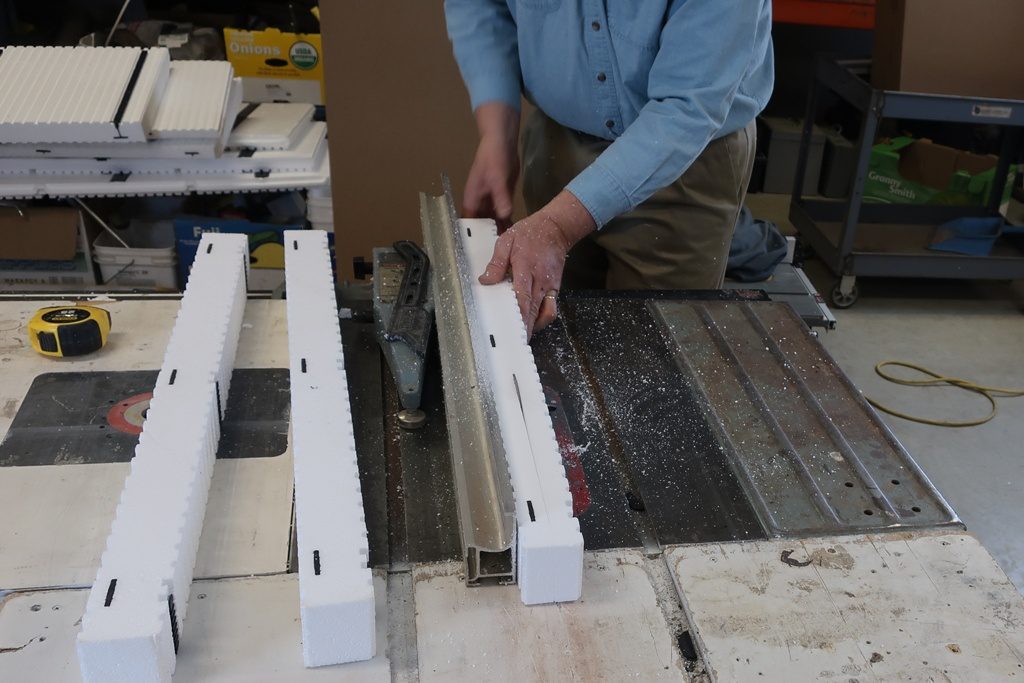
Cutting All the Angles
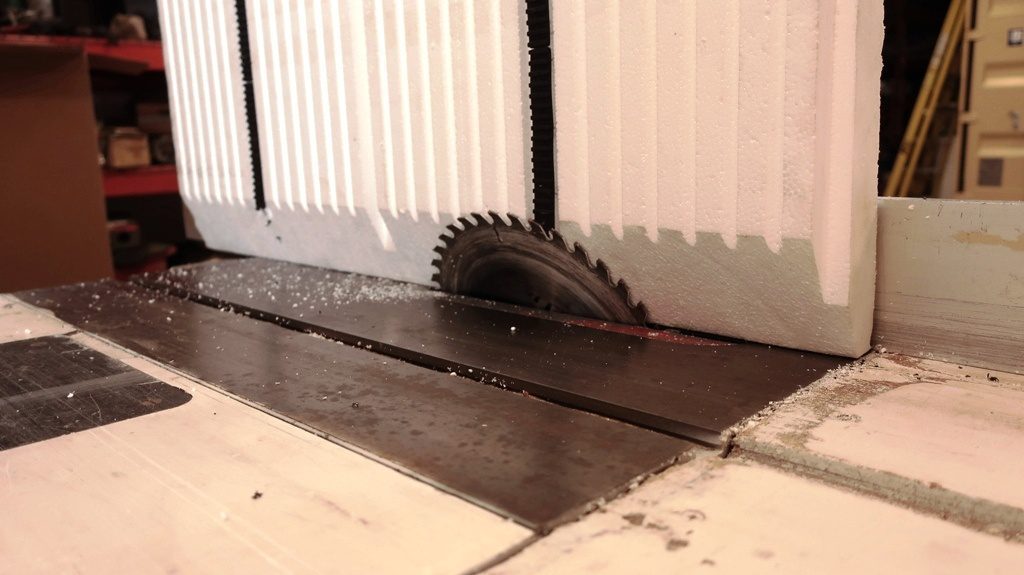
Cut the angles on the panels. The beveled cut starts about 1” back from the front face of the panel. Use scrap foam to get the angle correct with a test cut. The end wall insert (in the sample kit) is approximately 25º. Measure and set the table cutting the angle.
Cutting out for the Rails of the Top and Bottom Panels

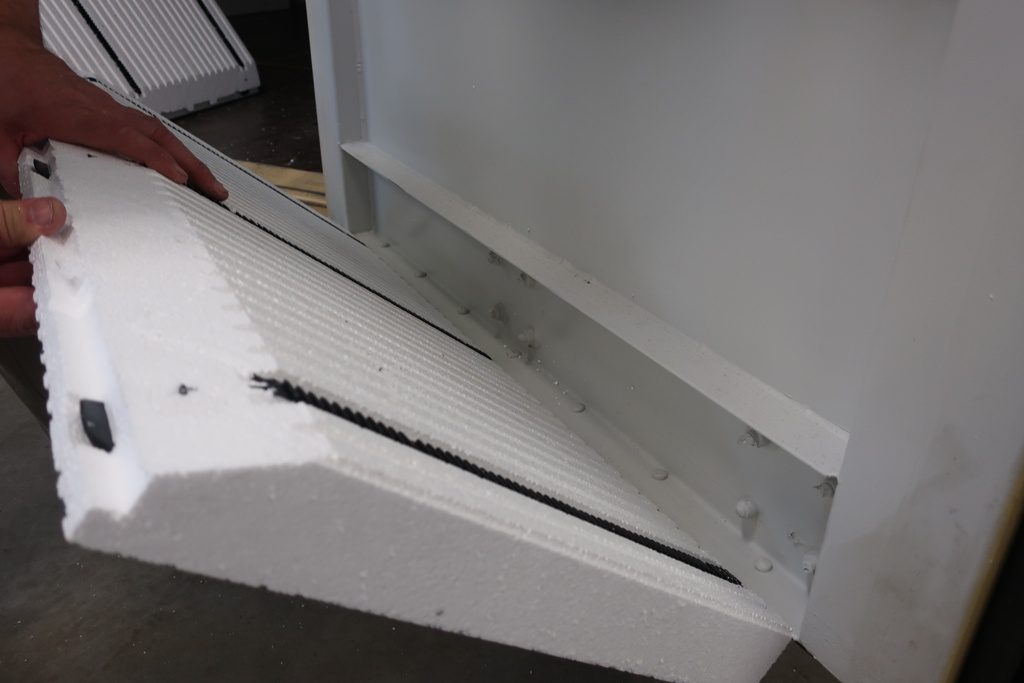
Measure the depth of the top and bottom rails which are about 1-½” deep. Roll the panel up and into place over the top of the bottom rail. Make an impression on the back of the panel by striking the front surface. This will leave an impression for the groove cut across the panel. This can also be done in two pieces instead of creating the groove cut on the back of the panel.
Removing Foam for Fastener Heads
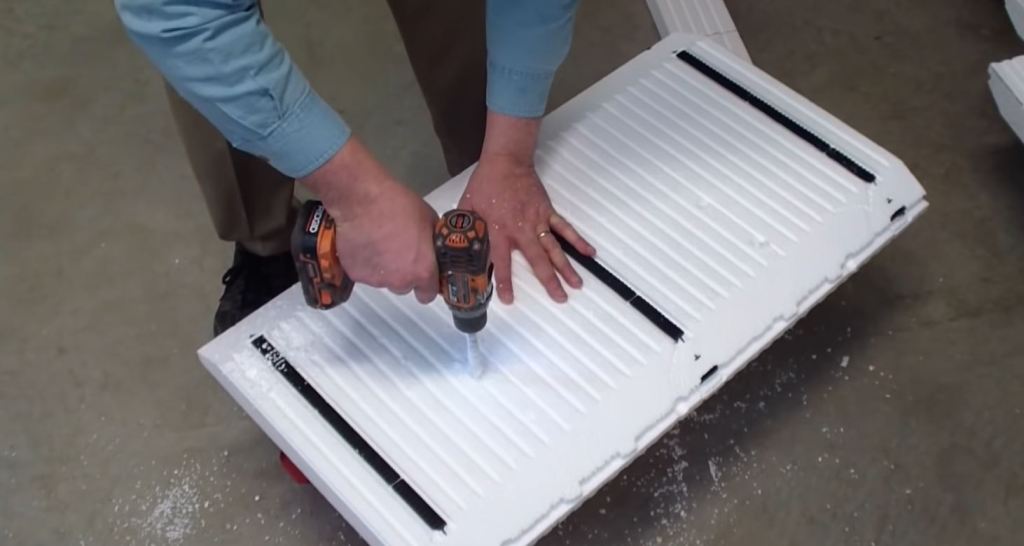
Press the panel firmly against the door to leave bolt impressions in the panel. Drill out with a 1” spade bit. Remove enough foam so the panels sits tight against the door.
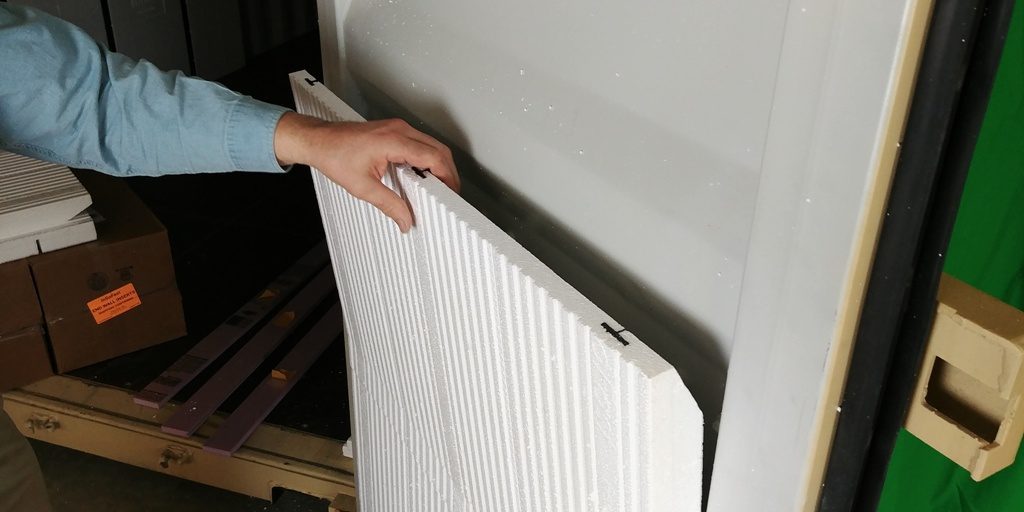
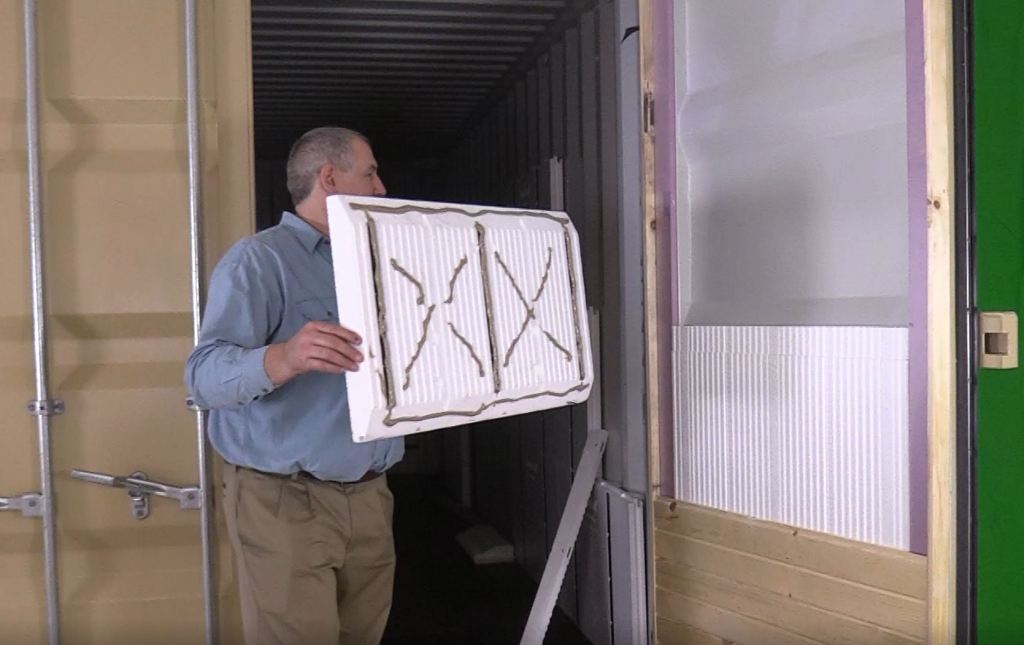
Dry fit the panels in place to assure proper fit
Filling between the Panels
Use sheet foam (by others) to fill in around the cut panels around the outside edges. In this demonstration we use our panel’s cut-off pieces trimmed down to the correct height to fit between panels and then cut to the proper thickness to cover the exposed rib of the door which is about 1”.
Cutting Horizontal Side Pieces
You can either use the cut off ends of the panels that were set aside that are cut and ripped to thickness or use 3/4” foam board. Hold back the foam to accommodate a wood trim piece to avoid seeing the foam.
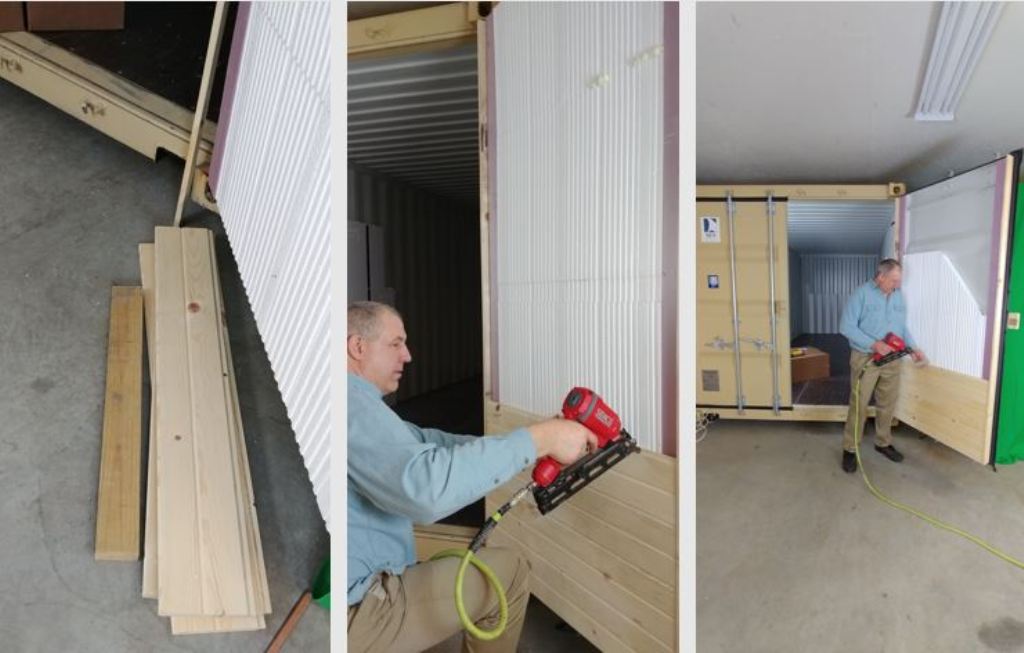
Glue Panels in Place
Remove all the dry fit pieces. Add a liberal amount of Loctite PL Premium 3x adhesive to the studs and foam. The vertical foam pieces will have to be taped in place until the adhesive has set. The outside edge has a durable wood frame to protect the foam edge from exposure all foam edges should be covered.
Finishing the Door
Allow the adhesive to fully cure before applying finishes.