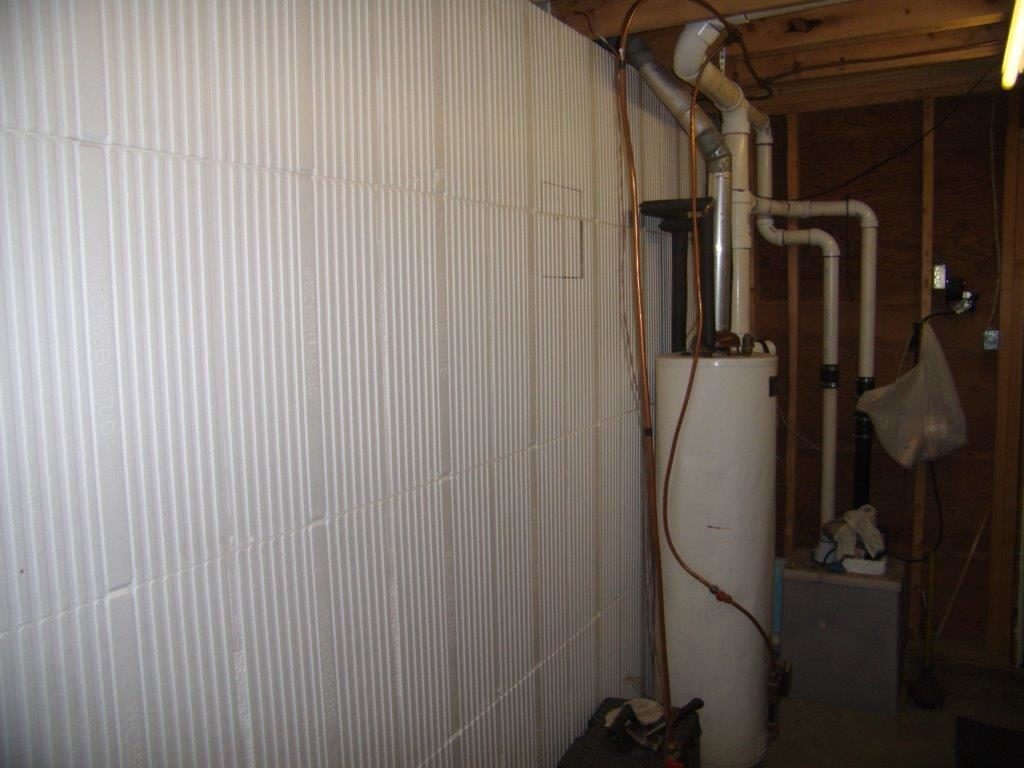
InSoFast panels and 4" drain pipes
A Maze of Basement Plumbing
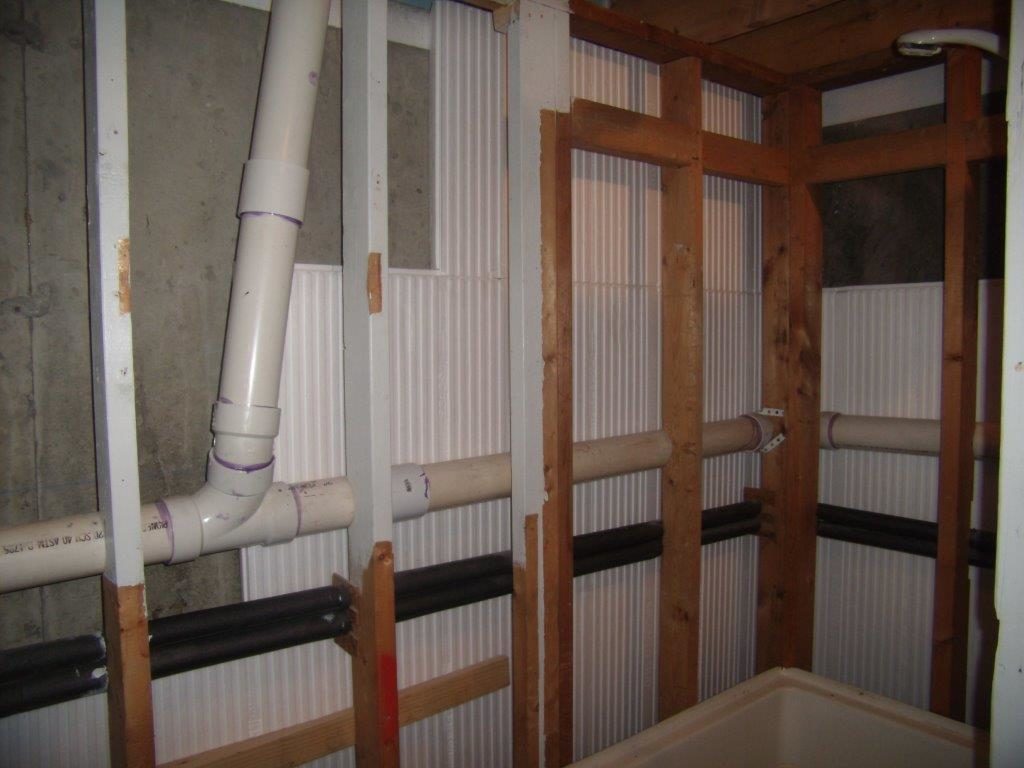
When we received project photos from Bill, an avid DIY-er in Northern Vermont, we knew we had to learn more about his basement project. After nearly 10 years of building his home from scratch it was time for Bill to insulate his cellar. The pre-existing plumbing obstacles posed a tricky application area for his project, but InSoFast panels made the process easier.
We spoke with Bill about his construction background and his experience installing InSoFast EX 2.5 panels around a maze of basement plumbing.
Do you have a background in construction or building?
In my lifetime I’ve bought old houses and restored them as I lived in them, so I guess you could say I’m a ‘Do-It-Yourselfer”. In the past I’ve used fiberglass and occasionally foam board for insulation.
What made you decide EX 2.5 was right for your project?
My current project is a brand new house that I’ve been building for the past 10 years and it’s presumably the last house I will work on in my lifetime. I’ve been trying to build this home to more modern codes geared towards Energy Star 2 standards. My original plan was to put the two inch blue board against the basement walls but then I discovered InSoFast on the internet.
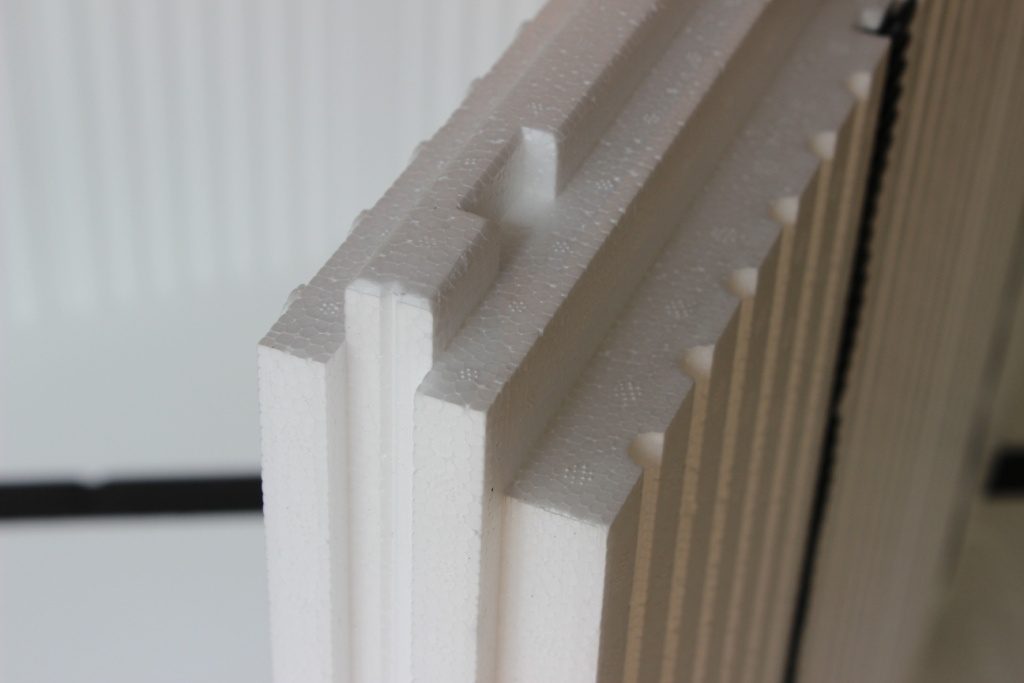
The R-Value of the panels, the built in plastic studs, and the adhesive application intrigued me. I also saw pictures that represented the panels installed around plumbing. My walls already had plumbing installed with the assumption of 2 inches of blue board. The product just looked way easier to work with around the plumbing, so I chose to use InSoFast EX 2.5 for the cellar of the house.
Working around plumbing can be a lot of work. Did you find it easy or difficult to work around these obstacles?
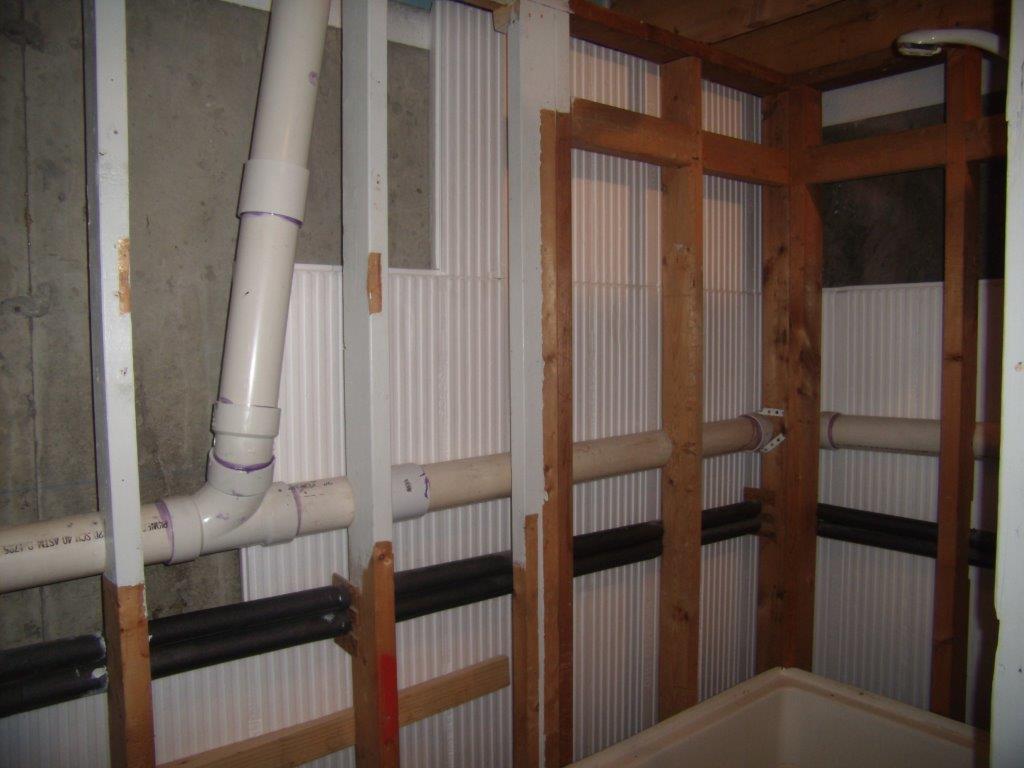
As you can see from the pictures I had a difficult application area, behind many pipes and a shower in the corner. I had to remove the shower and work around all the pipes, with very close clearances. The product was easy to use since I was working with 2 x 4 sheets instead of the standard full 4 x 8 sheets of foam board. The stacking nature of the panels also made things simple. What ended up being difficult was that I had to move some of the plumbing to get the space I needed in between the plumbing and the wall in order to slide in the product.
I originally designed the wall with the two inches total between the plumbing and the wall. Later I discovered that a fire barrier is required in conjunction with foam board from any manufacturer, plus I opted to use the thicker EX 2.5 panels.
I ended up with a net of 3 inches which I didn’t have behind the plumbing. But I truly believe that the built-in studs and glue-based application of your product made it much easier to install than mechanically fastening a different kind of insulation to the wall. It would have been difficult to fasten foam board to the wall since the plumbing and existing framing was in the way.

Do you have any tips for InSoFast-ers out there?
My biggest question mark while installing the product was how to end the InSoFast and integrate it into the rim joist area which also had to be insulated. In the end the sizing worked out and I was able to cut a strip of InSoFast and glue it against the sill plate and to the top of the concrete to fill the gap. I used ordinary blue board in the rim joist space. When I finish the project I’m planning on capping the blue board with a piece of sheetrock.
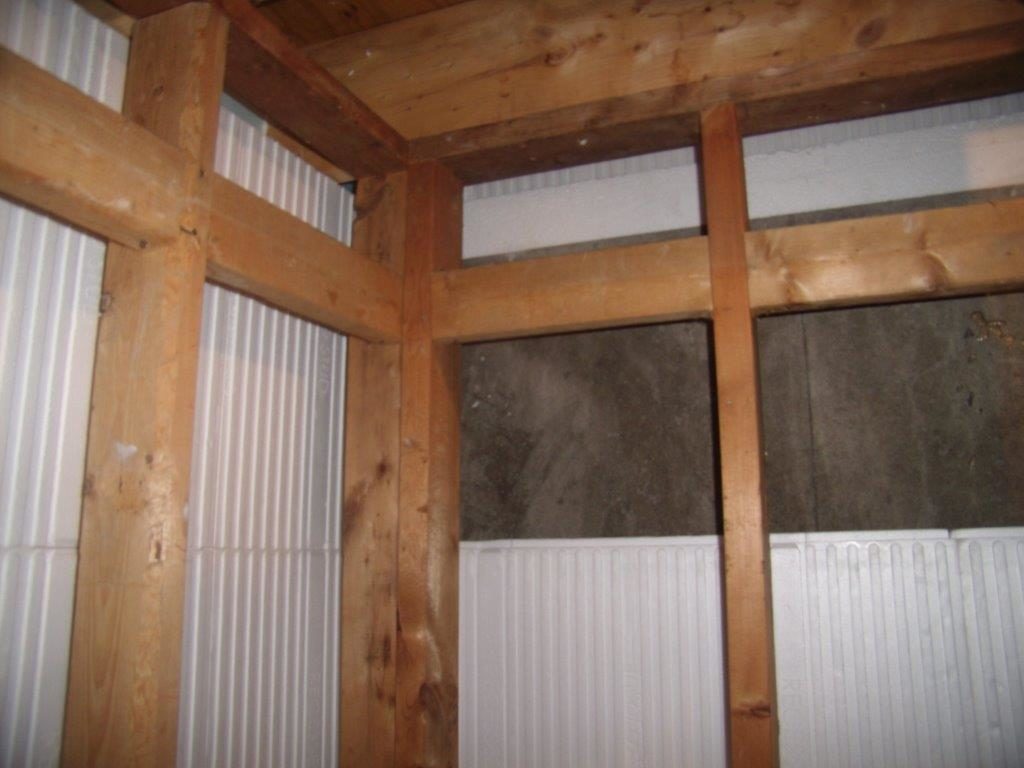
For more information on working with the Rim Joist, visit the Technical > Interior Guides > Rim Joist page on our website.
What was your favorite part of the installation process? Any struggles?
I felt it was a very simple installation and I liked the way that the panels locked together. I had to slide each panel behind the plumbing so the biggest issue here was that I had to make sure I didn’t wipe the glue off the studs as I slid the panels behind the hot water heater and pipes. In general it was a very easy product to modify to make it work for what I wanted it to do.
One of the problems I ran into with the project was with the glue. We have cold winters here in Vermont and my walls were literally frosty in the wintertime. I talked to the people at Loctite since I was planning on using the PL Premium that InSoFast recommends. I asked them whether or not the glue would freeze before it cures if I glued the panels directly to the frozen concrete. They said that the glue uses moisture to cure and since moisture may freeze there probably would be an adhesive problem. So I opted to wait and didn’t start the project until earlier this Spring after the frost melted.
InSoFast agrees with Loctite that it is always better to err on the side of caution. If you ever have any concerns that the glue will not work on your project, see our page on mechanical fasteners.
You can also find more information about how to use and test Loctite PL Premium on your walls at Technical > Interior Guides > Adhesive Attachment. Lastly, if it is still too cold have a nice cup of tea and wait for spring like Bill did.

