Panel Adhesives
Loctite PL Premium 3x
Safe and Reliable!
In many cases, construction adhesives are actually a more reliable method of attachment. In particular, Loctite’s 3X Stronger formula is designed to cure 3 times stronger than average solvent-based varieties. A single bead can outperform screws spaced 6 inches apart. Technical Data

Green Guard Certified Adhesive:Technical Data
One of the many reasons we recommend Loctite PL Premium is it has the GREENGUARD Certification. It is important to us that you use an adhesive that has low chemical emissions, you are building in an airtight shipping container, improving the quality of the air you breath is kind of important.
InSoFast panels were designed with simplicity in mind and we would argue that gluing them is not only the easiest method of installation but often the most effective. Third-party testing has shown the adhesive bond strength of our studs to have 108psi of holding power. This means each adhered panel is capable of holding over 5,000lbs!
In Canada the Glue is LePage PL Premium
![]()
Brand of adhesive for installing InSoFast is Canada.
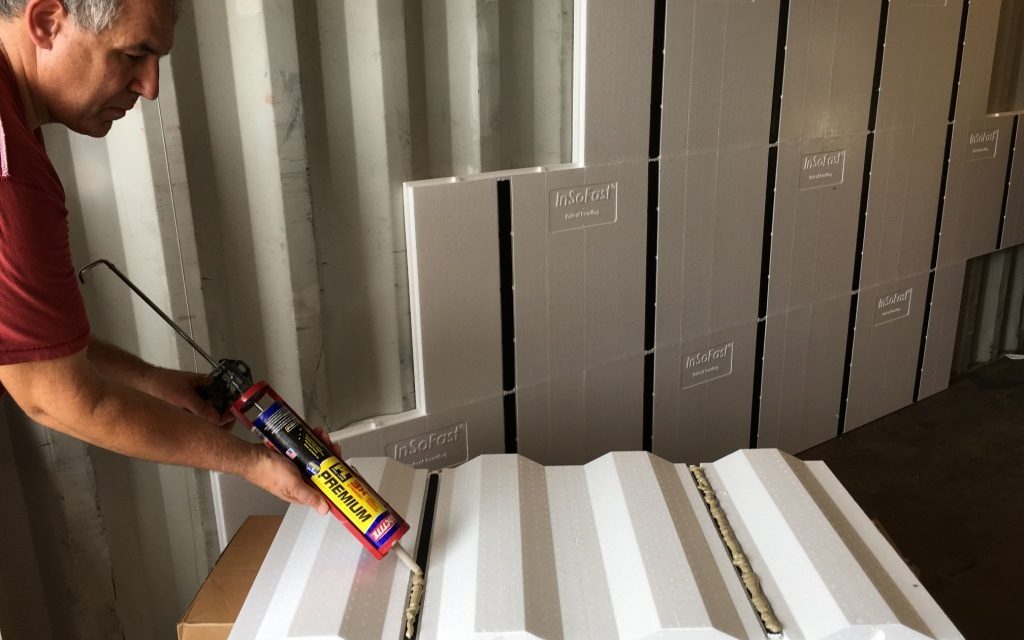
Testing was conducted using Loctite PL Premium’s 3X Stronger Construction Adhesive, (in Canada it is marketed under the LePage PL Premium brand,) on clean concrete surfaces. It is the only adhesive we have tested. Other formulas and brands may not work as expected.Technical Data
Estimating Adhesive Quantity
Estimating Adhesive Quantity
Estimating the amount of adhesive YOU will use has variables beyond our control. Like the condition of your walls, or how accurate are you with a glue gun? The example below is for one side wall of a 20′ standard height shipping container. You will need approximately 3 tubes of the adhesive. That is in a perfect world. PL Premium 3x adhesive is applied in a ⅜” bead on the backside of the studs onto the ribbed surfaces. We realize that a 3/8″ bead of glue is very subjective. It is important that there is enough adhesive to squish the dovetails on the back side of the stud when pressed to the container wall. Adhesive follows the “Goldie Locks rule, too much, too little, and just right. If you are doing just right you can expect that 1 large 28-fl oz. tube will cover 18 of our 24″ long studs or enough glue at a 3/8” bead to cover 36 foot long bead of glue.
Additionally you will have to estimate for glue around openings like windows and doors.
1 large 28-fl oz. / 828 mL tube = 18 (24″ studs or inserts)
- CX 44 (22 panels with 2 studs each plus 8 end wall edges) = 52
- 52 ÷ 18 = 3 tubes of the adhesive
To verify that enough adhesive is used, press the panel into place. Pull the panel back and check to see if the adhesive has spread out beyond the full width of the stud. It is normal for the panel to “float out” from the side of the container when it is accommodating irregularities in the container walls. Additional adhesive may be necessary in some areas.
Adhesive Quantity Chart
Approximate or rough estimate for 28 ounce tubes of adhesive required.
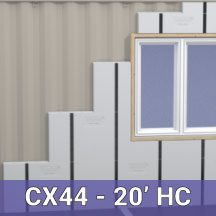 | CX 44 Side Walls | End Wall and Inserts | Ceiling and Inserts | Swing Doors | Total with doors | Total w/o doors |
| 20′ STD/HC | 3 Per side = 6 | 2 1/2 | 6 1/2 | 3 | 15 | 12 |
| 40′ STD/HC | 6 Per side = 12 | 2 1/2 | 13 | 3 | 31 | 28 |
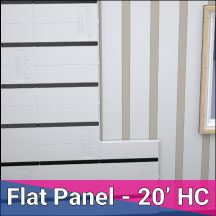 | Flat Panel- Insert | End Wall and Inserts | Ceiling and Inserts | Swing Doors | Total with doors | Total w/o doors |
| 20′ STD/HC | 5 1/2 Per side =11 | 2 1/2 | 6 1/2 | 3 | 23 | 20 |
| 40′ STD/HC | 11 Per side = 22 | 2 1/2 | 13 | 3 | 41 | 38 |
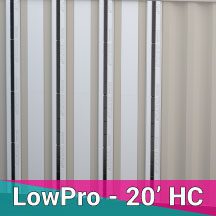 | LowPro-Insert | End Wall and Inserts | Ceiling and Inserts | Swing Doors | Total with doors | Total w/o doors |
| 20′ STD/HC | 4 Per side = 8 | 2 1/2 | 6 1/2 | 3 | 20 | 17 |
| 40′ STD/HC | 8 Per side = 16 | 2 1/2 | 13 | 3 | 35 | 32 |
Important Notice: Cold Weather Application Tips
Important Notice: Container Surface Temperature Applications
When bonding InSoFast’s EPS foam insulation and studs, use above 41°F (5°C) and avoid cure and surface temperatures below 32°F (0°C). Surfaces need to stay warm and be clean, dry and free of frost, grease, dust and other contaminants. Pre-fit all materials and protect finished surfaces. If using cartridge format, cut nozzle at a 45° angle to desired bead size and puncture inner seal. Be very careful not to allow Loctite® PL® Premium to cure on a finished surface.
Because you are bonding two non-porous surfaces (such as InSoFast panels to metal) or if you are in very dry conditions (less than 30% relative humidity), add water in the form of a very light or atomized spray from a plant mister bottle to the extruded adhesive. This is a positive benefit for ceiling applications as it speeds curing time. Repositioning time will also be reduced to less than 15 minutes. Use mechanical supports like “T” braces for ceiling application for 24-48 hours hours while the adhesive cures. Cure time is dependent upon temperature, humidity, porosity of materials being bonded together and the amount of adhesive used. Low temperature and humidity will slow cure time. For in-depth information on cold weather applications go to this PAGE.
Cold Weather Tips:
Interior Installation
Preparation:
To ensure positive adhesion it is recommended to use adhesive above 41°F (5°C). For easier application, ensure the product temperature is 59°F (15°C) or higher. The best solution is to move the container inside to a place warm or cover the container by tenting it in. Here are a couple of suggestions for tenting the container. If you are doing multiple containers, set the shelter up over your 1st container heat that shelter if possible 59°F (15°C) or higher for 24-48 hours. When you complete that container get 4 people to pick the shelter up and move it over to the next container.
Cold Weather Use:
Cold Weather application is possible down to 19°F (-7°C) ambient conditions. Adhesive product must be kept above 45°F (7°C) during application and all bonding surfaces must be free of snow, ice and frost prior to use. Cold weather conditions will slow cure times.
Exterior Installation
The interior of the container must be heated above 41°F (4°C) or preferably 59°F (15°C) or higher until the adhesive has had a chance to cure. No worries keeping the temperature just right the InSoFast panel is insulated
Interior and Exterior Installation
Install the exterior panels first while heating the interior. Allow adhesive to cure before installing interior insulation.
Important Notice: Hot Weather Application Tips
Important Notice: Container Surface Temperature Applications
When bonding InSoFast insulation, to a container the temperature range must be above 40°F (4°C) and the container’s surface temperatures not exceed 90°F (32°C). Surfaces must be clean, dry and free of frost, grease, dust and other contaminants. Pre-fit all materials and protect finished surfaces. If using cartridge format, cut nozzle at a 45° angle to desired bead size and puncture inner seal. Be very careful not to allow Loctite® PL® Premium to cure on a finished surface.
Hot Weather Tips:
Interior Installation
Loctite PL Premium should not be applied when surface temperature rise above 90°F (32°C) the adhesive will not cure properly. The insulation panels applied to the interior will not allow the container to dissipate the heat. It is best to either work early in the morning or late in the evening before sun heats the container beyond Loctite’s recommended temperature range. If possible move the container to shady area or tent over the exterior until the adhesive has cured. Here are links to shelters.
Exterior Insulation Application
The interior of the container can be cooled with a portable air conditioner below the 90°F (32°C) until the adhesive has cured.
Safety Precautions and Cleanup
Wear gloves. Cured adhesive on bare skin will not come off immediately with washing and will cause skin to darken. Cured adhesive and discoloration will come off in about 3 days.
Clean tools and uncured adhesive residue immediately with mineral spirits in a well-ventilated area to the outdoors. Remove cured adhesive by carefully scraping with a sharp-edged tool.
FRP Adhesives
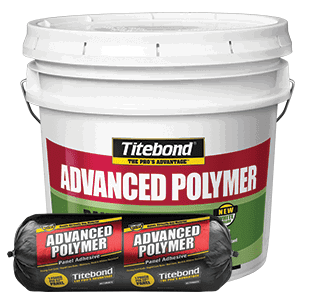
Titebond Advanced Polymer Panel Adhesive
TiteBond FRP Adhesive
Titebond GREENchoice Advanced Polymer Panel Construction Adhesive
Download Manufacturer’s Literature
 |  |
GREENCHOICE ADVANCED POLYMER PANEL ADHESIVE:
Titebond GREENchoice Advanced Polymer Panel Construction Adhesive is a high performance, professional strength advanced polymer adhesive specifically formulated to be used for most types of paneling installations. It has fast grab, a rapid cure rate, trowels easily, is moisture, mold and mildew resistant and contains no water. This adhesive provides as much strength in four hours as urethane or solvent-based counterparts do in 24 hours. Its ultra-quick speed development enables contractors to install virtually any type of paneling on porous or non-porous substrates without fasteners. This VOC-compliant, nonflammable formula is environmentally safe–emitting no harmful fumes and promoting healthy living and working environments.
COMPATIBLE MATERIALS:
COMMON PANEL-TYPE SURFACES SUCH AS FRP (FIBER REINFORCED PLASTIC), WOOD, FOAMBOARD, PLASTIC, LAMINATE, PLYWOOD (TREATED, FIRE RATED AND PRESSURE TREATED), TUB SURROUNDS, METAL (GALVANIZED AND STAINLESS STEEL), CONCRETE, VINYL, PVC, PAINTED SURFACES, TREATED AND UNTREATED DRYWALL AND MOST OTHER TYPES OF COMMON POROUS AND NON-POROUS BUILDING MATERIALS.
Trowel Recommendations and Coverage
| TROWEL SIZE | TROWEL TYPE |
|---|---|
| 3/16”W x 1/4”D x 11/16” C-C (OR 1/2” space) | V-Notch |

COVERAGE: Approximately 60 sq. ft. per gallon
Titebond 448-fl oz White Panel Construction Adhesive 3 1/2 gallons = 210 Square feet of coverage
APPLICATION GUIDELINES
APPLICATION TEMPERATURE: Over 50°F and below 90°F for adhesive and substrates (can be applied down to 0°F, but reduces drying speed) SERVICE TEMPERATURE RANGE: -40°F to 220°F WORKING TIME: 20 minutes at 70°F
PREP:
Before installation, it is important to wipe down all metals with acetone if an oily residue is present, as this can deter adhesion. Surfaces must be free of any material that may deter adhesion, including severe and thick amounts of drywall joint compound. Patch holes and depressions and remove any bumps, high spots, dust, oil, and grease. Cut and pre-fit all panels. Lay panels flat and let them acclimate to room temperature 24 hours before installing. Note: Best results when adhesive and materials are used above 50°F.
APPLICATION:
Spread adhesive over entire back of panel, using a V-notch trowel.
Keep trowel notches clean and free of adhesive build-up to ensure proper application. Place panel against surface and press firmly over entire surface, working from the edge of the panel where molding is installed outwards to the open edge. Using a roller over the entire installed wall panel is also recommended.
Note: Bracing may be required. Panels used in conjunction with channel moldings should NOT fit tightly into the moldings. Leave a small area in the molding for expansion and follow panel manufacturer’s recommendations. Any holes drilled through the panels for fasteners, pipes or conduits should be oversized to allow for natural movement of the panel. Spread no more adhesive than can be installed in 20 minutes or less.
LIMITATIONS:
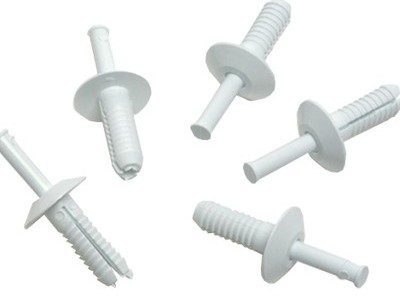
When bonding two non-porous substrates together, particularly in low humidity climates, it is recommended to lightly mist the wall substrate with water just before applying panel. Panels that do not lay flat or are heavier in weight may require at least 24 hours of blocking and bracing or permanent mechanical fasteners. If applying adhesive over painted, plastered, or seal coated surfaces, please contact Titebond’s Technical Service at 1.800.347.4583.
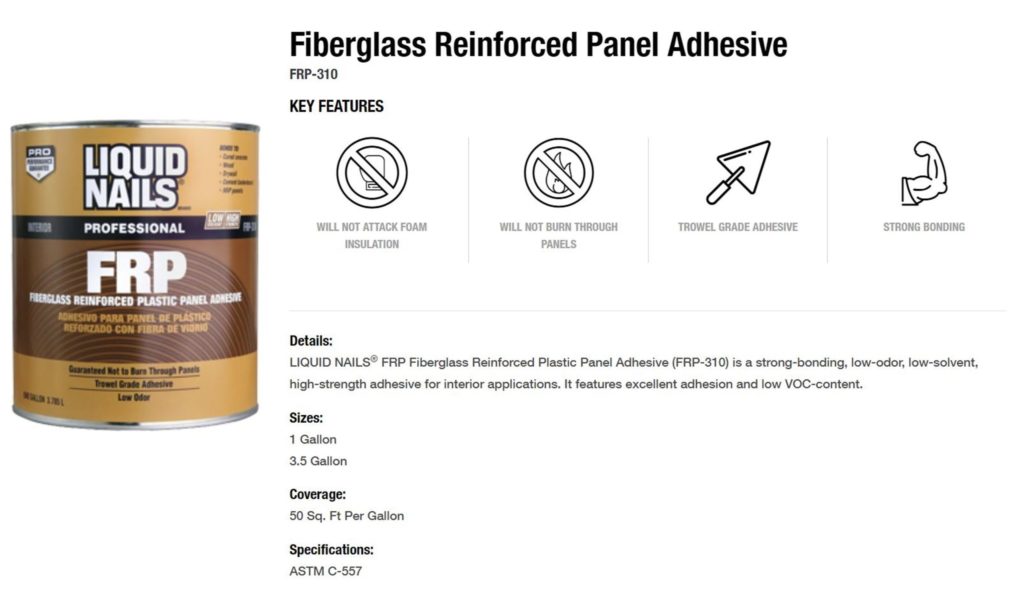
LIQUID NAILS® Panel Adhesive (FRP-310)
Application Instructions:
- Cut and pre-fit panels.
- Spread adhesive with the recommended trowel over entire back of the panel.
- As soon as adhesive is spread over entire panel and before adhesive skins over (within 45 minutes), set panel in position and press against wall.
- Press panel firmly into place, working from the center to the edges until full contact has been made.
- Bracing may be required if walls or panels are not completely straight.
- For channel moldings, permanent fasteners, and panel spacings, follow panel manufacturer’s specifications.
- For application over concrete: Concrete surfaces must be dry and completely cured. When installing panels over below-grade concrete, where moisture can penetrate, you must first attach furring strips to the concrete block and then attach a solid surface, such as wood or drywall, to those furring strips. Then continue with standard application.
Working time: Up to 45 minutes. Very warm, dry conditions decreases working time.
Tech Data Link
FRP-310 LIQUID NAILS PROFESSIONAL INTERIOR FRP ADHESIVE MSDS
Safety Precautions and Cleanup
Wear gloves. Cured adhesive on bare skin will not come off immediately with washing and will cause skin to darken. Cured adhesive and discoloration will come off in about 3 days.
Clean tools and uncured adhesive residue immediately with mineral spirits in a well-ventilated area to the outdoors. Remove cured adhesive by carefully scraping with a sharp-edged tool.


