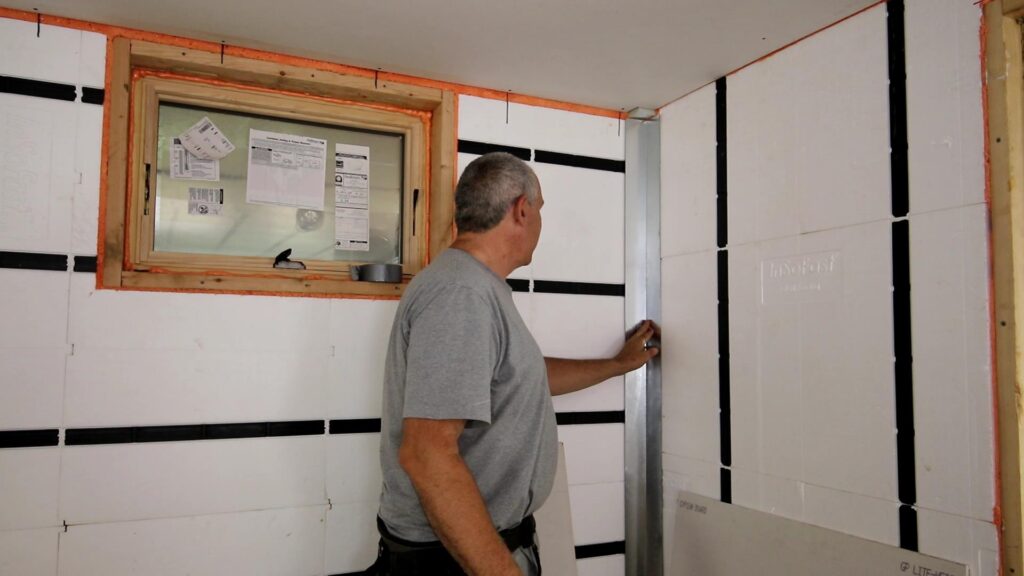
Installing Electrical Services
Installing Electric Wiring into a container
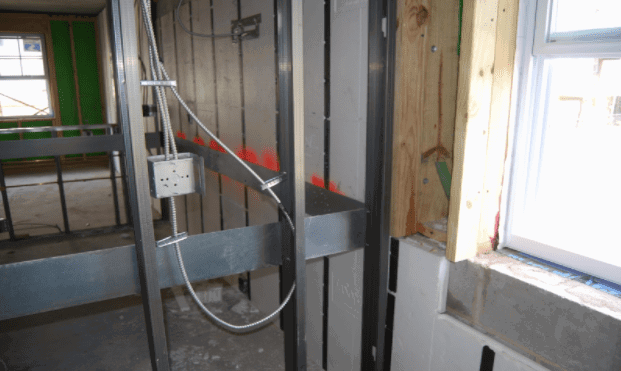
How to install electric wiring into the walls of a shipping container. The CX 44 Panel has built in horizontal and vertical raceways, meeting the national electrical code for Romex® wires without the use of protection plates.
In the video we will show you how to wire a shipping container with Romex® type wire. Wiring is really pretty simple to install. Individual runs can be pushed or slid through the horizontal or vertical chase ways up to 20′ from box to box.
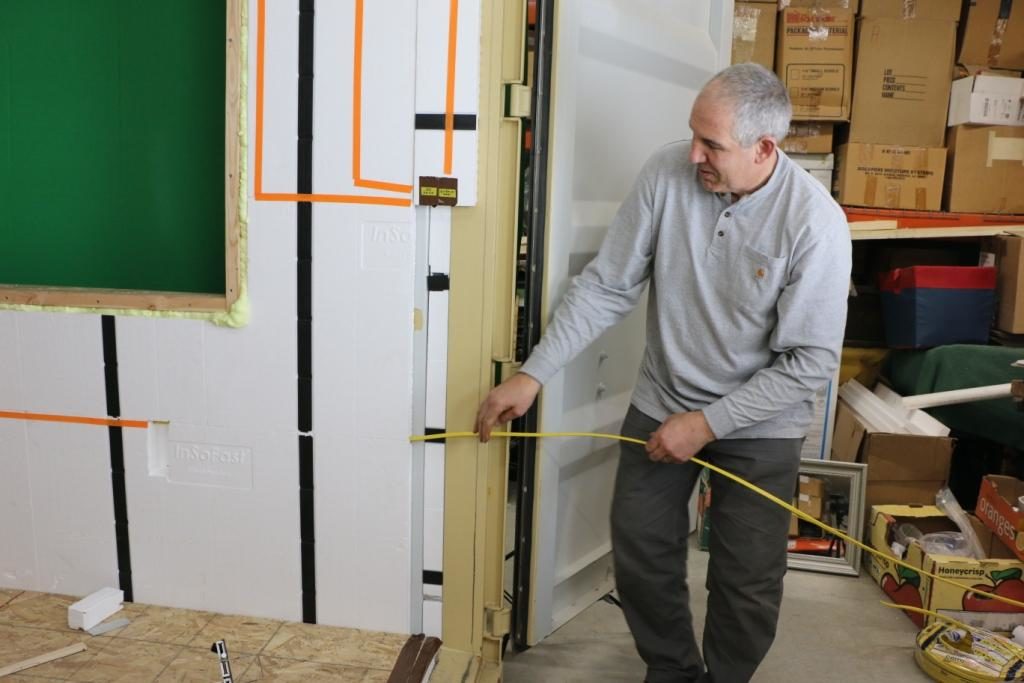
Specialty Tools to make the job easier
Hot knifes are not essential for installation. For more information about specialty tools
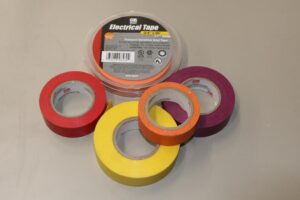
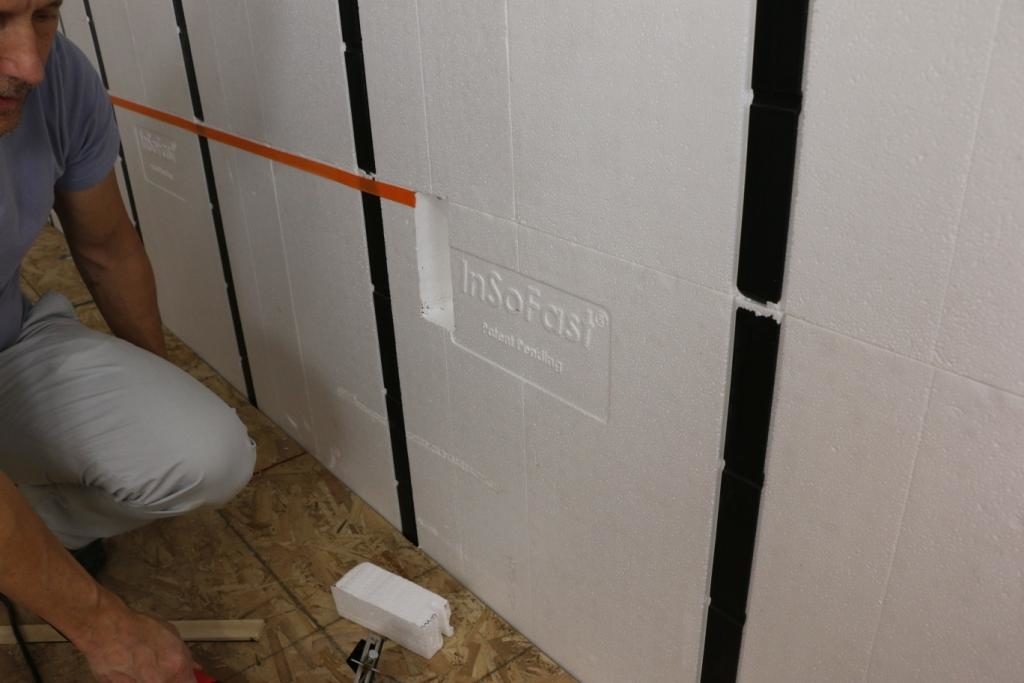
The stick was used to help set a consistent height for the electrical boxes.
The orange tape was used to illustrate the electrical wiring runs and their location in our panels. Preplan all of your electrical cuts. Keep the hot knife…HOT!
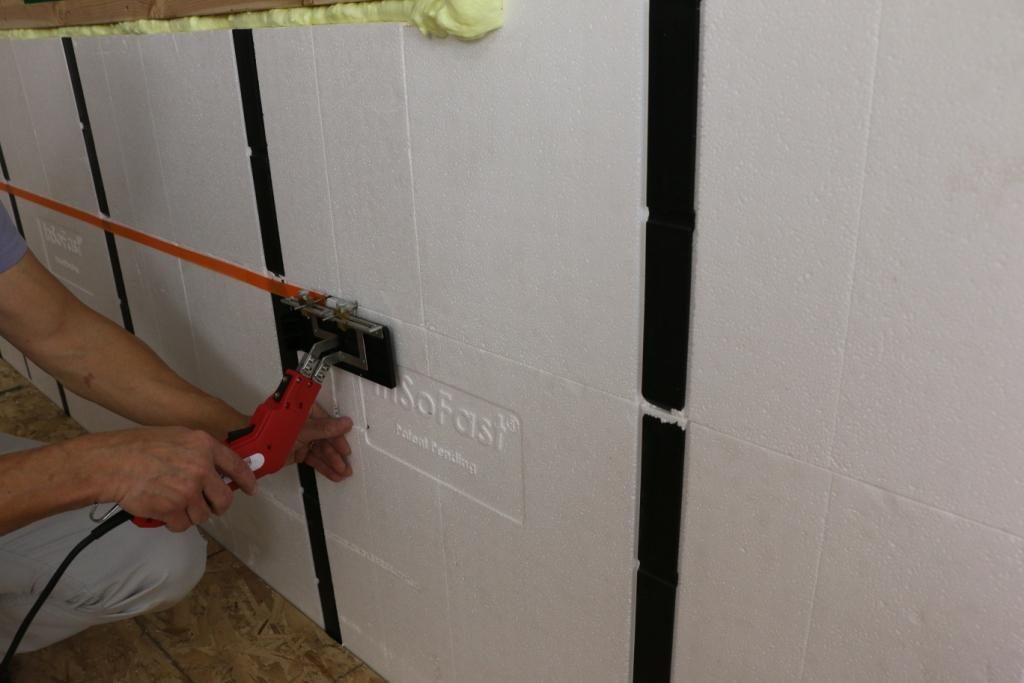
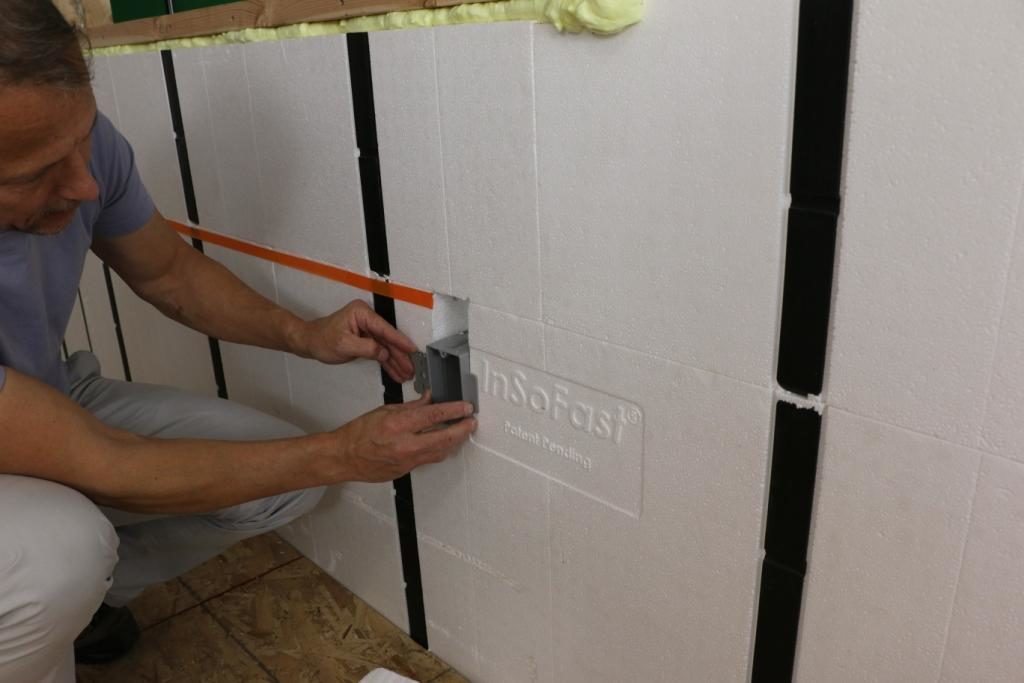
The hot knife is a plunge cutting tool. Save the cutout pieces of foam for use later to replace the electrical box cuts.
Keep the Wire Flat and Kink Free
To keep the wire flat and kink free. We used a turnstile to unreel the 12 gauge Romex wire.
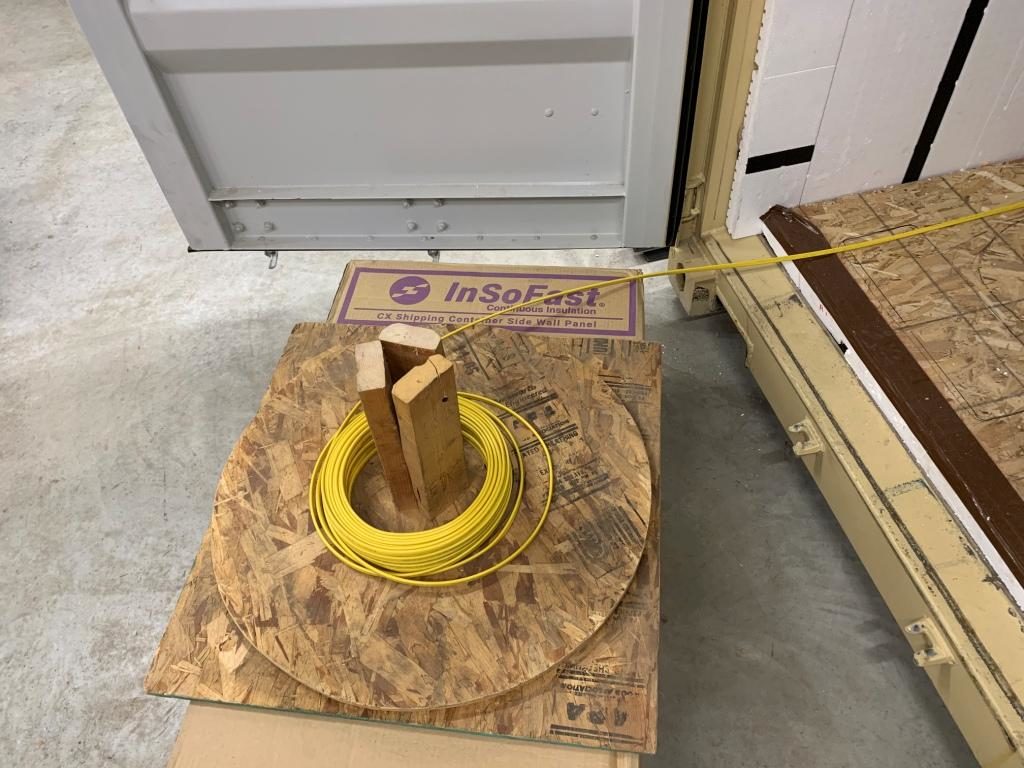
Bend the Romex over to reduce snags when thearding the wire throught the wall.
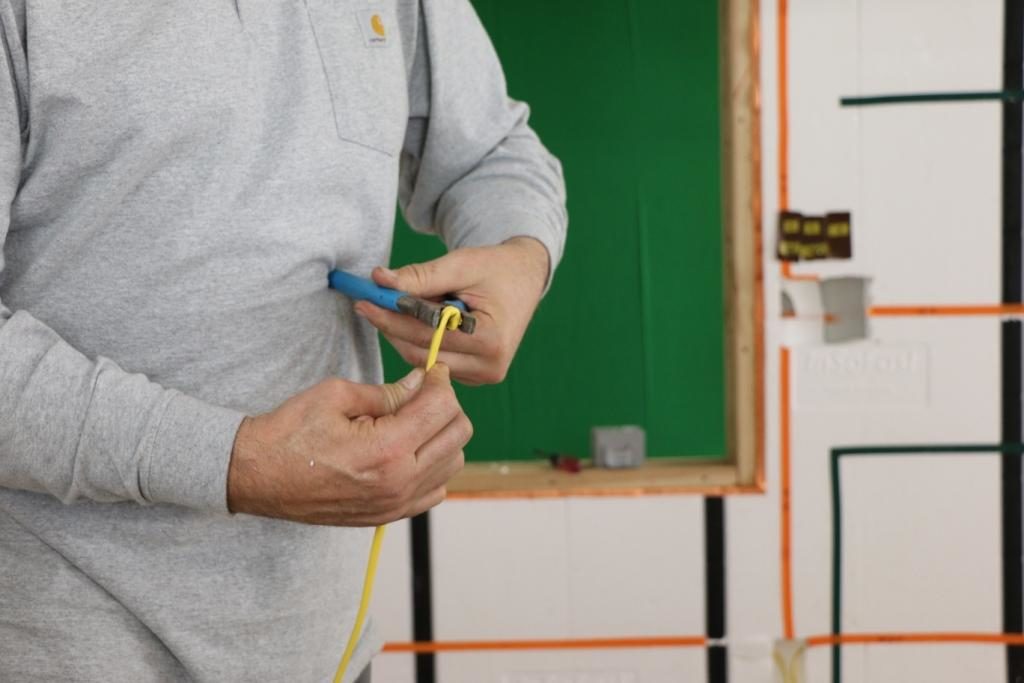
We ran the 12-gauge Romex wire behind the PVC water pipe. Keep the glue away from the electrical raceways.
Wiring Transitions to Frame Walls
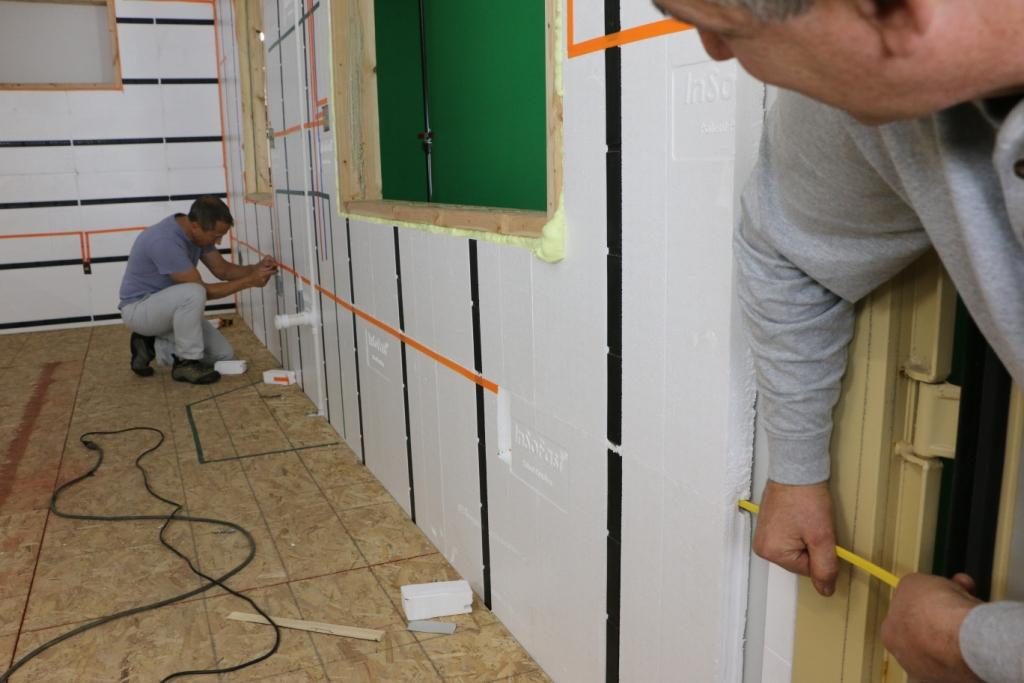
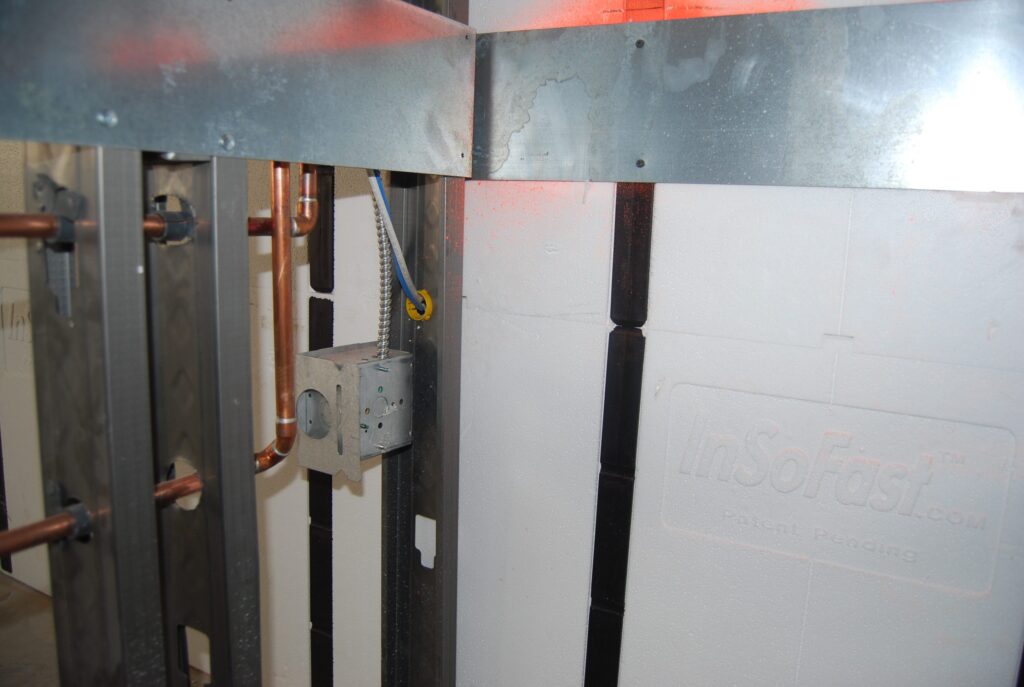
To transition from an InSoFast wall to a frame wall locate the horizontal or vertical raceways in the InSoFast panel. Locate the stud punch out over the open raceway in the InSoFast panel pull wire through. Follow standard code approved installation procedures. Fill any gap around all the electrical cuts or openings with the expanding foam.
Running Wire Around Corners
When Changing direction, you will have to cut a hole to access the raceways. Save this piece to glue back in after your electrical inspection.
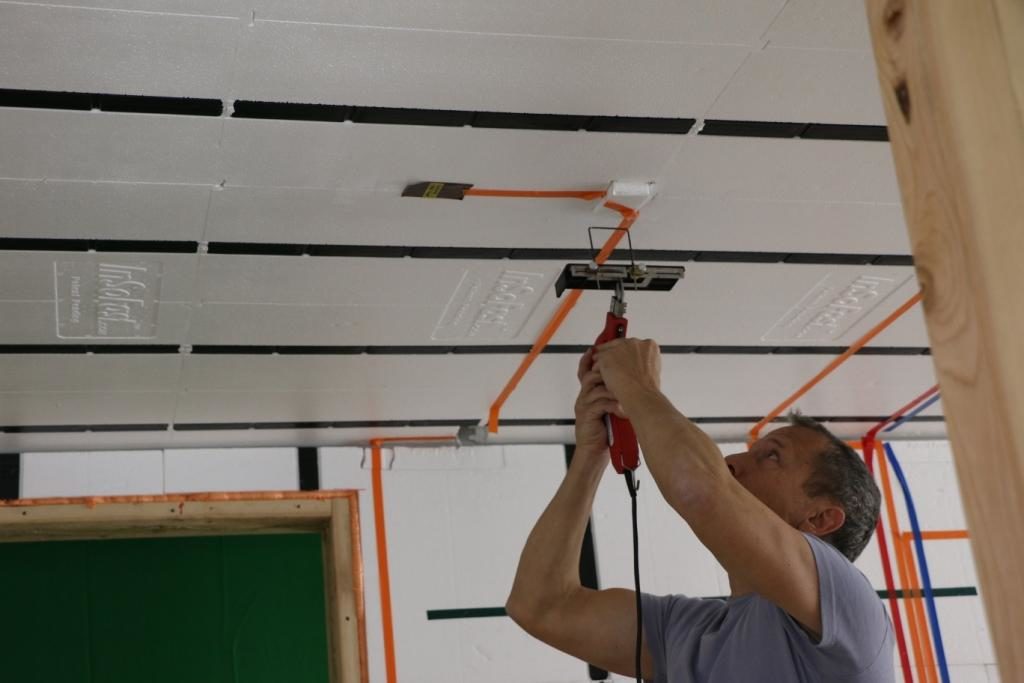
When routing wires up the wall into the ceiling, cut access holes at the top of the wall on the ceiling at the raceway locations. The raceways will not match up. Run the wire along the top of the CX44 panel, making sure to push the wire all the way back to the beam. Code requires thatthe wire be 1-1/4″ back from the face otherwise a metal protection plate is required.

The electrical boxes can be adhered or mechanically attached. Verify with electrical inspector for local code requirements
InSoFast panels are designed for use with standard Romex® (NM sheathed wire), MC Flex, AC Flex, or rigid metal conduit.
E3802.1 Installation and support requirements
Wiring methods shall be installed and supported in accordance with Table E3802.1.
| INSTALLATION REQUIREMENTS |
| Where run parallel with the framing member or furring strip, the wiring shall be not less than 11/4 inches from the edge of a furring strip or a framing member such as a joist, rafter or stud or shall be physically protected. (InSoFast panels raceways satisfy the required protection of 1¼”) |
| Bored holes in framing members for wiring shall be located not less than 11/4 inches from the edge of the framing member or shall be protected with a minimum 0.0625-inch steel plate or sleeve, a listed steel plate or other physical protection.( Raceways that are running through InSoFast studs do not require steel plates because they meet the 1 ¼” depth requirement) |
| Where installed in grooves, to be covered by wallboard, siding, paneling, carpeting, or similar finish, wiring methods shall be protected by 0.0625-inch-thick steel plate, sleeve, or equivalent, a listed steel plate or by not less than 11/4-inch free space for the full length of the groove in which the cable or raceway is installed.(InSoFast panels are engineered with a groove that forms a raceway with the required protection or “free space” of 1 ¼” along the full length of the groove) |
| Securely fastened bushings or grommets shall be provided to protect wiring run through openings in metal framing members. (InSoFast panels have no metal or sharp edges) |
| The maximum number of 90-degree bends shall not exceed four between junction boxes.(This does not apply to NM or Romex® wiring) |
| Bushings shall be provided where entering a box, fitting or enclosure unless the box or fitting is designed to afford equivalent protection. (does not apply to NM or Romex® wiring) |
| Ends of raceways shall be reamed to remove rough edges. (Raceways of InSoFast panels have no metal or sharp edges ) |
| Maximum allowable on center support spacing for the wiring method in feet. (The raceways of InSoFast panels provide continuous confinement and support for wiring) |
| Maximum support distance in inches from box or other terminations. (NM or Romex® wiring must be secured in place within 8” of boxes without cable clamps. Securing wiring with expanding foam adhesive (Great Stuff®) satisfies this requirement) |
Installing Plumbing
Installing plumbing into container walls
Cutting out for waste pipes
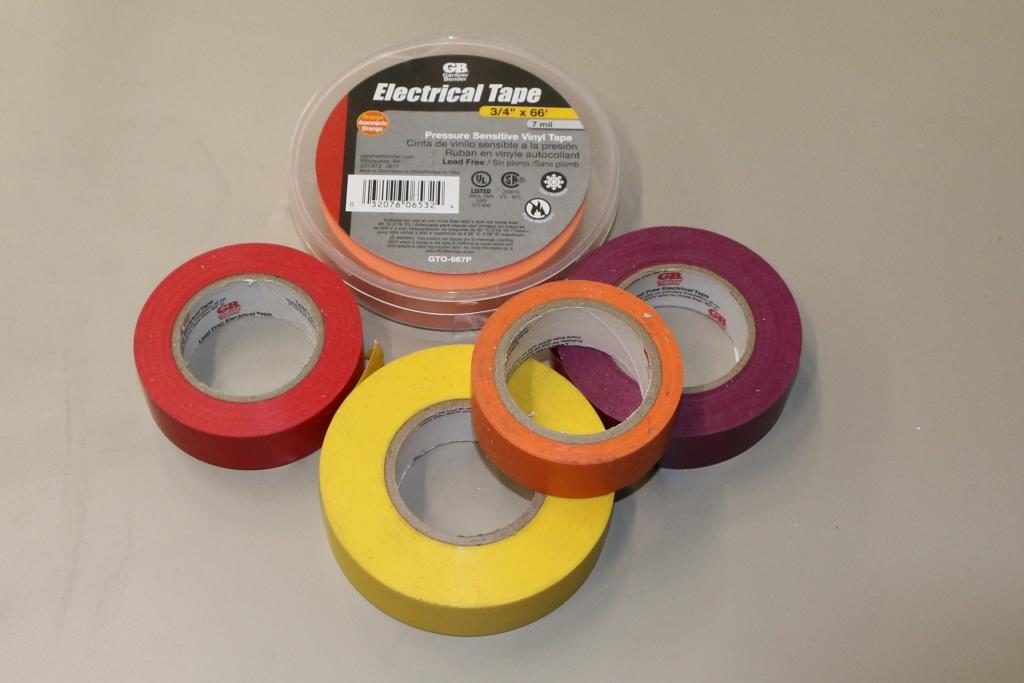
Installing plumbing into a shipping container. In this video we used colorful tapes to help illustrate where the services like electrical, water, cabinetry will be located, in or on our wall. The tape is not necessary but it help determine your layout before you begin. Field conditions always vary and these videos are only meant to be a guide on how to use cut and shape the InSoFast panels.
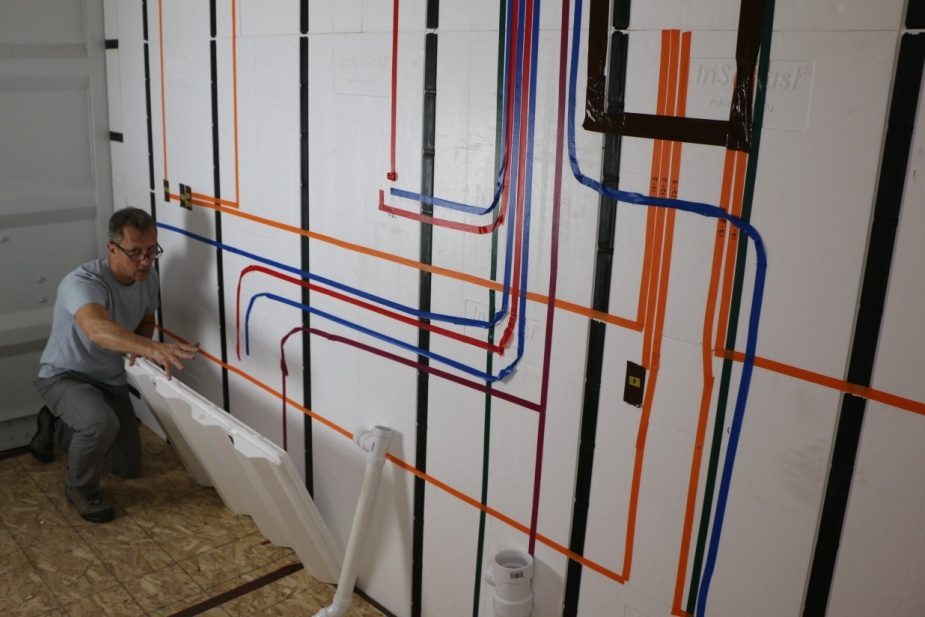
*With all plumbing make sure it is installed in conditioned space to prevent the pipes from freezing.
In this application we insulated both the interior and the exterior of the shipping container to reduce the chance of the pipes freezing in the winter.
Work with the right tools
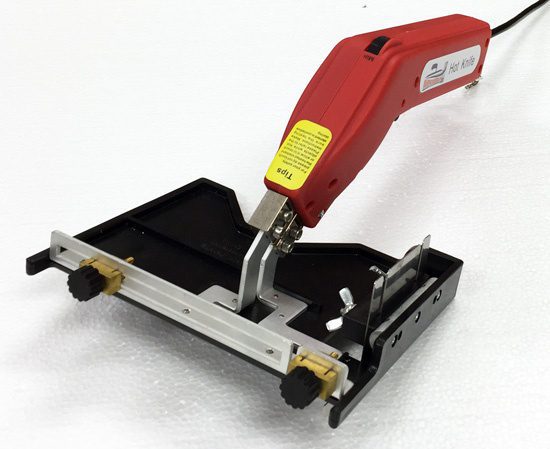
Here is a direct link to a trusted supplier of the hot knifes that we use This kit comes complete with all the blades and sleds we used in the video.

Plan the Plumbing First!!
Cut out the plumbing chases first, other services like the electrical wiring can be made to work around the plumbing. Cut the InSoFast panels approximately ¼ inch shy of the pipe’s perimeter. Hot knifes will melt away the foam for a snug fit.
Be sure where your structural elements are before your cut a hole in the floor, ceiling or wall.
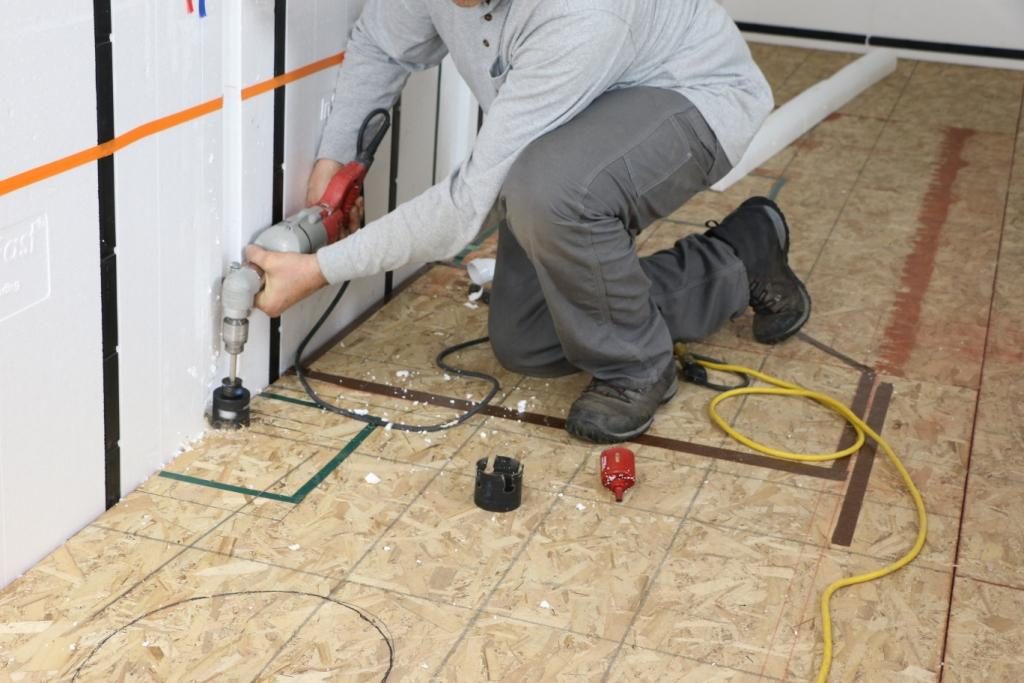
Any time you cut an InSoFast panel you should put an extra bead of adhesive on the foam near the cut in order to solid-back the panel to the wall. Fill in the gap with expanding spray foam after you’ve finished your installation to seal around the pipe. When the spray foam has set, use a knife to shave off the excess.
Building out the wall
Not all the plumbing needs to be installed into the InSoFast panels. If your floor plan allows for it, you can conceal the pipe inside an intersecting wall such as a bathroom plumbing wall or partition wall. Be sure to provide an access cover for the clean-out. For further tips on intersecting walls go to:
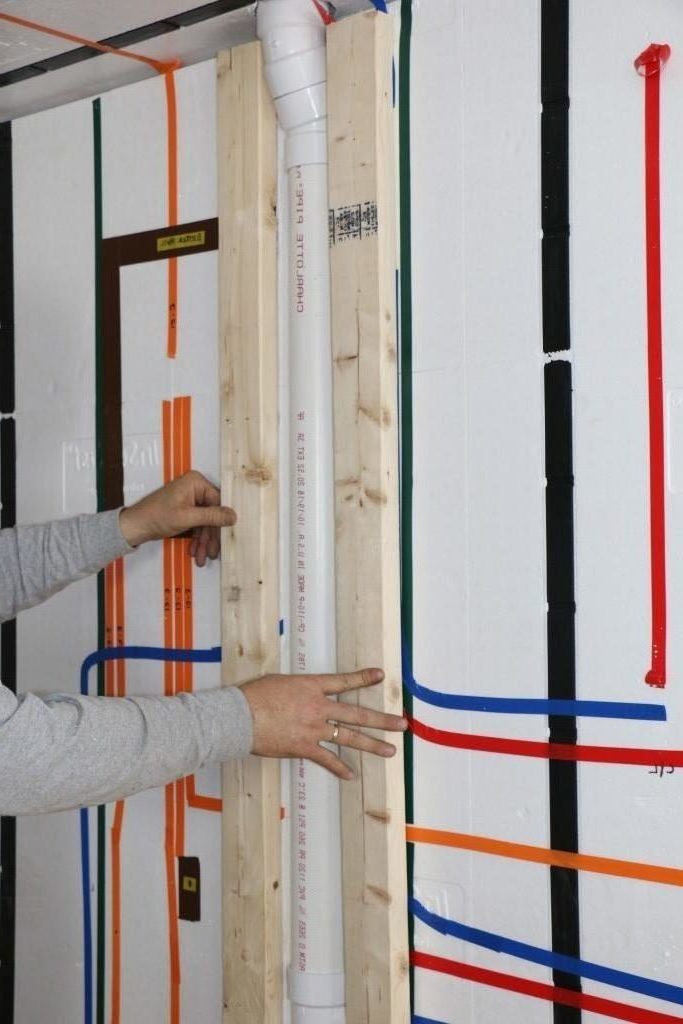
*Running Pipes through our Electrical raceways. While this may sound like an ideal way of hiding ugly pipes in your container home, we typically discourage running pipes behind the panels and up against the potentially cold metal wall as this may result in freezing and bursting of your water lines. Covering pipes behind the insulation separates them from the warm conditioned space and exposes them solely to exterior temperatures. Even if you have never had problems before, this method can actually create the conditions that allow them to freeze. However, you may be able to successfully install piping, such as PEX, behind the panels if you are in a climate zone that does not experience freezing ground temperatures.

Another method we demonstrate is to cut out a channel in the interior side of the panel. Part 2. You can also mitigate the potential of frozen pipes by insulating your walls on both the interior and exterior sides of your shipping container. Insulating only on the exterior side would not only be more budget-friendly, it may also be more effective. The hot knife can be used to fix over cuts and ensure a tight well insulated wall. When the plumbing is completed go back and air seal any gaps or over cuts with spray foam. After the spray foam is cured trim off excess with a razor knife or hand saw.
Drywall Installation
Drywall installation in a shipping container, a sea can, or intermodal housing what ever you want to call it. Insulating and finishing a shipping container with gypsum wall board is easy to do.
Installing Drywall in a shipping container
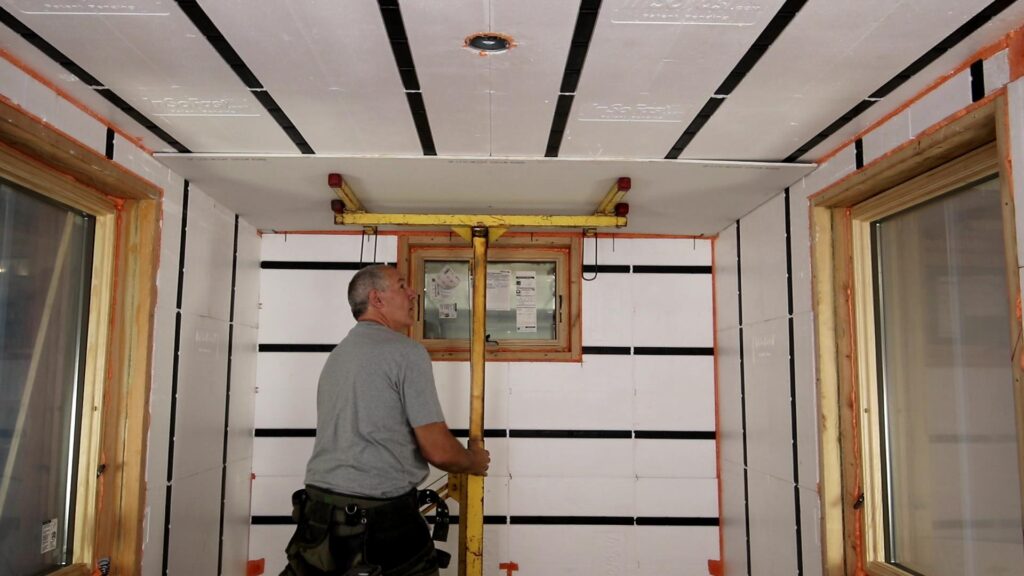
Drywall is installed over InSoFast panels in the same exact way it is installed onto traditional framing. Simply attach drywall to the InSoFast studs using all-purpose coarse drywall screws. Screws provide greater holding power than wallboard nails, minimize popping and help prevent damage to the panels. Below is a Self-dimpling attachment to help set the screws into the drywall to prevents the screw from over-driving and spinning out.
Depth Stop for Drywall

Drywall Screw Setters with your drill. They control the depth of the screw when driving in drywall, particle board and plywood.
Mark the Floor and Ceiling
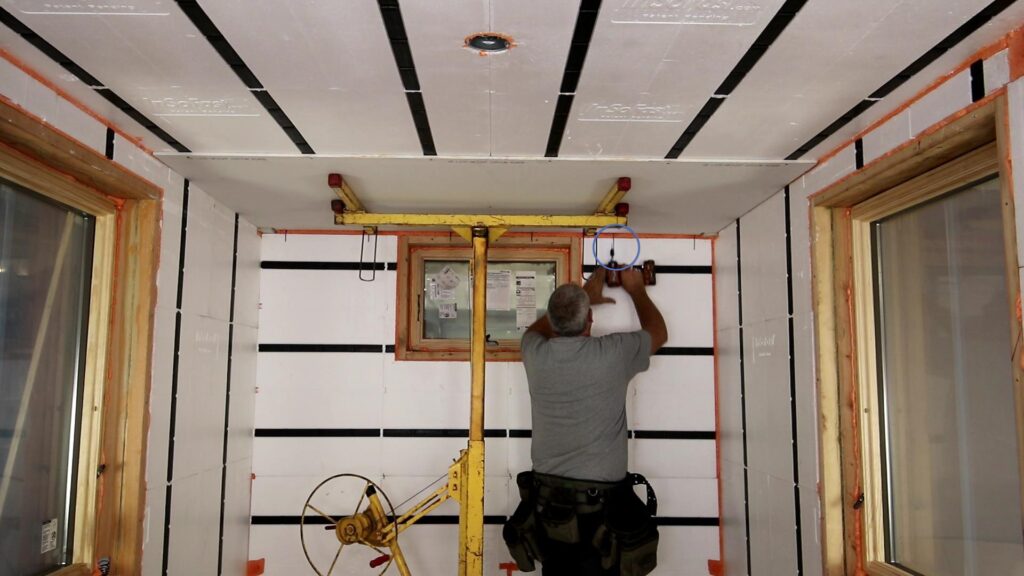
It is a good practice to mark the wall to locate the ceiling studs before you lift and install the drywall.
Methods for handling inside corners
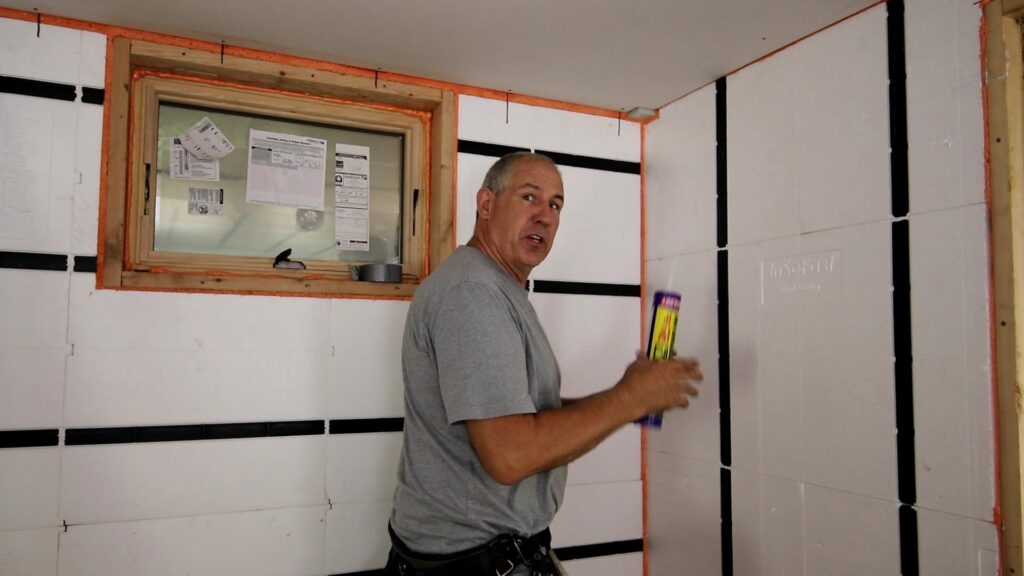
Adhesive Method
- The corner which is solidly-backed and supported by the InSoFast panels can be locked together by running a bead of adhesive along the panel within 2″ of its edge. The 2″ is so you do not get your fingers into the glue.
- Just before attaching drywall, place a bead of adhesive on the foam near the corner, again the 2″ rule. The drywall is bonded to the foam and the foam has been bonded to the shipping container, eliminating the need to have a stud in the corner. LoctitePL Premium 3X is recommended because it is non-volatile and will not melt through the foam. For information, see Installation > Adhesives.
- Alternatively: you can attach drywall by screwing into a metal corner angle (25ga sheet metal utility angle). You have the option of taping or gluing the metal angle to the InSoFast panels by running a bead of adhesive approximately 1″ from each side of the corner.
Corner Utility Angle
Utility angle or light gauge metal “L” angle
The metal angle is used if attachment in the solidly backed corner is desired. The metal angle screwed together forms a solid corner in which to apply your finishes.
Start your screws
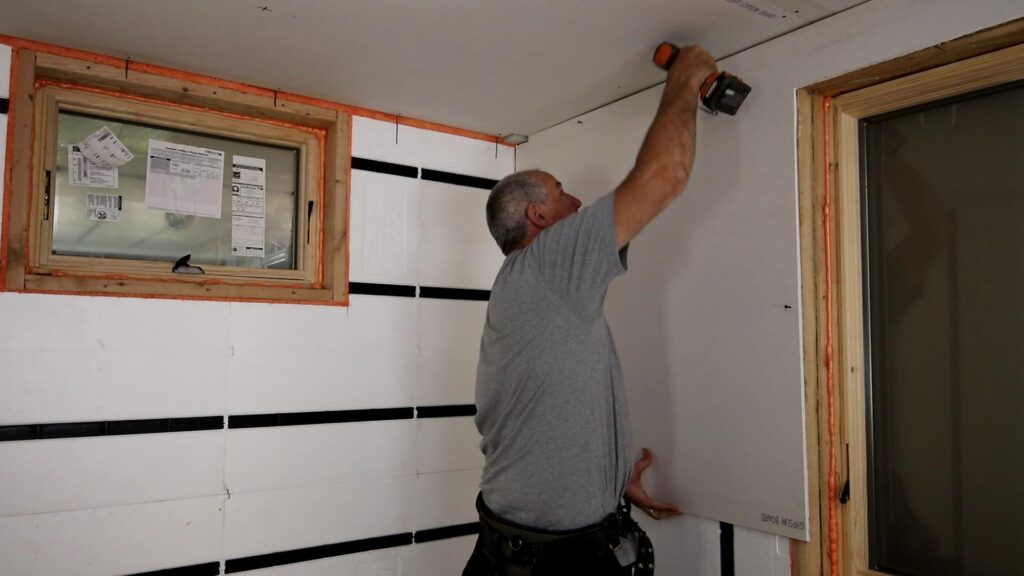
Start your screws into the drywall before you lift the sheet into place.
Cutting the openings

Stem or Partition Walls
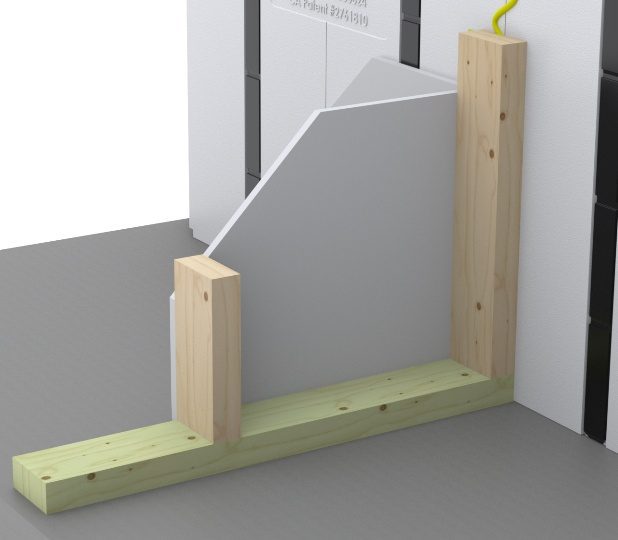
Partition walls can be mechanically (screwed) to the panel’s stud or adhesively attached to the foam.
Things to keep in mind
- Allow 24-hours for the PL Premium 3X Stronger Construction Adhesive to fully cure before attaching any finishes.
- When installing InSoFast in a corner, be sure to glue the back panel’s edges that don’t end in studs. See (Corners, Intersecting Walls) for more details.
Other links to get you started
- Drywall Material Calculator: https://www.inchcalculator.com/drywall-calculator
- Drywall Material Calculator: https://www.homedepot.com/account/view/calculator/drywall
- Drywall Installation Cost Calculator: https://www.homewyse.com/services/cost_to_install_drywall.html
- Alternate Finished: https://www.insofast.com/explore/stone-and-stucco.html
Fire Code and alternative finishes information
Drywall Fire Code and Alternatives
Important: InSoFast panels are manufactured using a flame retardant foam and are classified as rigid foam plastic insulation. They fall into the same class as pink, blue and yellow insulation boards which are required by code to be covered by ½” drywall or any other approved 15-minute thermal barrier (IBC 2603.4). If choosing an alternative to drywall it is important to check with your local building code official to make sure it meets your local requirements.
There are numerous types of finishes that are designed for or can applied to the InSoFast panels. The following is a short list of links to finish materials and application instructions.
- Installing Outside Corner Angles over InSoFast (PDF, 45kb)
- e²XP® Interior Extreme™ Mold-Resistant Drywall Spec Sheet (PDF, 227kb)
- USG Mold Tough™ Sheetrock® Submittal Sheet (PDF, 144kb)
- NGC PermaBase® Cement Board Construction Guide (PDF, 478kb)
- FEMA Flood Damage Resistant Drywall (PDF, 627kb)
- USG SHEETROCK® BRAND INSTALLATION AND FINISHING GUIDE
- CertainTeed Install Like the Pros
- Sheet Metal Corner Angles for Drywall (PDF, 206kb)
- Laminated FRP Installation Guide for InSoFast Panels (PDF.547kb)


