We first published this blog May 21, 2015 to show you how much money you would save using InSoFast. This is about saving material cost not labor. That would be unfair InSoFast is only 20% of the labor.
In order to highlight the differences between InSoFast EX 2.5 panels and Traditional Exterior Wall Assembly methods, we have compared the two in terms of materials and cost. All numbers are based on the idea of working with a 2,400 sq-ft surface area, a wall that is 120 feet long by 20 feet high. This wall is built around today’s 11/17/2020 standards. We have always been ahead of our time. We did not know that we cost 30% less and we are 80% faster.
For simplicity of comparison, we are ignoring the existence of windows and doors. Admittedly, InSoFast panels would require such openings to be framed, but in this scenario the overall cost would only increase by about $100.
The different methods of continuous insulation have now been written into standard practices and building codes. These changes and approaches are part of an advanced building approach that only a few energy efficient builders are using today. The other builders will now be forced to do this after the 2020 building codes are adopted. Our product was engineered for this dynamic shift and to answer several and important market needs. This blog address costs, durability, efficiency and installation simplicity are just features we include.
Find your local State R-Value Code Requirements
Our cost analysis begins where the house wrap, (WRB), or Zip Wall type barrier ends, the exterior sheathing to the outermost finish. For comparison we finish the project with siding because, *using screws to attach the insulation system. Don’t let our choice of siding limit your creativity, both methods support a wide variety of finishes including stone veneer, stucco, brick and more.
*InSoFast can save time and money over load bearing masonry (concrete or block walls) using our patented adhesive attachment method that would not be a fair comparison.
All prices are based on the online sources represented in the hyperlinks below as of November 17th, 2020. (THESE PRICES MAY ALREADY BE OUT OF DATE) you could save even more money! The total costs do not reflect additional expenses levied by taxes, shipping or labor. On that note we’d like to point out our free shipping and speed of installation. (In-So-FAST)
We honestly spent a bulk of our time researching the most cost-effective products and places to purchase those products for the Traditional Assembly. Home Depot pricing varies by zip code, so our calculations reflect pricing found local to our office in Reading, PA. If you think you could do better, please feel free to refute our claims and email us corrections!
Rainscreen System
1. Product: Slicker® Classic Rainscreen
This is a drainage layer that ensures moisture is able to flow away from the interior of your home. The project requires 16 rolls priced at $158.00 each direct from the manufacturer’s website.
$158.00 x 16 = $2,528.00
Cap Fasteners
2. Product: 1-1/2 in. Plastic Round Cap Roofing Nails
These fasteners are required to secure the Slicker® Classic Rainscreen every 3 feet. They need to penetrate the sheathing by at least 1/2 inch to ensure optimal attachment of the product. The project requires 4 boxes priced at $7.97 each.
$7.97 x 4 = $31.88
Rigid Foam Insulation
3. Product: Owens Corning FOAMULAR 150 2 in. x 4 ft. x 8 ft. R-10 Scored Squared Edge Insulation Sheathing
This is that nasty pink stuff people use to insulate things. We don’t know why. The project requires 75 panels priced at $32.00 each.
$34.94 x 75= $2,620.50
Recessed Chamber Fasteners
4. Product: EIFS PB Washer PBH & Wood Lite Metal Screw
These specialty fasteners are used to secure the pink stuff to the sheathing (after penetrating through the rainscreen). The project requires 3 boxes priced at $192.50 each.
$192.50 x 3= $577.50
Building Flashing Tape
5. Product: 3M All Weather Flashing Tape, Tan, Slit Liner, 4 in x 75 ft – 8067
Now you got to tape all the seams because your insulation’s r-value is utterly moot without this finely laid millimeter of material. Yay. The project requires 12 rolls priced at $27.99 each
$27.99 x 12= $335.88
Furring Strip Boards
6. Product: 5/4 in. x 3 in. x 8 ft. Furring Strip Board
Now add some organic matter to this 6-layer sponge in a location just barely tucked away from where it will actually be dumping buckets of rain on your building. Space them 1 per lineal foot. The project requires 330 strips priced at $1.98 each.
$2.83 x 330= $933.90
Heavy Duty Fasteners
7. Product: HeadLok 6 in. Heavy Duty Fastener – 50 Pack
The final penetration! Use these fasteners to attach the furring strips to the structural sheathing, passing yet again through both the insulation and the rainscreen. With the furring for attachment, you can now use these screws to attach siding. The project requires 48 packs priced at $39.97 each.
$39.97 x 48= $1,918.56
Insect Screen
8. Product: Home Slicker Screen
Make sure bugs don’t nest in your assembly by running this screen along the bottom of your wall. The project requires 1 roll priced at $92.00.
$92.00 x 1= $92.00
TOTAL MATERIAL COST= $9,038.22
InSoFast EX 2.5 Panels
Product: InSoFast EX 2.5
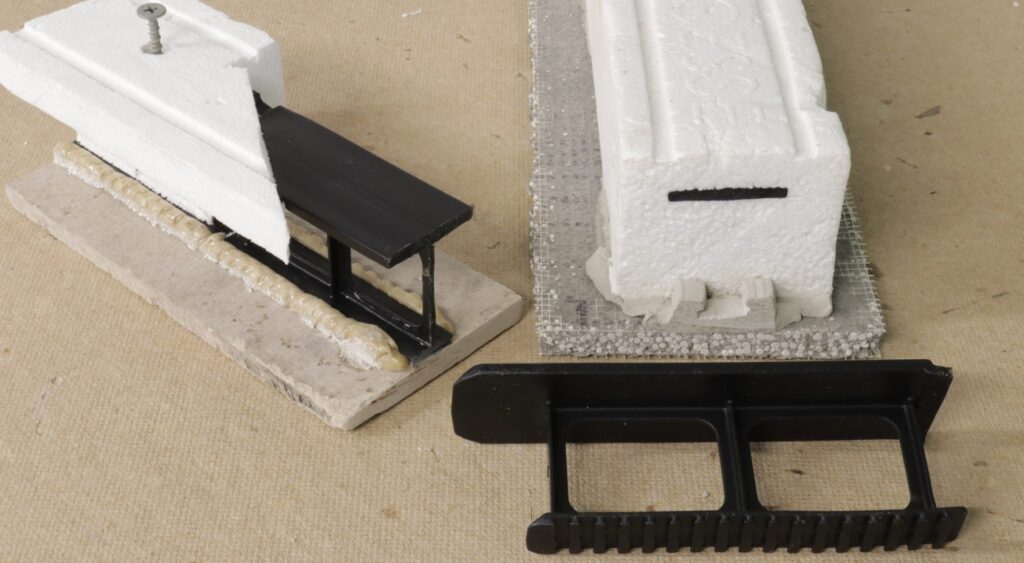
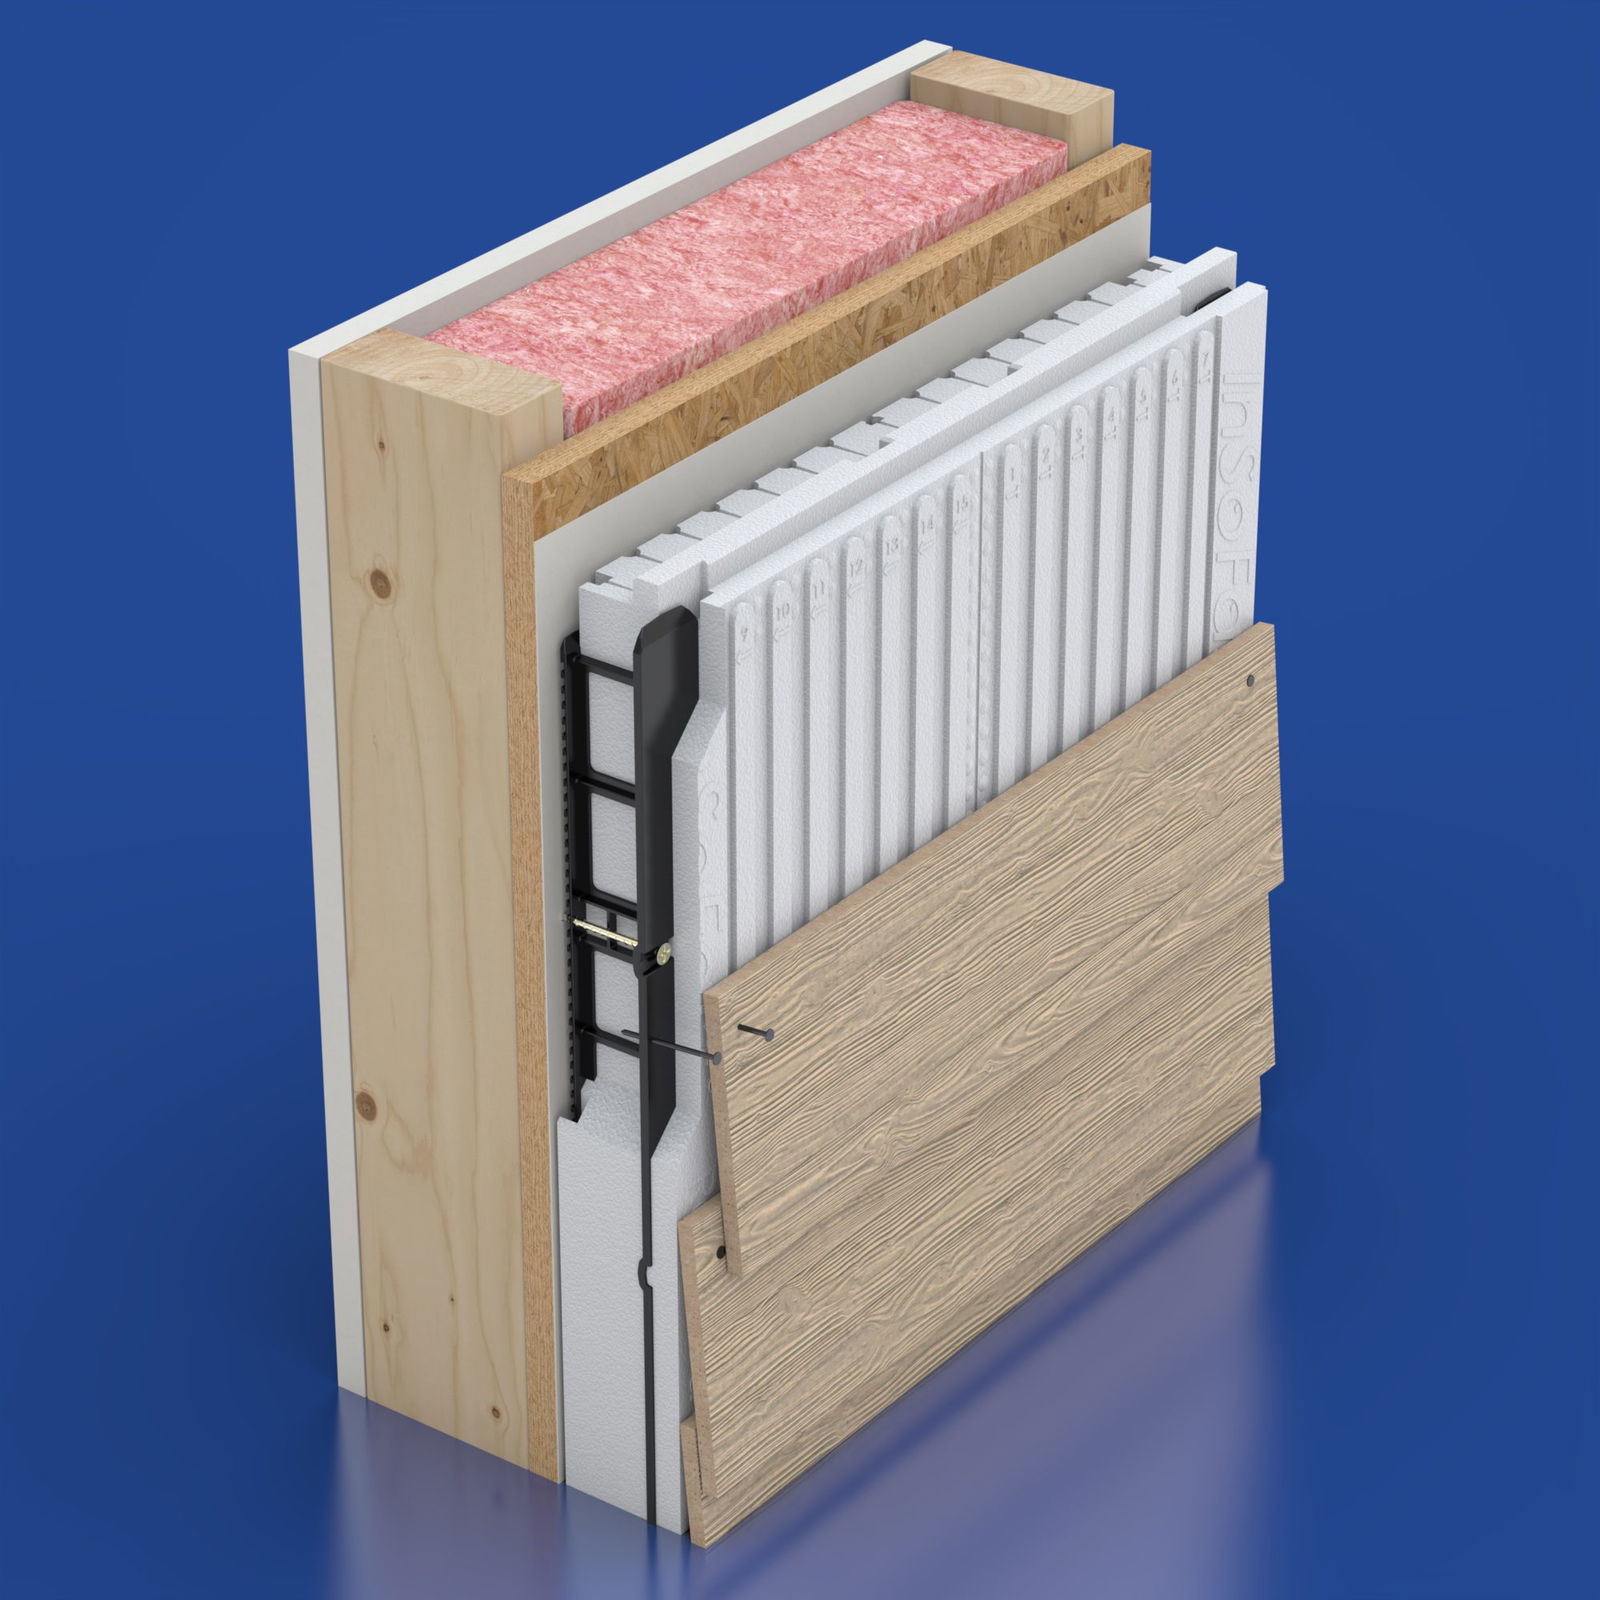
Add InSoFast. The EX 2.5 panels are an all-in-one solution to the rainscreen/insulation/attachment fiasco depicted above. Yep, it’s all there. This project requires 60 boxes priced at $73.60 each.
$99.40 x 60= $5,964.00
Starter Track
2. Product: Starter Trac w/Drip Edge, 2-1/2 inch, 8′ Length
This serves as your bug screen for InSoFast. It also provides a drainage area and nice place to rest your first run of panels. This project requires 15 starter tracks priced at $22.81 per 8 ft length.
$26.76 x 15= $401.40
Fasteners
3. Product: Grip-Rite #10 x 4 in. Phillips Bugle Head Coarse Thread Sharp Point Polymer Coated Exterior Screws
First, screw the panels to your structural sheathing. It’s always best to line up stud with stud and the EX’s embedded studs are located every 16 on center. Next, attach the siding to the InSoFast stud. This project requires 9 boxes priced at $25.64 each.
$25.64 x 9= $230.76
TOTAL MATERIAL COST= $6,596.16
4. Finally choose how hard you want to work.
So there you go! We highlighted each material and step to the last tack, nail and screw and the results blew us away. One more time, that’s $9,038.22 and a whole lot of work compared to $6,596.16 with our single interlocking panel. It’s a difference of $2,442.06 for a 2,400 square foot project. What else are you missing out on other than profit?
Believe it or not, we didn’t engineer our product to be cheaper. We were way more focused on eliminating all the complex variables that can muck up your good intentions. We wanted something simple and effective. A secure, future-ready investment. The overall cost and labor savings are just a bonus.