InSoFast panels designed with simplicity in mind. Cut and trim the panel to fits. Apply these simple techniques to all difficult cuts. This page will guide you through several videos that will show how the panels can be cut to fit around existing conditions.
Cutting the panel to fit around existing conduit
When working with existing conditions like metal electrical conduit the height of the panel can be cut to account for where the panel’s raceway and conduit will meet.
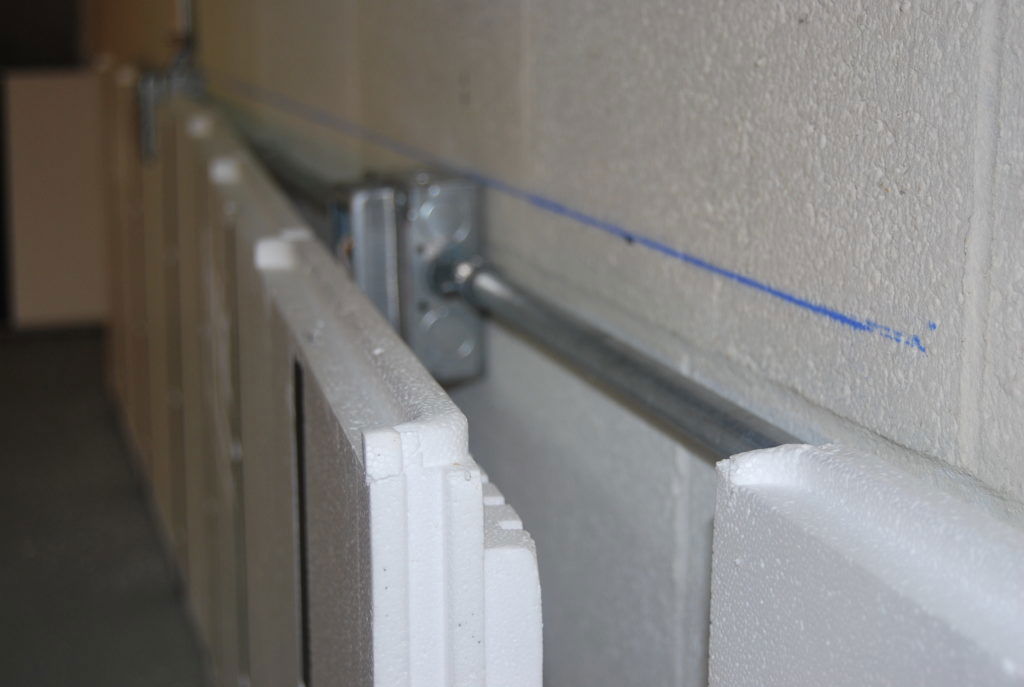
The blue chalk line is the top of the panel marked to indicate the height measured from the floor to adjust for the raceway’s location. We cut off 1 1/2″ from the bottom of the panel so to align the conduit to the raceway.
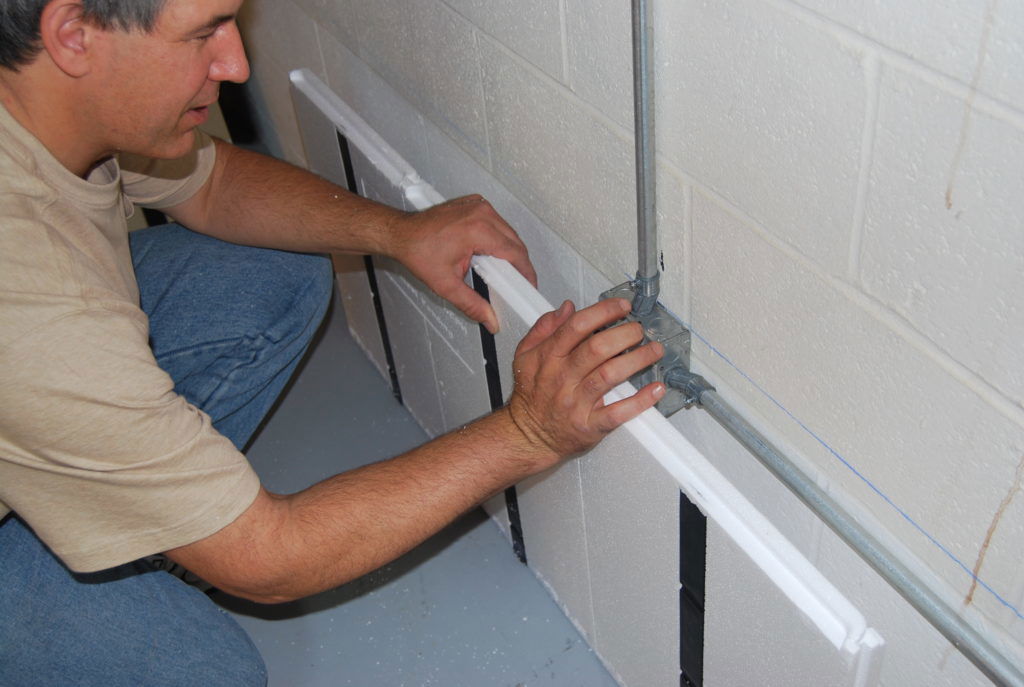
Ed presses the panel to the electrical box to indicate the foam needed to be removed from the panel.
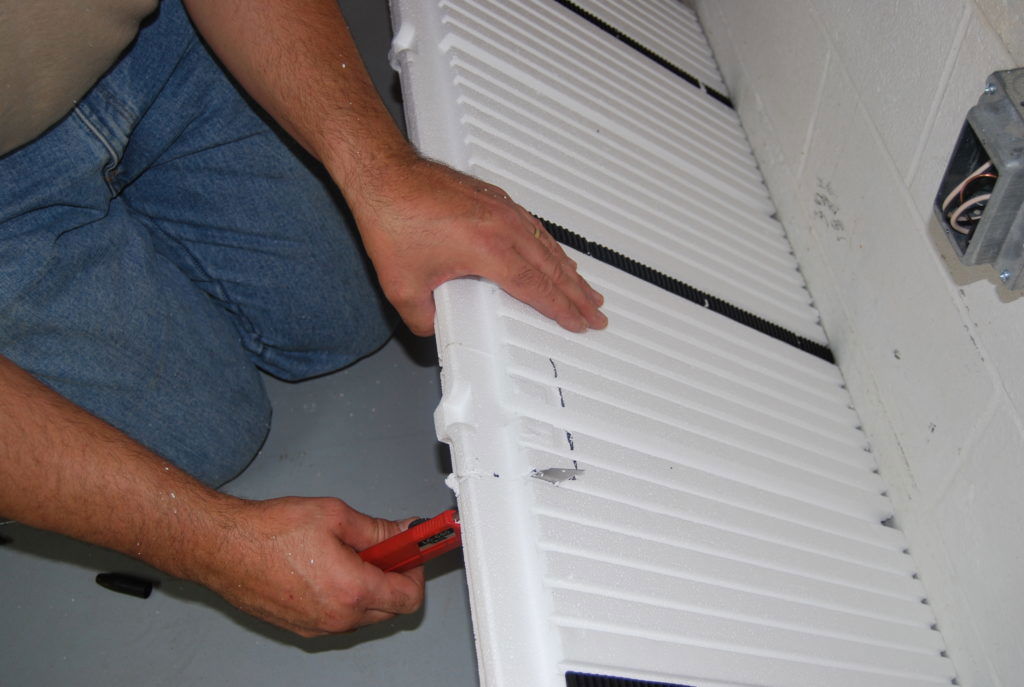

Remove the foam with a razor knife or saw.
Use templates to cut and trim the panels to fit
You can apply these techniques to all difficult cuts. InSoFast is very forgiving if you cut the panel wrong…glue it back together and cut it again.
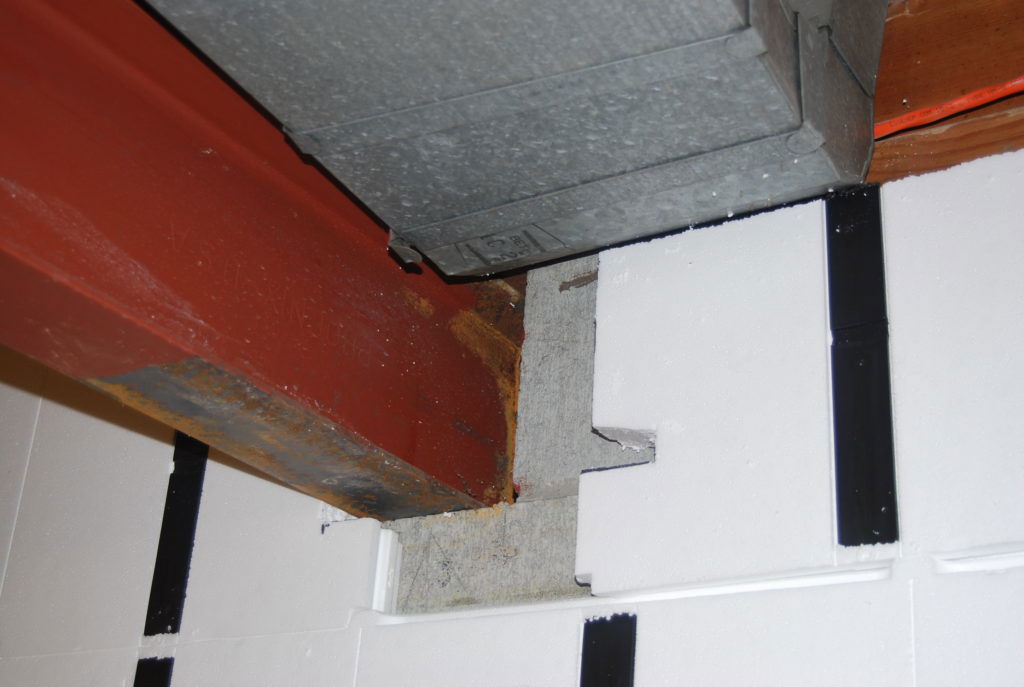
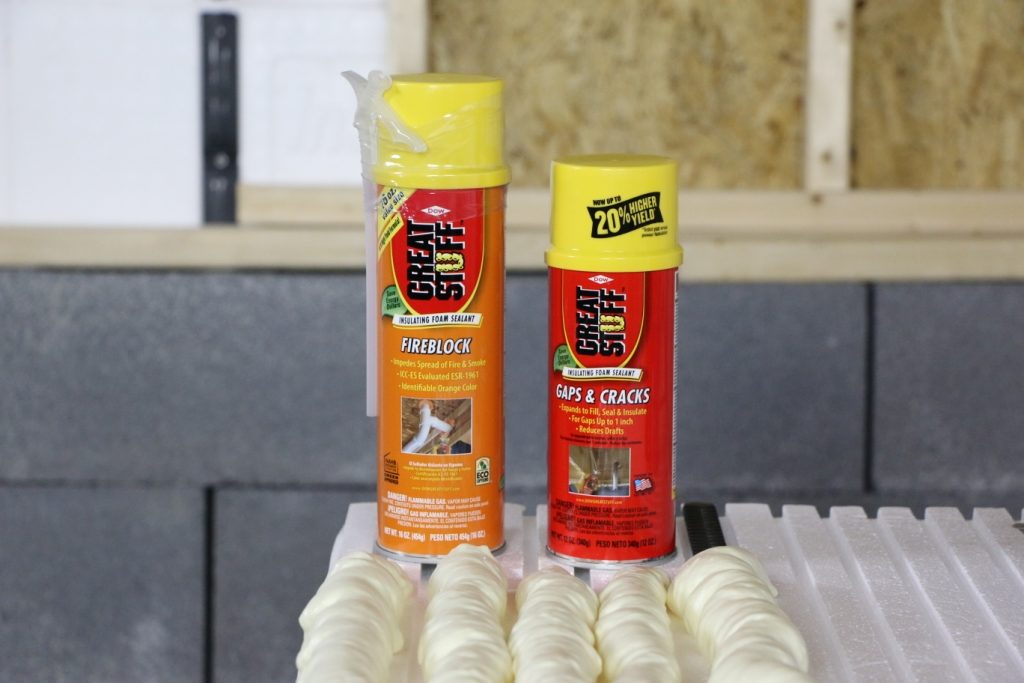
InSoFast is rough carpentry it is not finish work. It is OKAY to cut the panels a little larger, about 3/8″ larger, then fill in the gaps with spray foam.
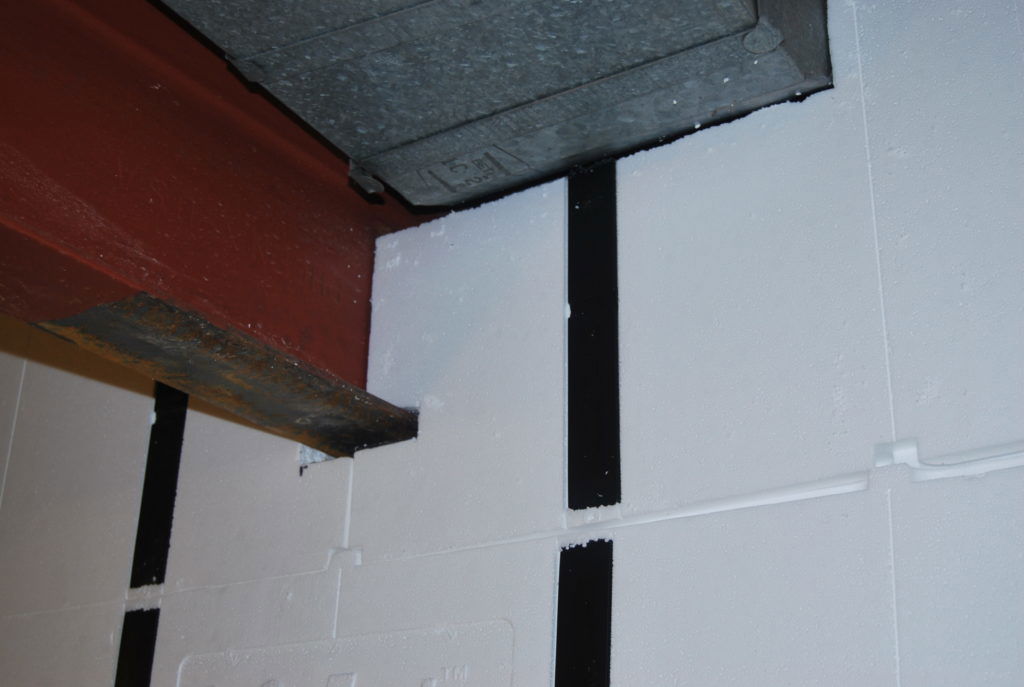
Working around bumps in the wall
Basic how to handle bumps or projection that can’t be removed.
Use a razor blade knife carve out the back of the panel to fit over bumps in the wall.
Cutting panels to fit at the top of the wall
8ft-high ceilings make for a very easy InSoFast installation. Because each panel is 2ft high, you won’t need any modifications at the top of the wall. In fact, this is the case for any ceiling height evenly divisible by two. 6ft ceilings, 10ft ceilings, 24ft ceilings: no modification are needed.

But what do you do with an uneven ceiling height? You have to cut the panels. Think of InSoFast panels as a carpentry shortcut for insulation and framing. It doesn’t have to be a masterpiece, it just has to work. The panels are designed to lock together in a tight pattern, but you shouldn’t feel discouraged from breaking this pattern if it makes more sense in your installation.
Cutting panels to fit at the top of the wall.

Measuring
Once you’ve reached the final row at the top of your wall, measure the distance between the ceiling (or joists) and the top-most “tongue” edge of the previous row of panels.
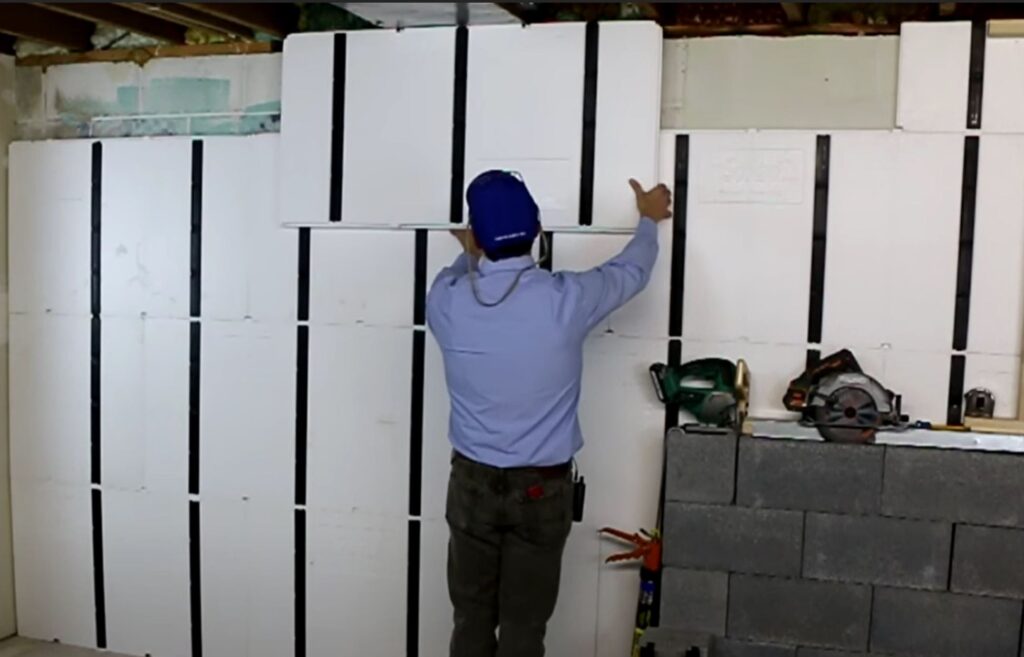
Here we turn the panel upside down to mark the size of the cut 12 1/4″ so we cut the panel short or shy 1/4″ to (12″) to accommodate for the tongue and groove interlock..
Note: Cutting the panels to fit between floor joists is time consuming and may leave an uninsulated air pocket. For information on how to properly insulate this area see our page: Technical > Interior Guides > Rim Joists
Measuring it by the “tongue” edge will give you a little extra space to be able to move the panel into place. Gaps and cracks should be sealed with an expanding foam later.
Pro Tip: You can get a good measurement by turning the panel upside-down and pressing its top-most edge against the ceiling. Make a mark directly on the panel where it meets the “tongue” edge of the previous row. When you flip the panel right-side up again, the mark will denote the height at which it should be cut in order to fit the imperfect space. See the video above for a visual demo.
Cutting
Use the measurement to cut the last row of panels horizontally. You will likely need a hand saw or power tool to slice through the embedded studs.
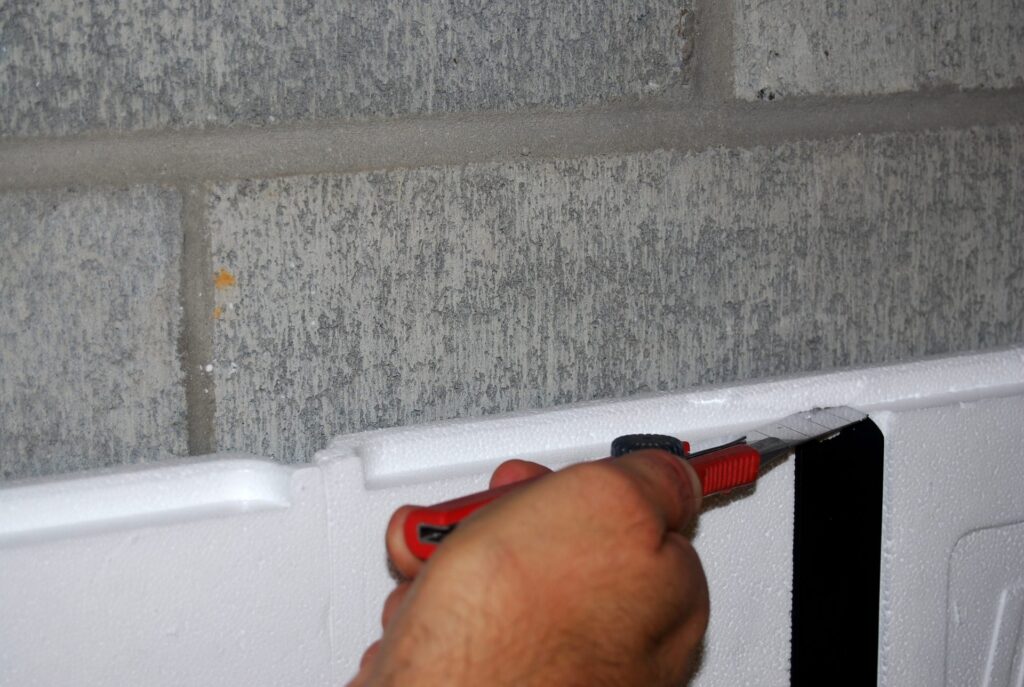
If your scraps do not have a way of interlocking with the “tongue” edge of the previous row, you can use a razor blade to remove the tongue. By removing the tongue, you will have a more even block surface to fill-in with a scrap panel. Gaps and cracks should be sealed with an expanding foam later.
Installing
Install the “bottom half” of the newly cut panel in the final row. The bottom half will still include the interlocking “groove” edge that meets the “tongue” edge of the previous row.
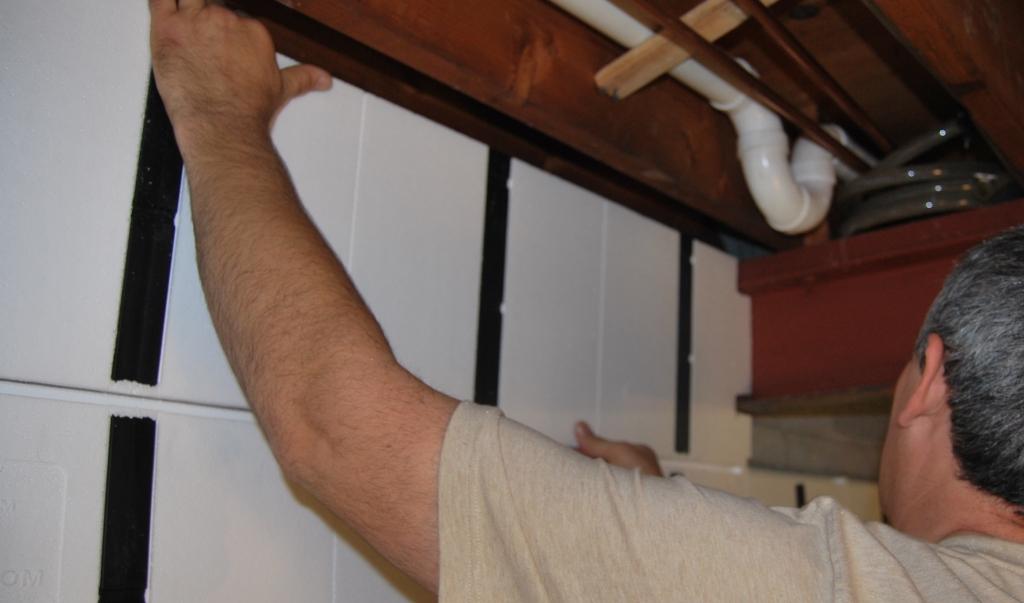
Because your cut was made to the “tongue” edge, you should have a little extra room to place the panel. Gaps and cracks should be sealed with an expanding foam later.
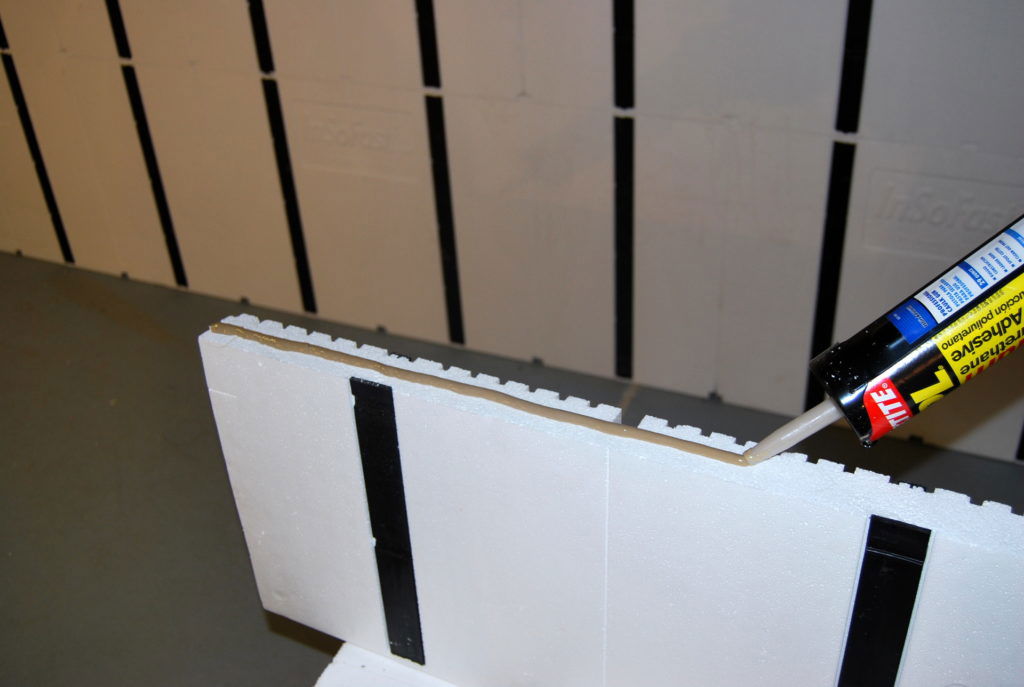
You can add a bead of adhesive to the panel before you place it at the top of the wall.

Using scraps
Don’t discard any scraps made from cuts until you’ve completely finished your installation. InSoFast scraps are highly re-usable
- From Ceiling to Floor:
If you made cuts to meet an imperfect ceiling height, use the other half of the cut pieces as the first row of a new wall. This section is considered the “top half” of the cut panel. Its cut edge will sit on the floor, while its top edge will meet the next row of panels. The top should have an intact interlocking “tongue” edge. - Scraps without interlocking edges:
If most of your walls are complete and most of your fresh panels have been used or cut, you can use scraps to meet the imperfect ceiling height. You will essentially follow the same procedure for measuring and cutting as listed above with variations dependent on availability of panel interlocks.
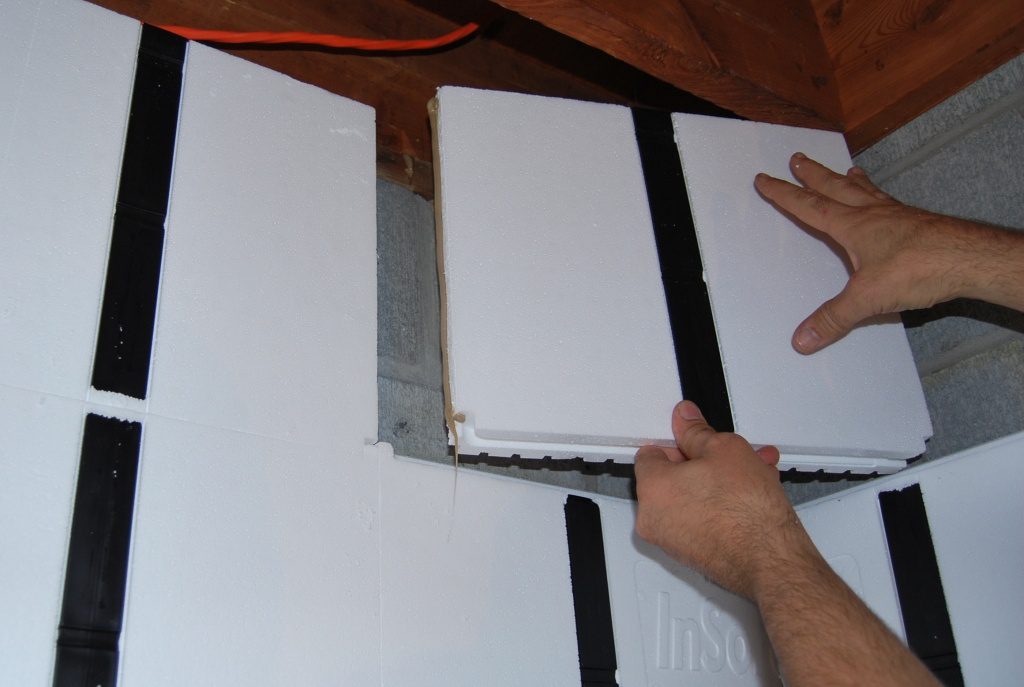
Cut, carve, and reshape the panels as much as your walls require. Any gaps, cracks or imperfections can be sealed later with expanding foam.
