Installing a Wood Buck into a Container
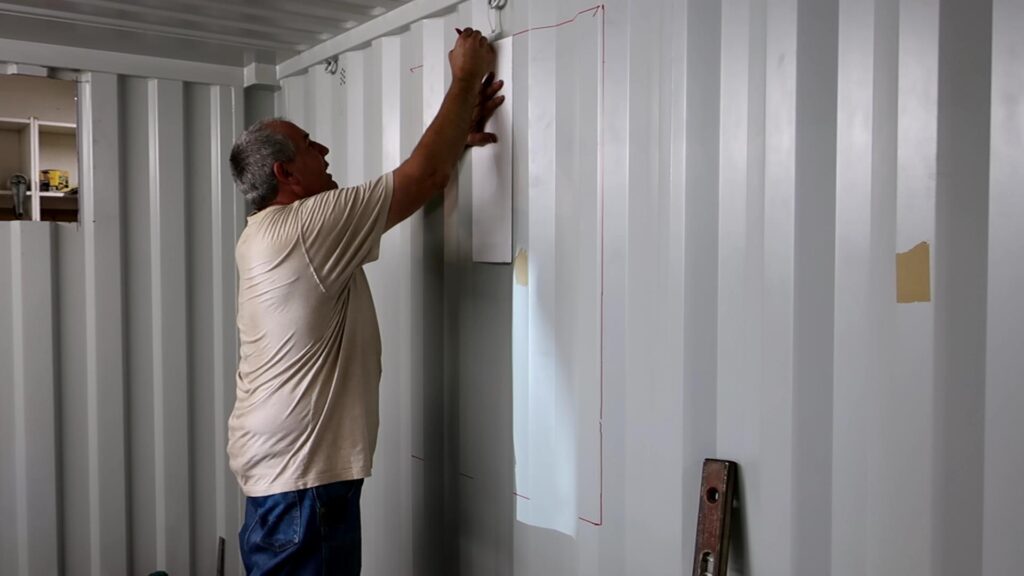
Determine your window layout first
We suggest that you adjust your openings to the right or left up and down to simplify other steps later on. If you invested in a sample kit use the side wall insert to help you mark your layout lines.
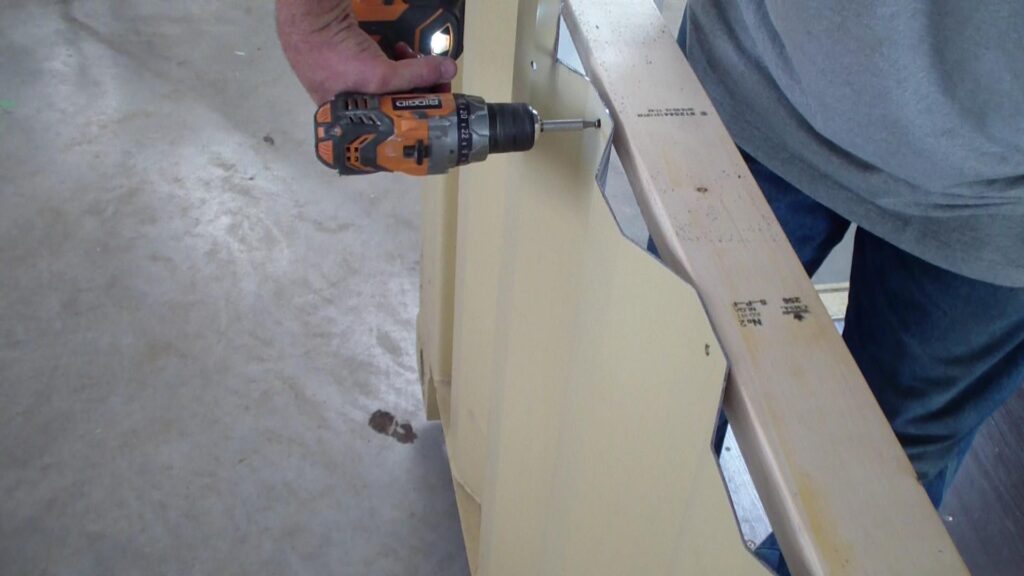
After the layout is determined. Pre-drill holes through the containers steel walls before you cut out your opening. After the opening is cut the remaining steel wall will not give you firm support making drilling holes a little bit harder. The pre-drilled holes are for attaching the wood buck later.
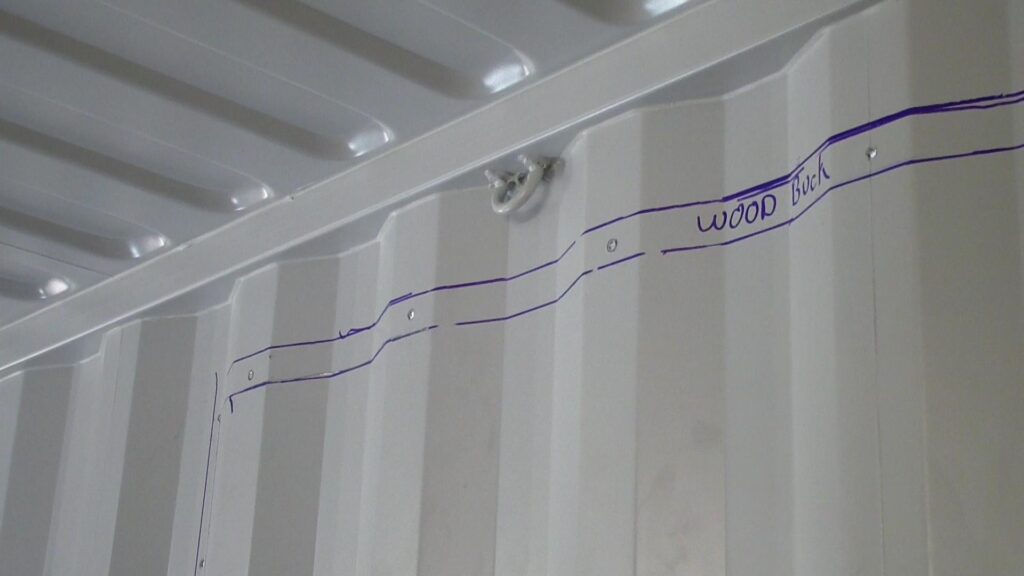
In this application we are insulating the interior and exterior of this container. To accommodate the extra wall thickness we choose 2×6 wood bucks for strength and thermal properties. Wood is a better insulator than steel and we wanted to reduce the chances of condensation.
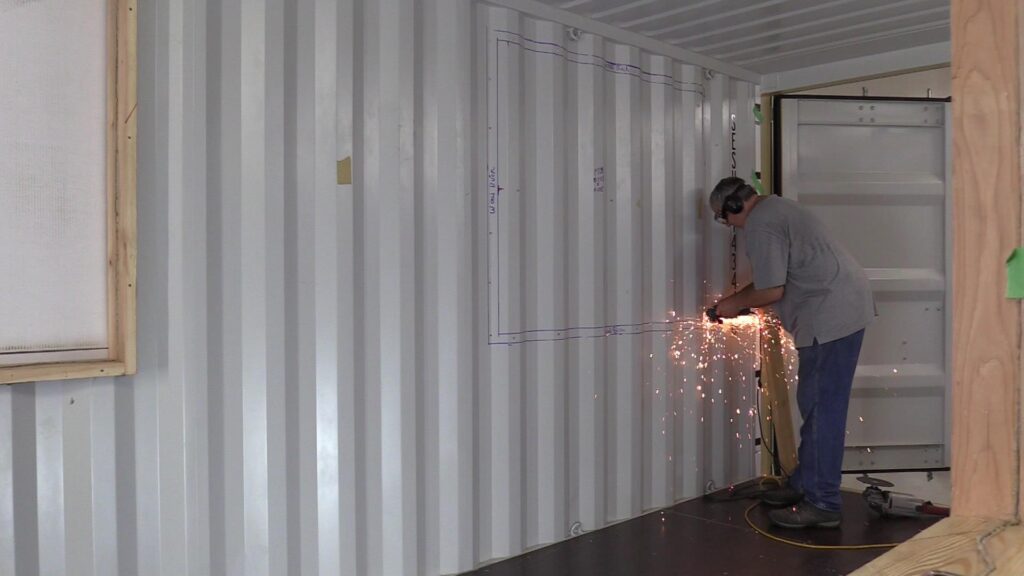
Methods for cutting through a container
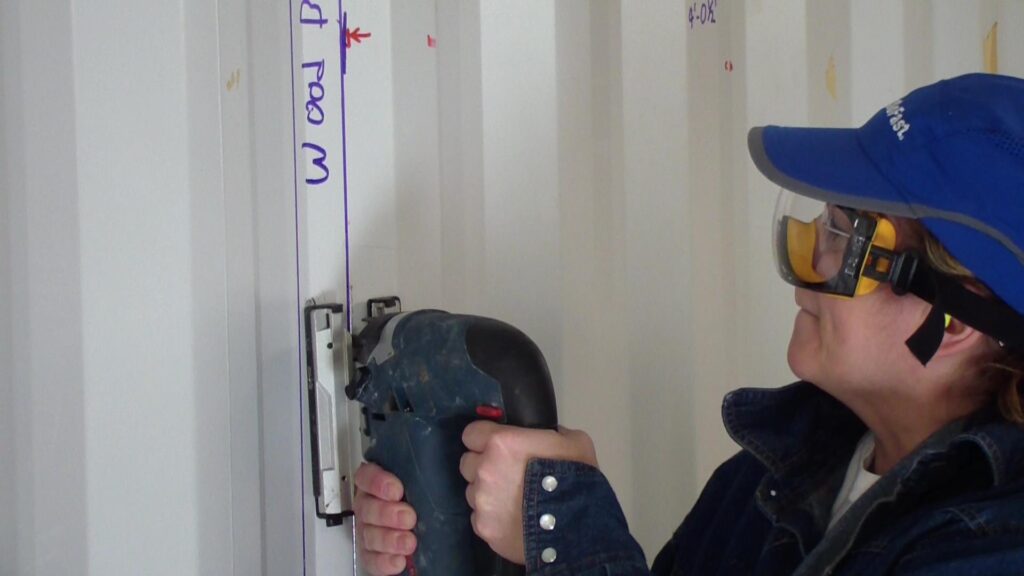
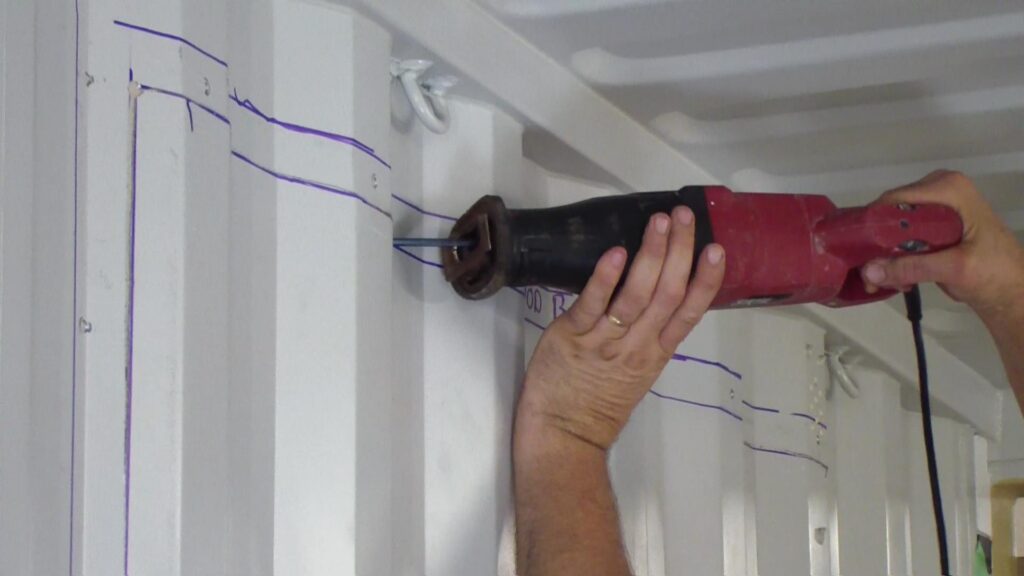
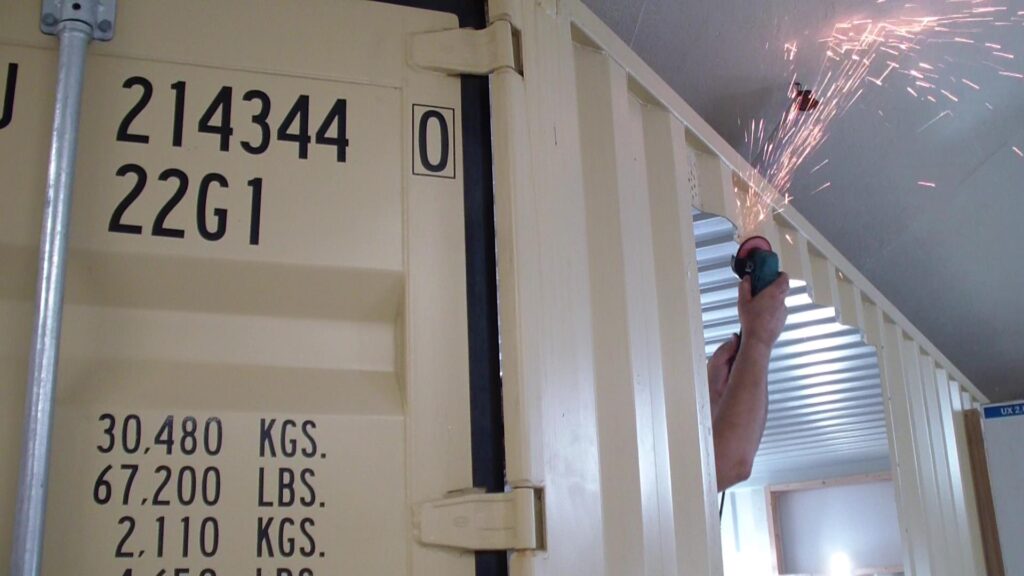
In this section we will show different methods and tools for cutting through a container. It is not to be considered an endorsement or the best way to cut out your openings. It is always best experiment to see what will work best for you. For us an angle grinder worked well for starting the holes for the saw blade cuts. We also used a drill to pilot a hole to start a cut.
A Jigsaw worked well but the blades dulled quickly and was kind of slow. It is worth the investment to buy a higher quality a metal cutting blade.
Reciprocating Saw or Sawzall with a “Edge” blade worked very well had more power and worked faster.
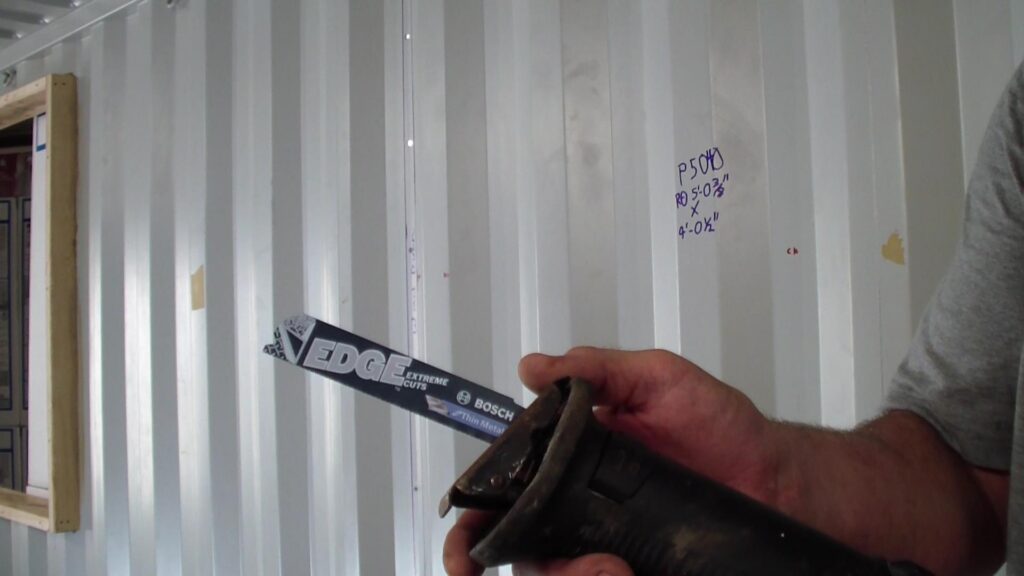
The metal gauges in a container varies so we recommended different blades for thinner the metal sidewalls with 20-24 teeth per inch, or try a medium thickness blade for between 10-18 teeth per inch, and for very thick metal, like the square tube or flooring beams a blade with around 8 teeth per inch will work better.
We used an angle grinder to smooth out the sharp cut edges.
How to create a corrugated template for cut-outs
We used a 2×4 to straighten the floppy corrugations and to provide an accurate straight edge for the template.
Mark the 2×4 at 2″, centering the 2×6 wood buck over the corrugation.
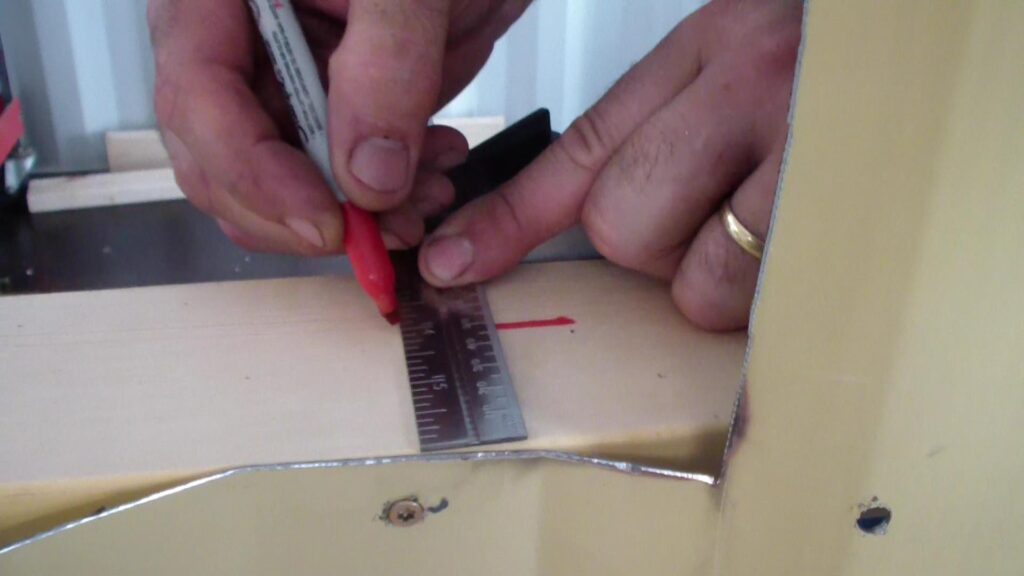
Mark the 2×6 lumber on both sides of the steel to trace out a cut line for the jig saw cut.
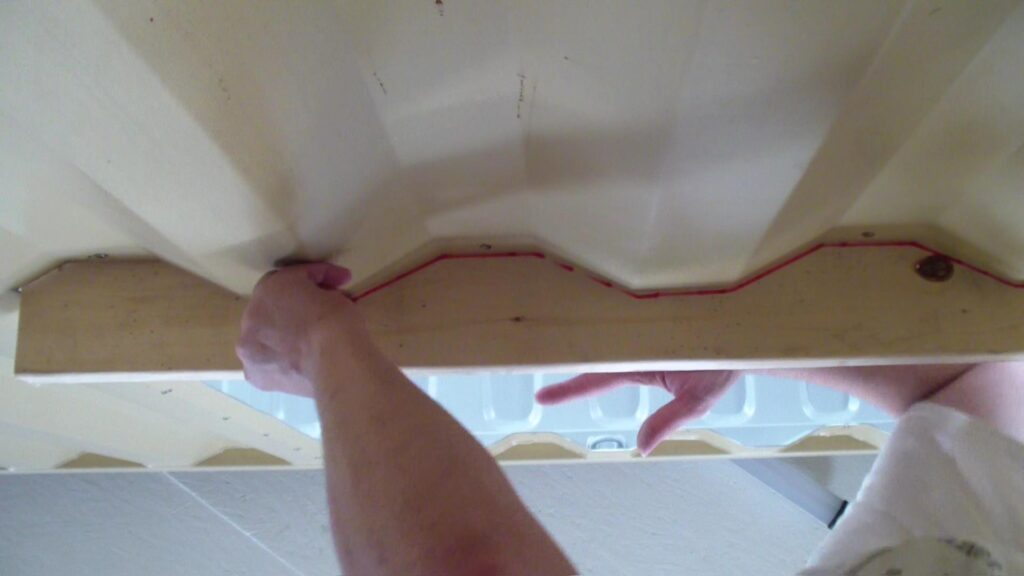
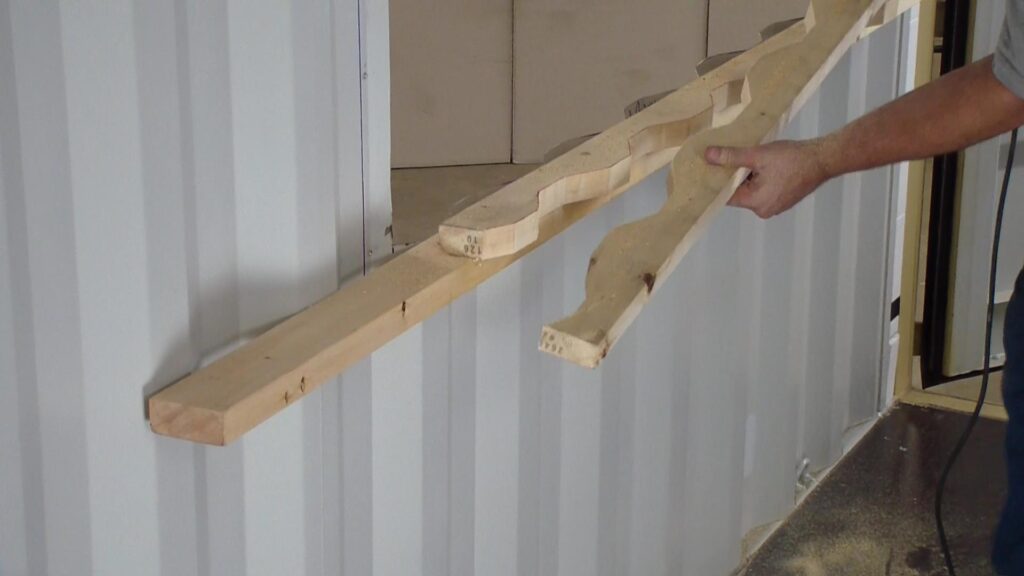
Cut the 2×6 for the corrugation pattern to fit the window opening.
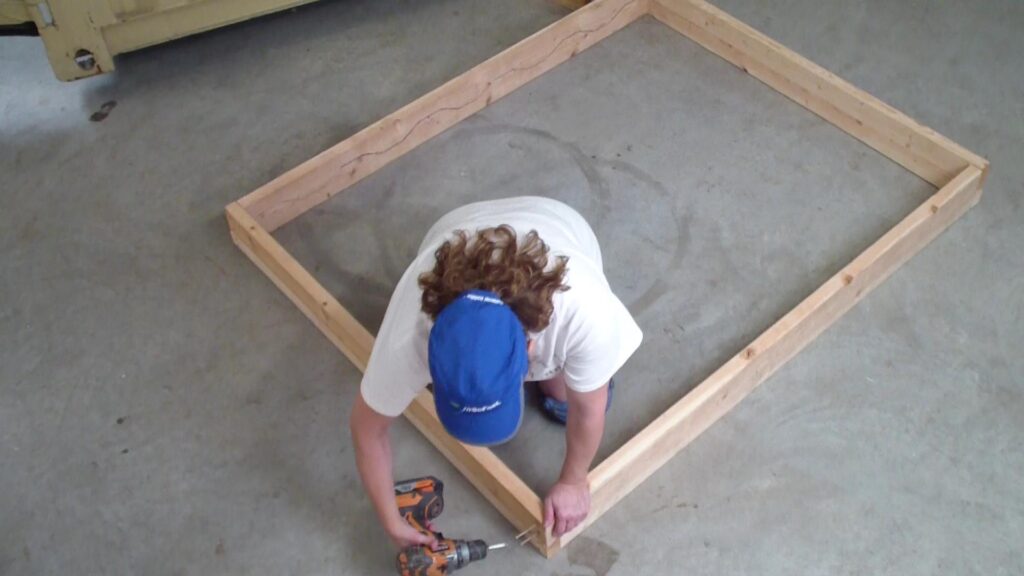
Assemble your wood window buck
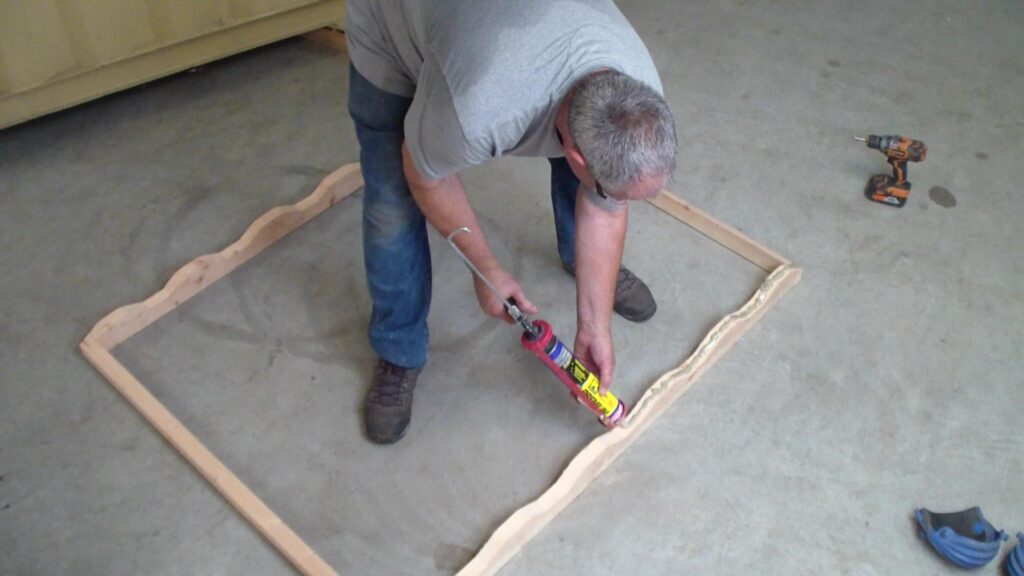
Build your interior and exterior wood bucks on a flat level surface.
Put a generous bead of the Loctite PL Premium onto both halves of the wood buck. This will provide a tight air seal and bond.
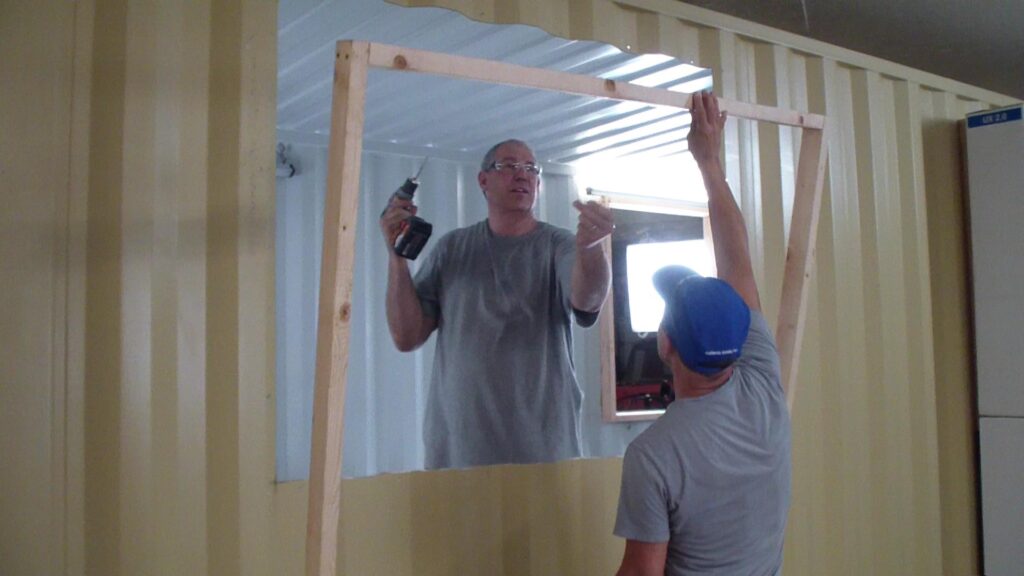
Attach the exterior 1/2 of the wood buck through the pre-drilled holes in the container wall.
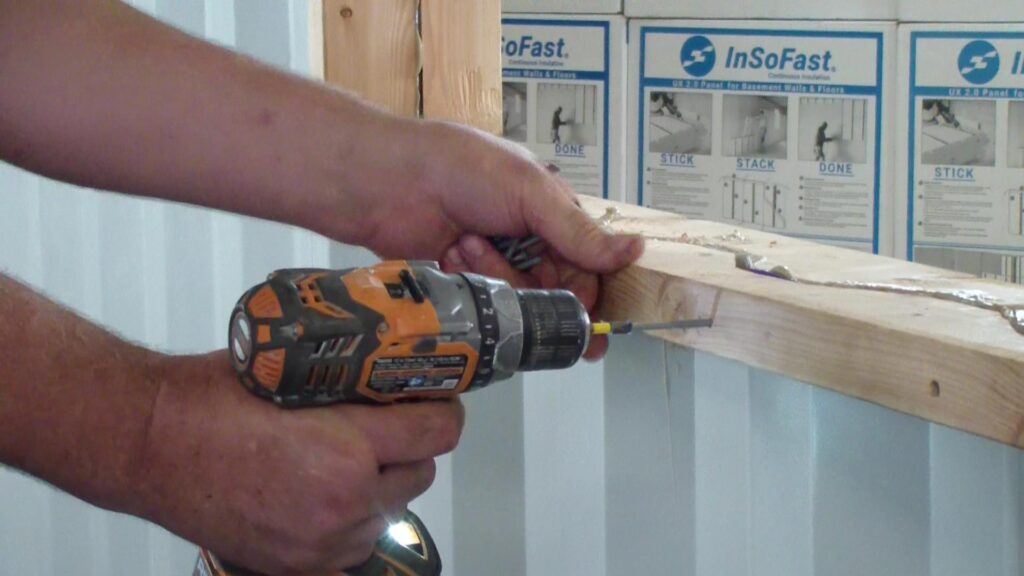
Attaching wood bucks with engineered fasteners
Fasten the exterior portion of the wood buck through the pre-drilled holes in the container.
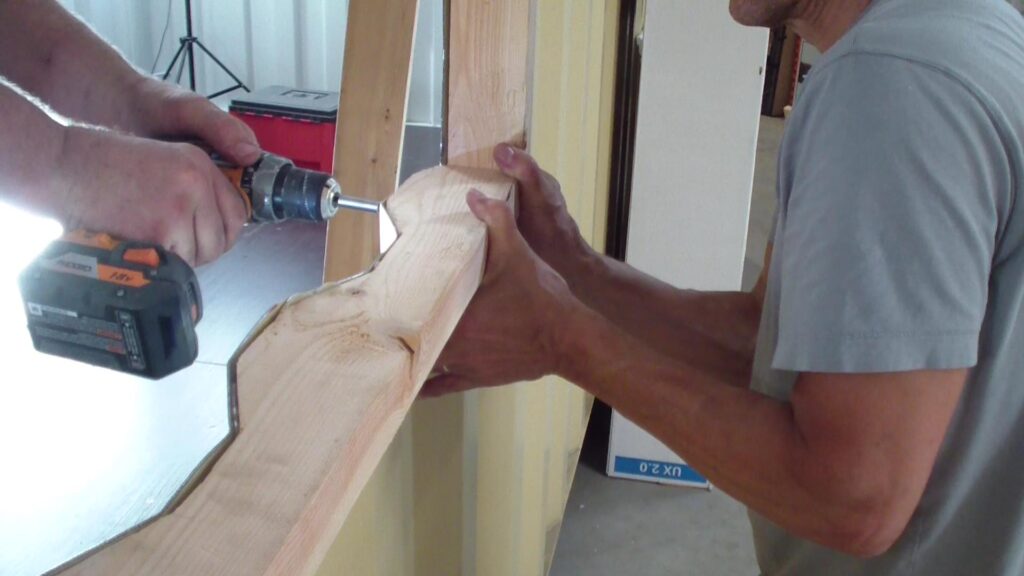
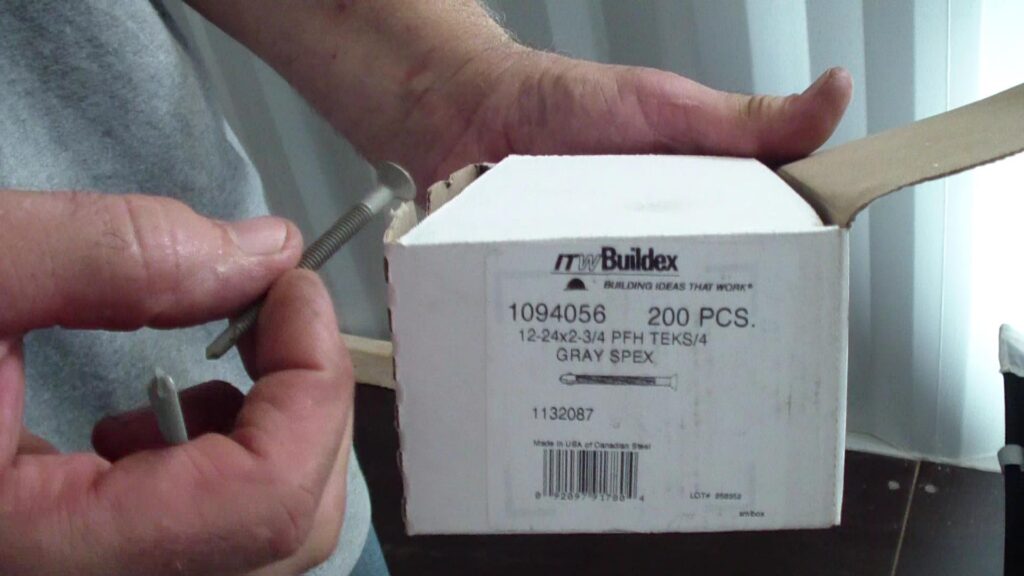
To fasten the interior half of the buck we used special fasteners for ITW with a drill bit and metal wings that over drill the wood then break-off to allow the screw to anchor itself to the steel container wall.
Manufacture’s Tech Sheet: TEK ITW buildex_Wood-to-Metal Fasteners.PDF

The interior 1/2 of the wood buck’s 2×6 holes were counter sunk.
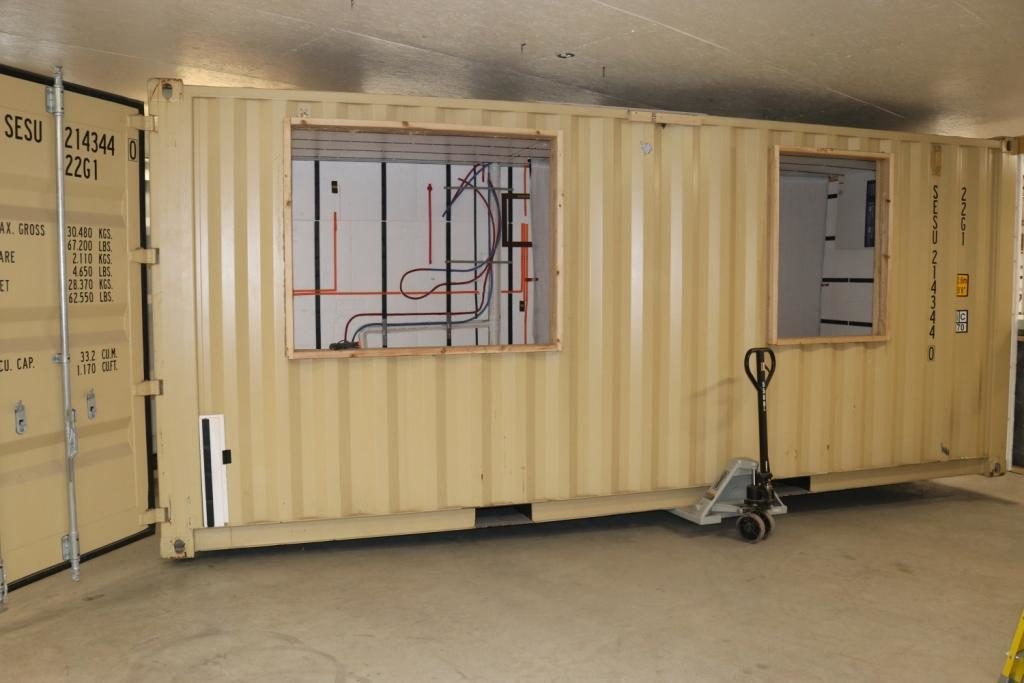
The window bucks are complete and ready to finish. Next step is to insulate the interior walls with the CX44 panels.
Manufacture’s Tech Sheet: TEK ITW buildex_Wood-to-Metal Fasteners.PDF
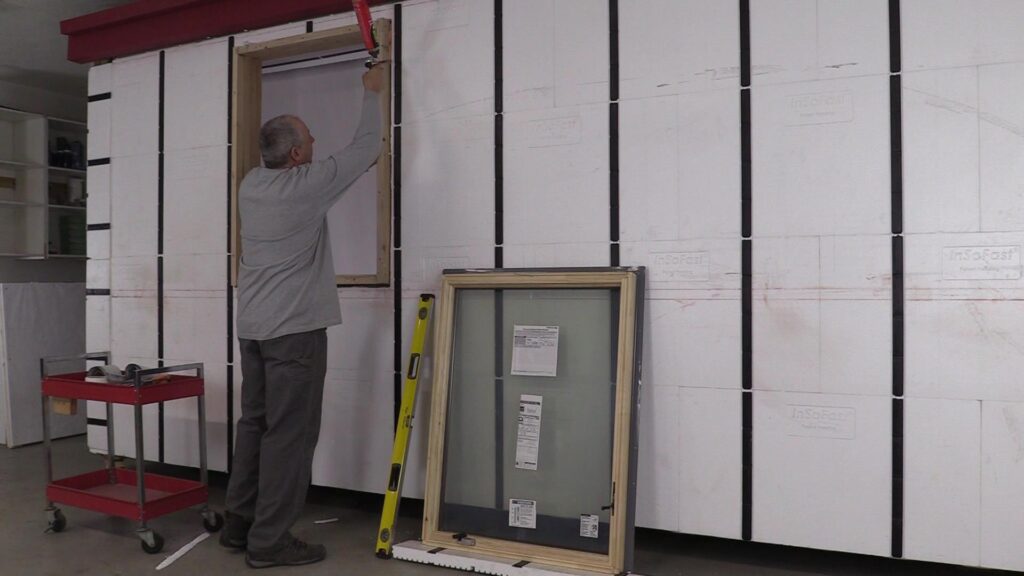
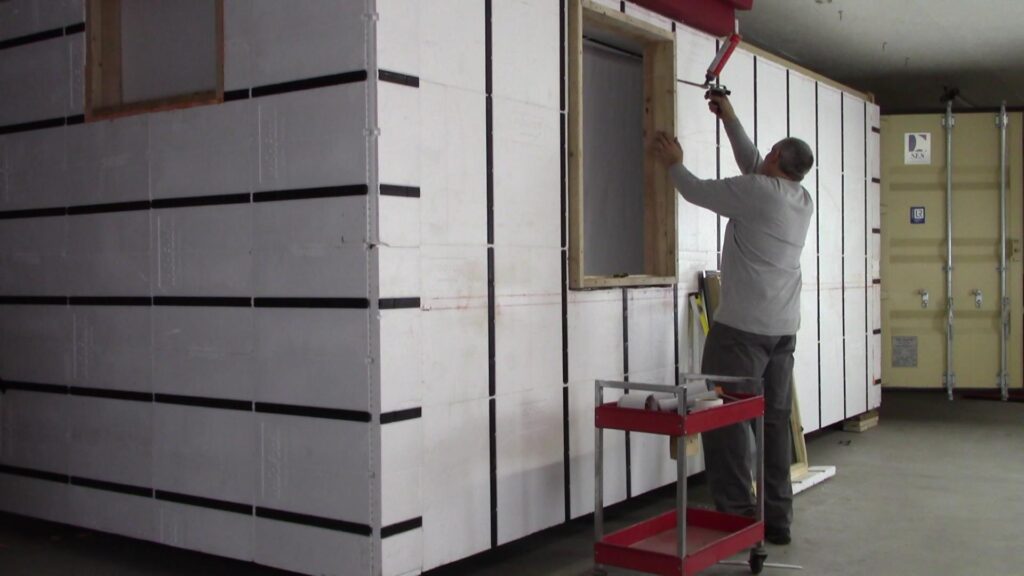
Un-insulated exterior window flashing method
Alternate application method for flashing a window without exterior siding.
Mark a horizontal line on the container above the window,
apply the paintable butter grade flashing to the window frame. Embed the polyester fabric into the wet flashing. Remove the painter’s blue tape.
Installing Flashing Over the Wood Buck
Window and doors installed using one of two approaches
Window and doors are typically installed using one of two approaches:
- Barrier system installation or:
- Managed moisture drainage system installation.
InSoFast prefers a managed moisture drainage system for flashing windows. Engineered and redundit systems approach manages small amounts of water through or around the window openings, draining the water away from the interior. A Barrier system can be made to work too. Barrier systems rely on perfect installation techniques to deflect all moisture. Although this is not to be considered an endorsement or the best method to flash a intermodal window opening their may be better applications for your unique condition. Always flash your windows to the window manufacturer’s instructions.
Why use a wood framed window buck
We use wood bucks for strength and thermal properties. Wood is a better insulator than steel and we want to reduce the chances of condensation.
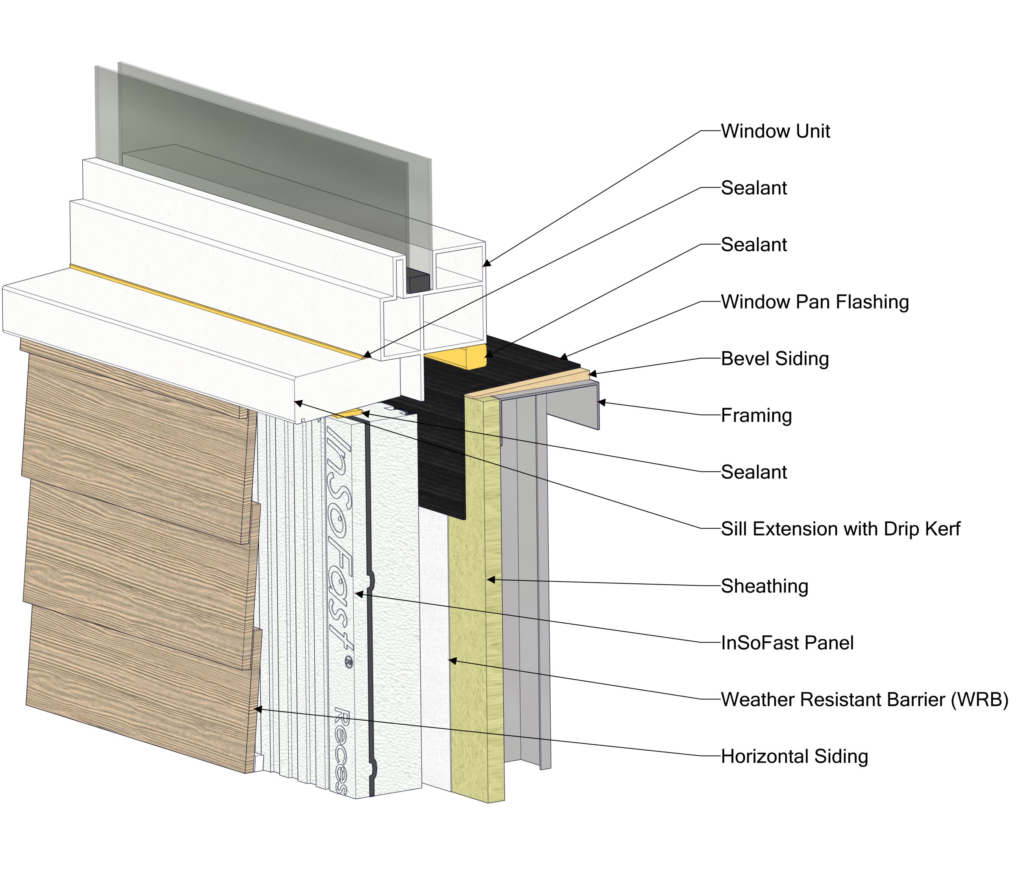
Water Managed Sill Details
For the sill we incorporated a back dam that slopes and drains water away from the interior of the conex shipping container.
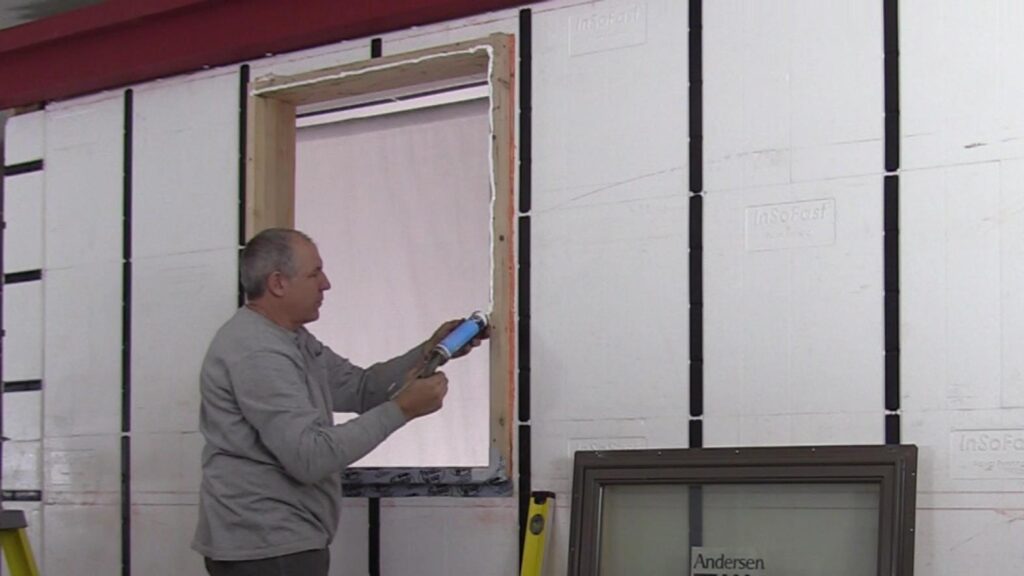
The Importance of Air Sealing
The Importance of Air Sealing
All windows and doors should be air sealed around their entire perimeters expanding foam sealant.
Typical Window Sill Flashing Detail
Installing the Window
Apply Window Sill Flashing
Apply Window Sill Flashing
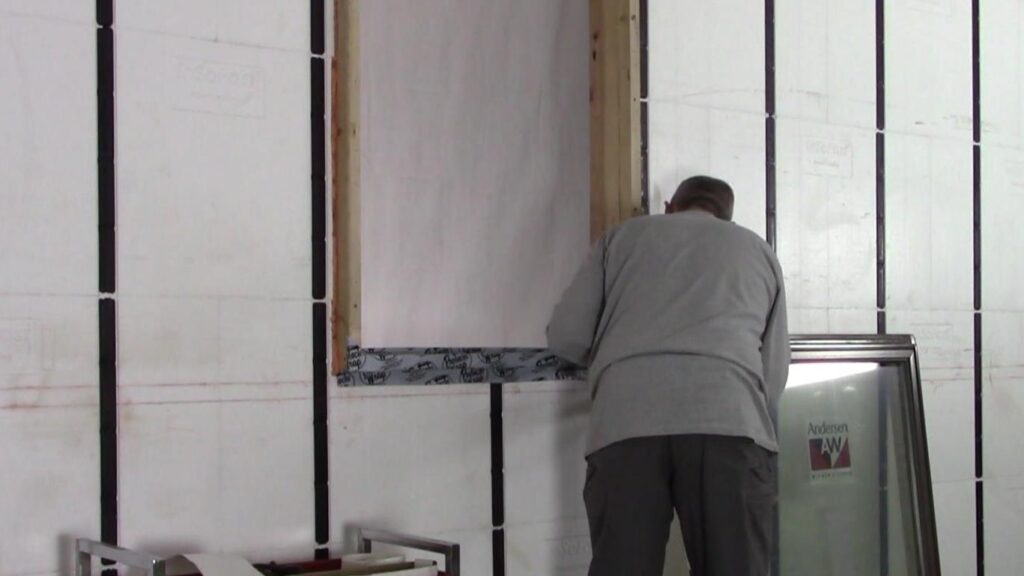
Apply a self-adhesive flexible flashing tape engineered for doors-windows. Reinforcing the inside lower, corners of the window with an extra piece flashing membrane. Adhere to the flashing manufacturer’s best practice guide lines.
For more in-depth information also review: Exterior Window Detailing Page
Window installation
Window installation
Follow the window manufacturer’s installation guidelines and caulk the window opening leaving the sill open for drainage. Shim or lift the window off the sill to allow for moisture to drain away.
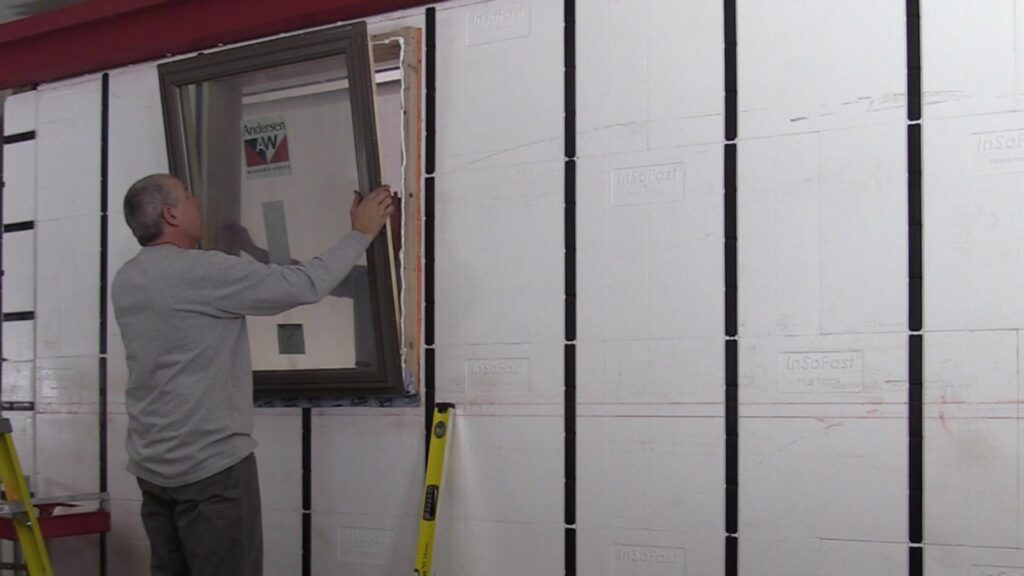
Check to ensure your window is properly sealed and that it will open and close before you proceeds.
Plumb and level the window
Plumb and level the window
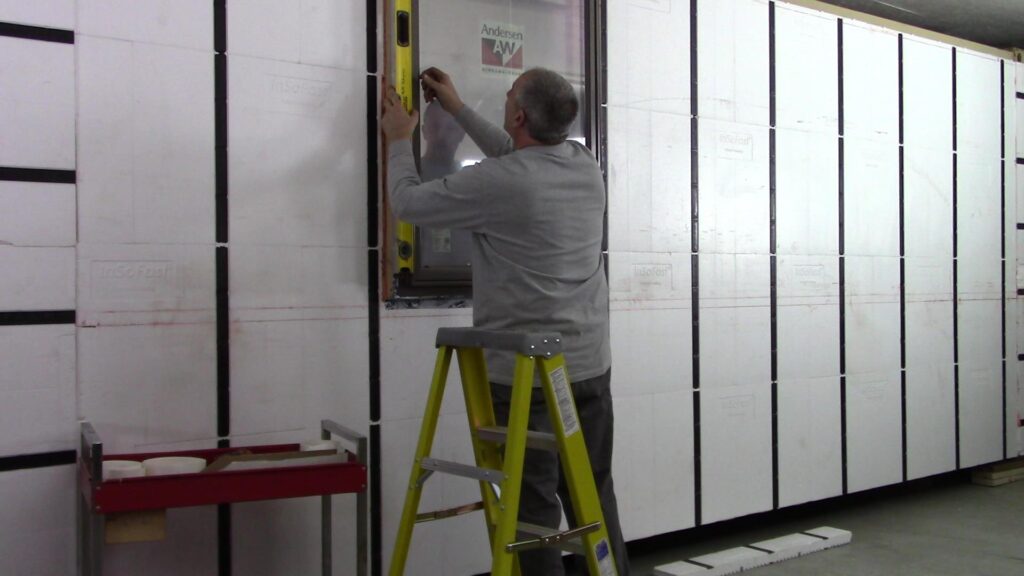
Make sure your window is plumb and level before you mechanically attach it (screw it in) to the wood frame.
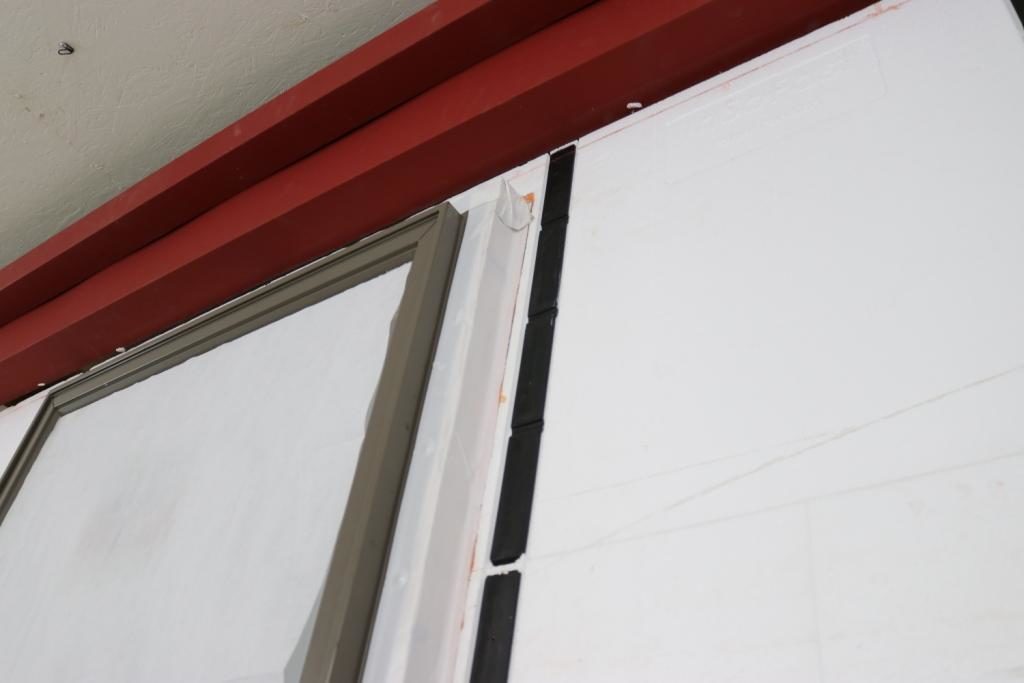
Add the flashing tape around the window
The final step is to add the flashing tape around the window.
Un-insulated exterior window flashing method
Alternate application method for flashing a window without exterior siding.
Mark a horizontal line on the container above the window,
apply the paintable butter grade flashing to the window frame. Embed the polyester fabric into the wet flashing. Remove the painter’s blue tape.