CX44 Exterior Installation:
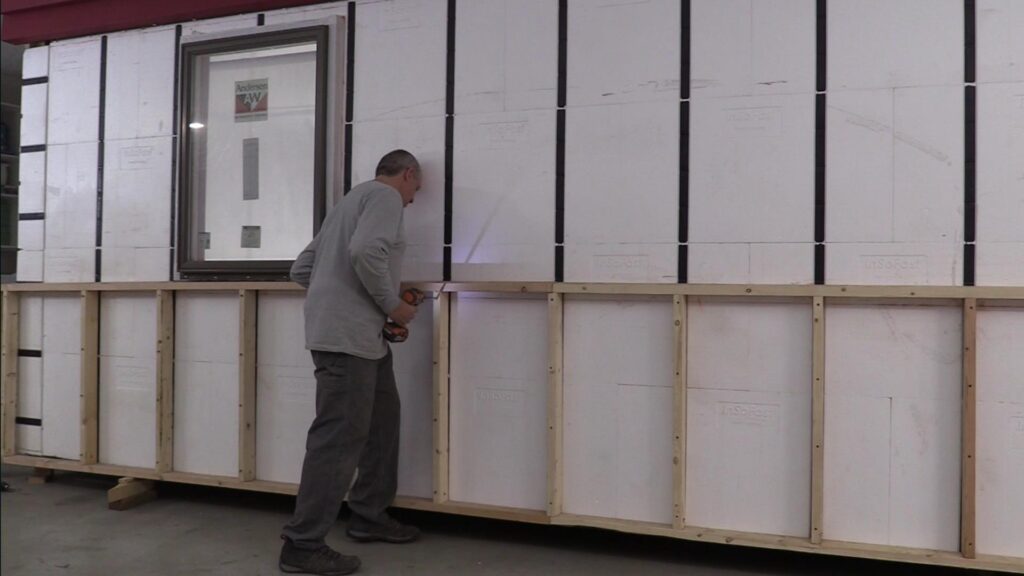
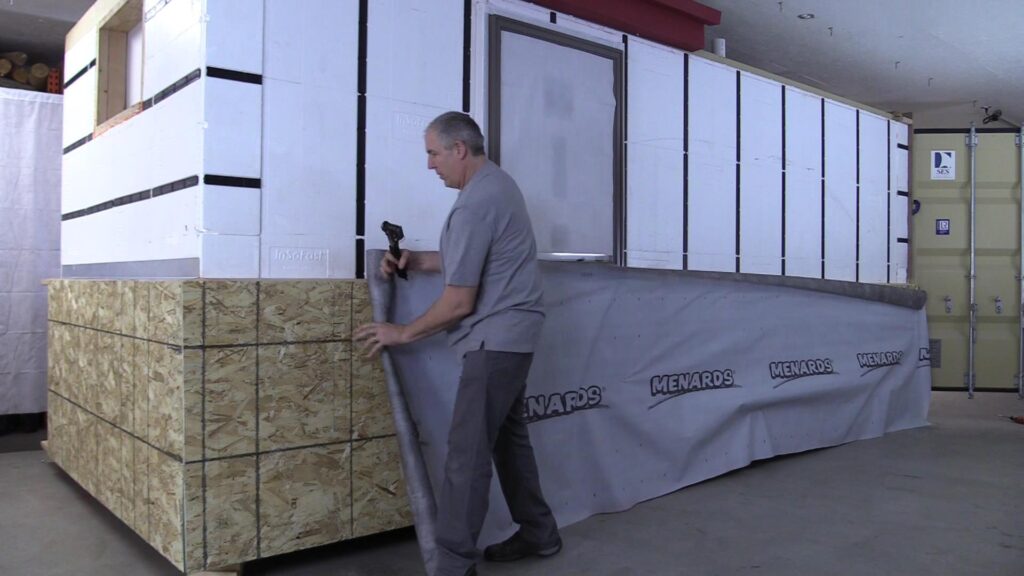
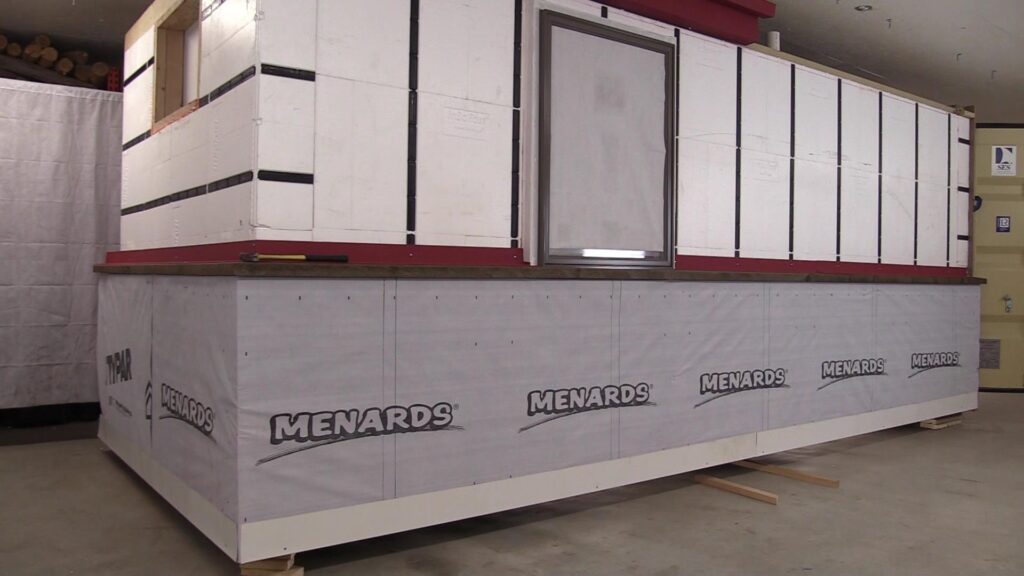
The InSoFast CX Container Panel is designed for the side walls of most shipping containers. The CX panels are set up for an 11" repeating pattern of the corrugation and the panel size is 44" x 24". They are installed horizontally with the studs running vertically. Lay out the first row of CX panels to determine the fit to the container. Variations in the corrugations may require the panels to be trimmed or spaced out slightly. Leave a 1/4" gap to allow for spray foam sealant.
Before You Glue
Dry fit and adjust your panels to fit. Use a razor blade knife to fit around cargo hooks, dents, weld seams or other protrusions.
Start by gluing the bottom rail panel foam support that was cut and fitted in the insulating the bottom rail. Apply glue in a 3/8" bead using an "S" pattern.
Place a 3/8" bead of adhesive on the stud on the exposed dove tailed ribs on the backside of the CX44 panel.
Since there is no stud at the cut ends of the panels, an additional bead of PL Premium 3x is applied at the start and end of each wall.
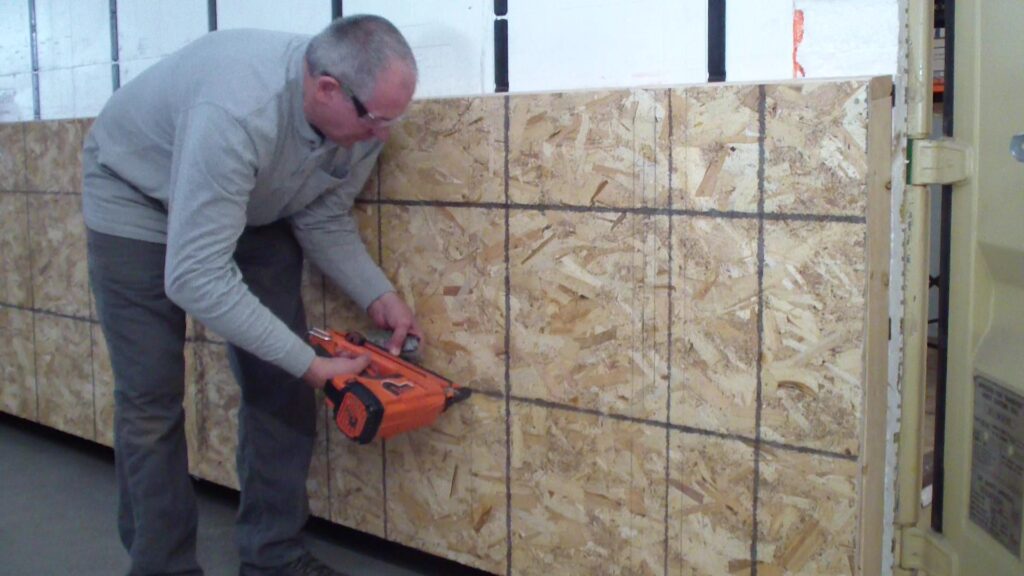
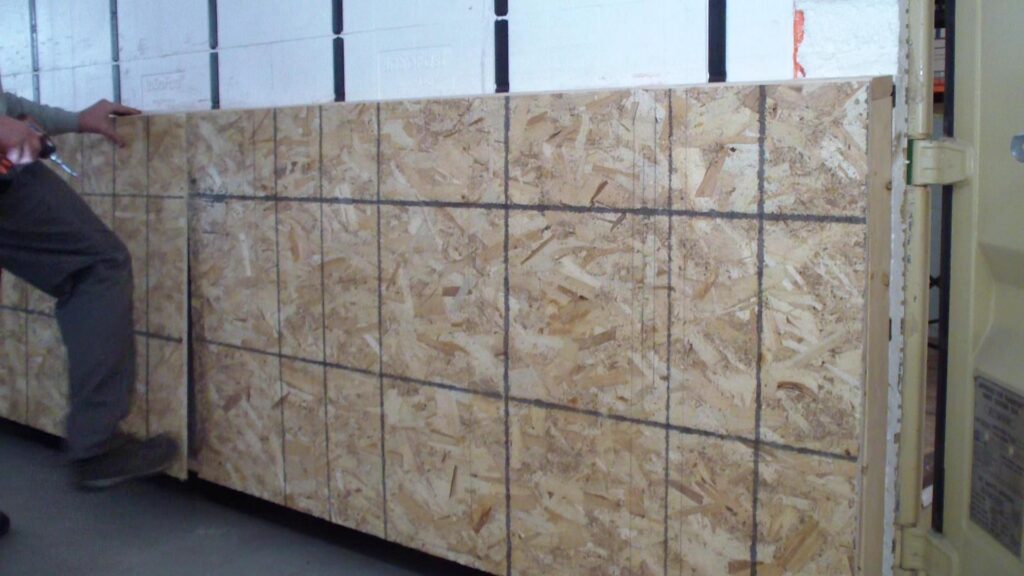
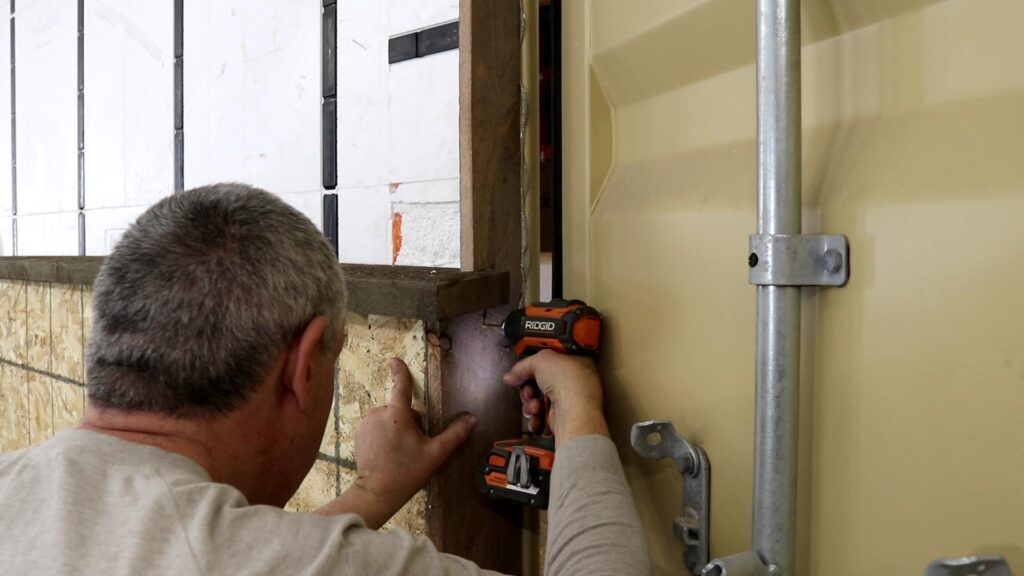
The CX44 panel will not work for the end wall and door frame without modification. Here we used the UX2.0 panel to handle the flat surface areas. Additionally the horizontal studs work well for the finish trim and outside corner treatments.
Here we glued the studs and all the outside edges so the panel so ti is solidly attached to the corner.
Secure and brace the panels until the adhesive sets.
Also see Pages; Insulating the bottom rail
How To Links:
Interior
Exterior
The Recommended Adhesive:
Loctite PL Premium
LOCTITE® PL PREMIUM® POLYURETHANE CONSTRUCTION ADHESIVE
![]() |
![]() |
Green Guard Certified Adhesive:
One of the many reasons we recommend Loctite PL Premium is it has the GREENGUARD Certification. It is important to us that you use an adhesive that has low chemical emissions, you are building in an airtight shipping container, improving the quality of the air you breath is kind of important.
InSoFast panels were designed with simplicity in mind and we would argue that gluing them is not only the easiest method of installation but often the most effective. Third-party testing has shown the adhesive bond strength of our studs to have 108psi of holding power. This means each adhered panel is capable of holding over 5,000lbs!
In Canada the Glue is LePage PL Premium
Testing was conducted using Loctite PL Premium’s 3X Stronger Construction Adhesive, (in Canada it is marketed under the LePage PL Premium brand,) on clean concrete surfaces. It is the only adhesive we have tested. Other formulas and brands may not work as expected.
Estimating Adhesive Quantity
Estimating the amount of adhesive YOU will use has variables beyond our control like condition of your walls and how accurate are you with a glue gun? The example below is for one side wall of a 20' standard height shipping container you will need approximately 3 tubes of the adhesive. That is in a perfect world. PL Premium 3x adhesive is applied in a ⅜" bead on the backside of the studs onto the ribbed surfaces. We realize that a 3/8" bead of glue is very subjective. It is important that there is enough adhesive to squish the dovetails on the back side of the stud when pressed to the container wall. Adhesive follows the "Goldie Locks rule, too much, too little, and just right. If you are doing just right you can expect that 1 large 28-fl oz tube will cover 18 of our 24" long studs or enough glue at a 3/8" bead to cover 36 foot long bead of glue.
Additionally you will have to estimate for glue around openings like windows and doors.
1 large 28-fl oz / 828 mL tube = 18 (24" studs or inserts)
- CX 44 (22 panels with 2 studs each plus 8 end wall edges) = 52
- 52 ÷ 18 = 3 tubes of the adhesive
To verify that enough adhesive is used, press the panel into place. Pull the panel back and check to see if the adhesive has spread out beyond the full width of the stud. It is normal for the panel to "float out" from the side of the container when it is accommodating irregularities in the container walls. Additional adhesive may be necessary in some areas.
LOCTITE® PL PREMIUM® POLYURETHANE CONSTRUCTION ADHESIVE Rough estimate for 28 ounce tubes of adhesive required | |||||||
Container | CX 44 Side Walls | End Wall and Inserts | Ceiling and Inserts | Swing Doors | Floors | Total without doors and floors | Total Estimate with doors and floors |
20' Container - Standard | 3 Per side total 6 | 2 1/2 | 6 1/2 | 3 | 7 | 13 | 23 |
20' Container - High Cube | 3 Per side total 7 | 2 1/2 | 6 1/2 | 3 | 7 | 14 | 24 |
40' Container - Standard | 6 Per side total 12 | 2 1/2 | 13 | 3 | 14 | 28 | 45 |
40' Container - High Cube | 6 Per side total 13 | 2 1/2 | 13 | 3 | 14 | 29 | 46 |
Important Notice: Container Surface Temperature Applications
When bonding EPS and XPS foam insulation, use above 40°F (4°C) and avoid cure and surface temperatures above 90°F (32°C). Surfaces must be clean, dry and free of frost, grease, dust and other contaminants. Pre-fit all materials and protect finished surfaces. If using cartridge format, cut nozzle at a 45° angle to desired bead size and puncture inner seal. Be very careful not to allow Loctite® PL® Premium to cure on a finished surface.
Cold Weather Tips:
Interior Installation
Heating the interior of the container will not be sufficient for the adhesive to cure because the insulation panels will not allow heat to transfer to the container surface. It is recommended to either move the container to a heated area or tent and heat the exterior until the adhesive has cured.
Exterior Installation
The interior of the container can be heated until the adhesive has cured.
Interior and Exterior Installation
Install the exterior panels first while heating the interior. Allow adhesive to cure before installing interior insulation.
Wear gloves. Cured adhesive on bare skin will not come off immediately with washing and will cause skin to darken. Cured adhesive and discoloration will come off in about 3 days.
Clean tools and uncured adhesive residue immediately with mineral spirits in a well-ventilated area to the outdoors. Remove cured adhesive by carefully scraping with a sharp-edged tool.
PDF Instructions and other Guides
Blog Posts
InSoFast Plus Method
Need a higher R-value? No Problem! Start with a base of InSoFast continuous insulation panels they are feature-rich and easy to install. Then add rigid foam insulation over top of InSoFast panels.