Endwall Inserts Installation
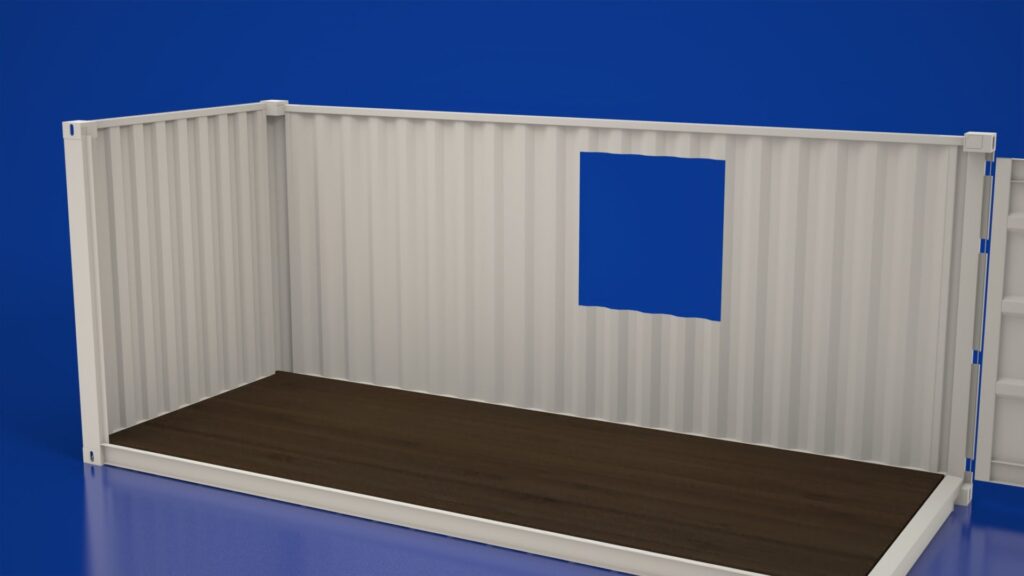
Follow the same instructions for Container Interior Endwall Insert Installation.
Flat Panel & Insert Installation
Insulating Exterior Endwalls
Insulating the exterior endwall of the shipping container is a multi-step process. Starting with endwall Inserts and the choosing either the UX 2.0 or EX 2.5 flat panel. 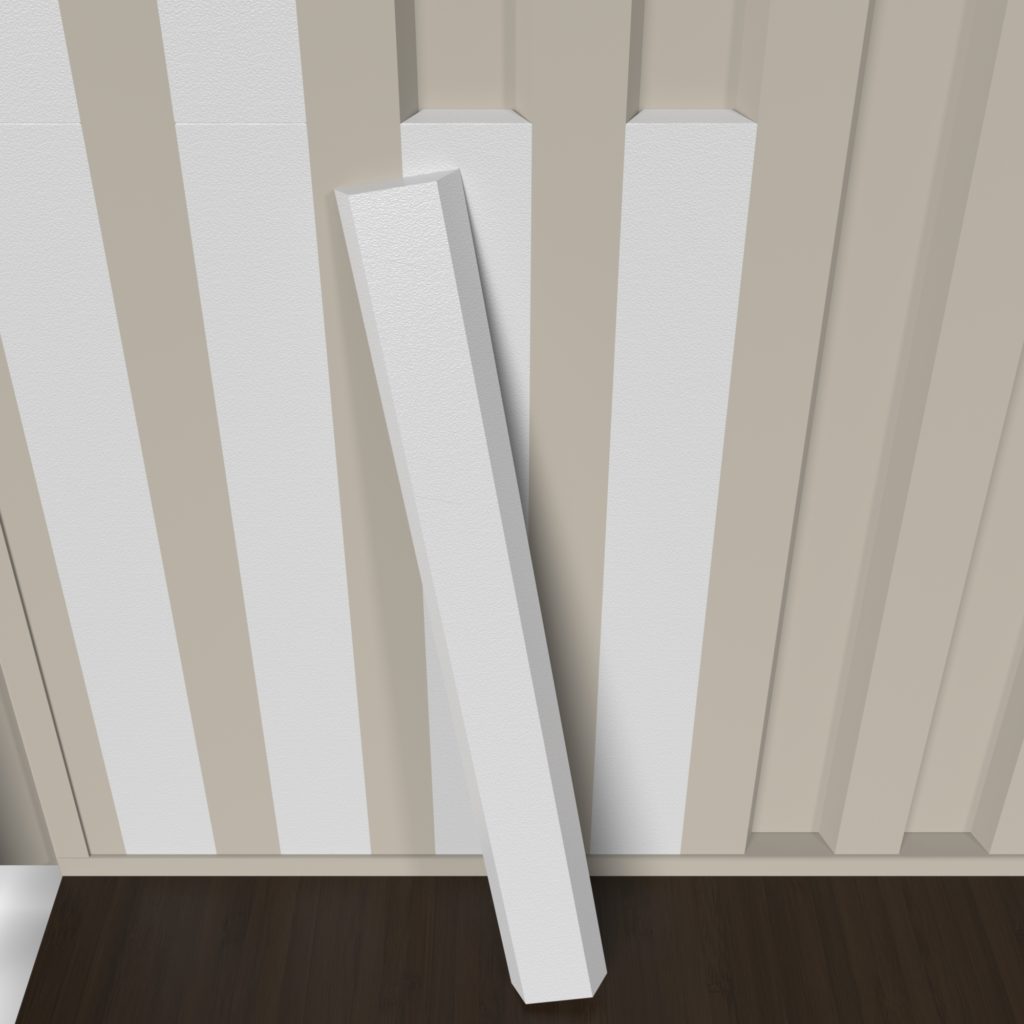
Chose either the UX 2.0 or EXi 2.5 Flat Panels
These panels are 48″ x 24″ and are installed on end wall.
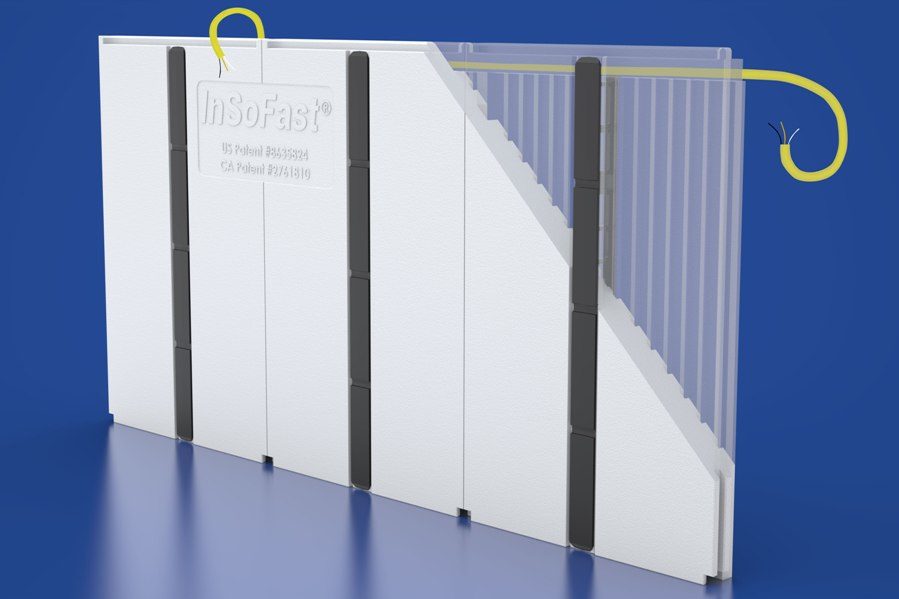
UX 2.0 Flat Panels
2″ thick of closed-cell, injection-molded EPS foam body achieves R-8.5 insulation The UX2.0 is our thinnest flat profile panel, optimized for flat surface finishing. The UX 2.0 is adapted for shipping container construction or other unique applications.
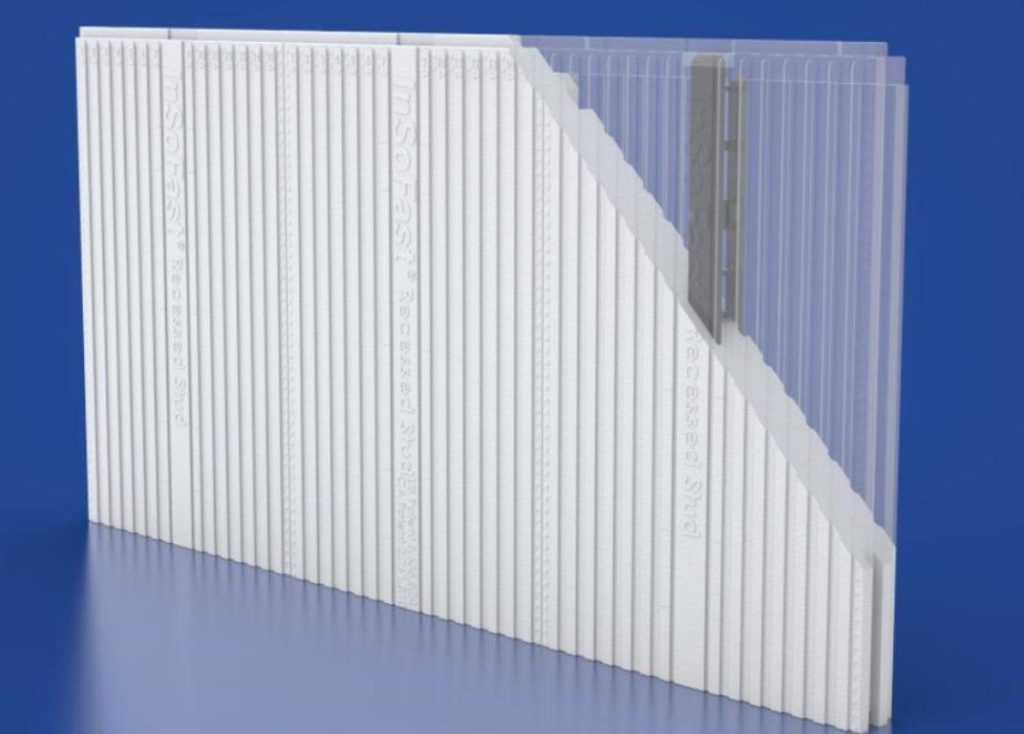
EXi 2.5 Flat Panels
2 1/2″ thick of closed-cell, injection-molded EPS foam body achieves R-10 insulation. The EXi Flat Panel is optimized for flat surface finishing. The panel can be adapted for shipping container construction or other unique applications. It is a good choice as a base panel for the exterior applications.
Install all openings like window before you insulate
First Things First
Safety Precaution: Cut out all openings in the container and complete any welding, cutting or grinding operations prior to installing InSoFast panels. Do not expose the foam insulation or plastic studs of InSoFast panels to the flames, heat or sparks generated by welding, grinding or cutting on the steel container after panels have been installed. See this page for in depth instruction for installing wood bucks. MORE
Before you glue make sure your panels lay flat and flush
Glue the Endwall Inserts
Lay a bead of adhesive in an “S” pattern down the center of the backside of the End Wall Insert.
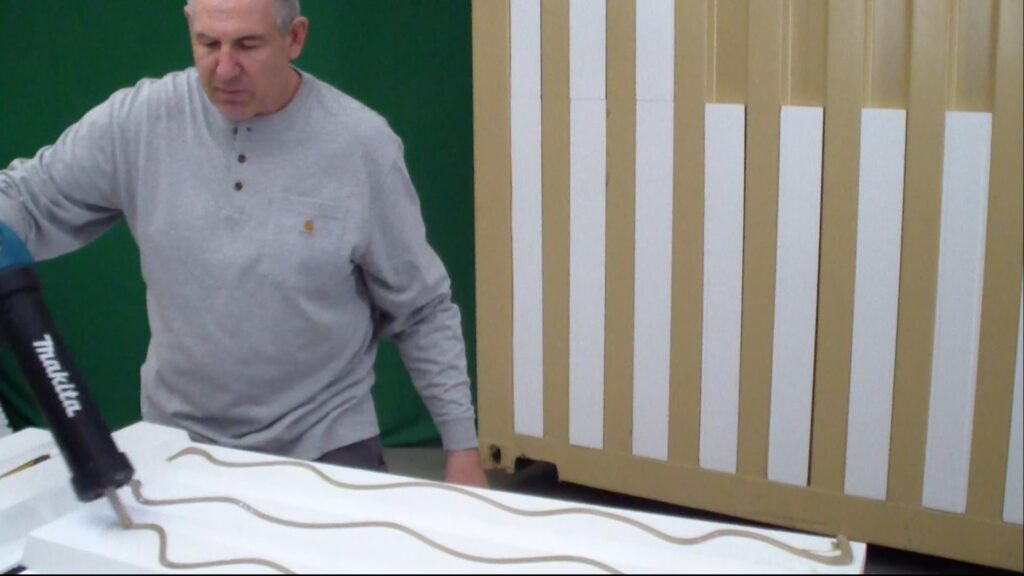
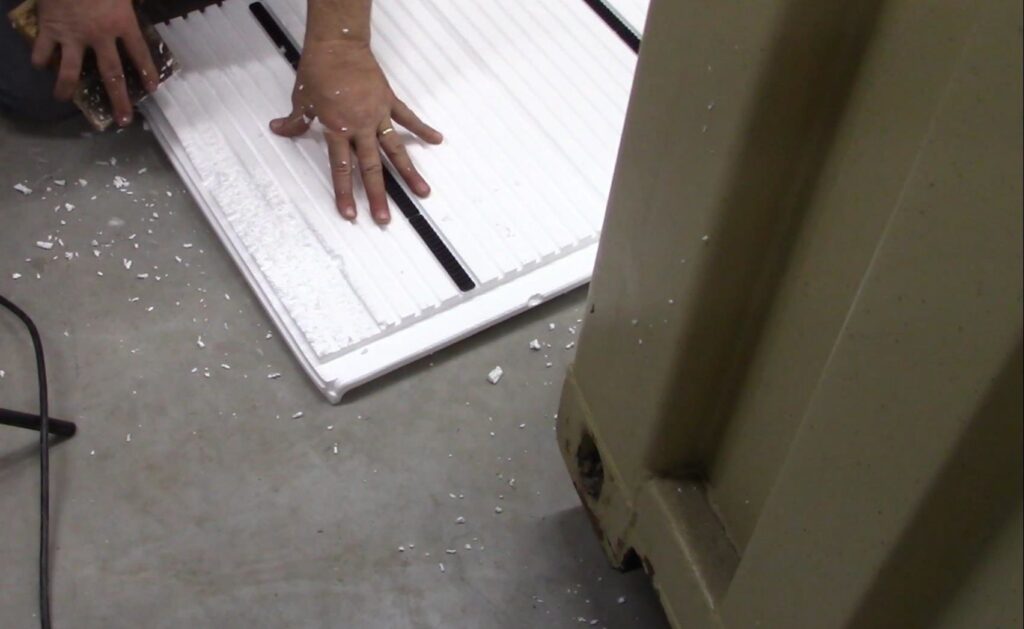
It is recommended that a continuous bead of spray foam or adhesive along is placed the bottom of the wall of the container this will help air seal the insulation. Continue to cut, fit and glue all the insert into the end wall. Cut the inserts with a razor knife to fit the opening. 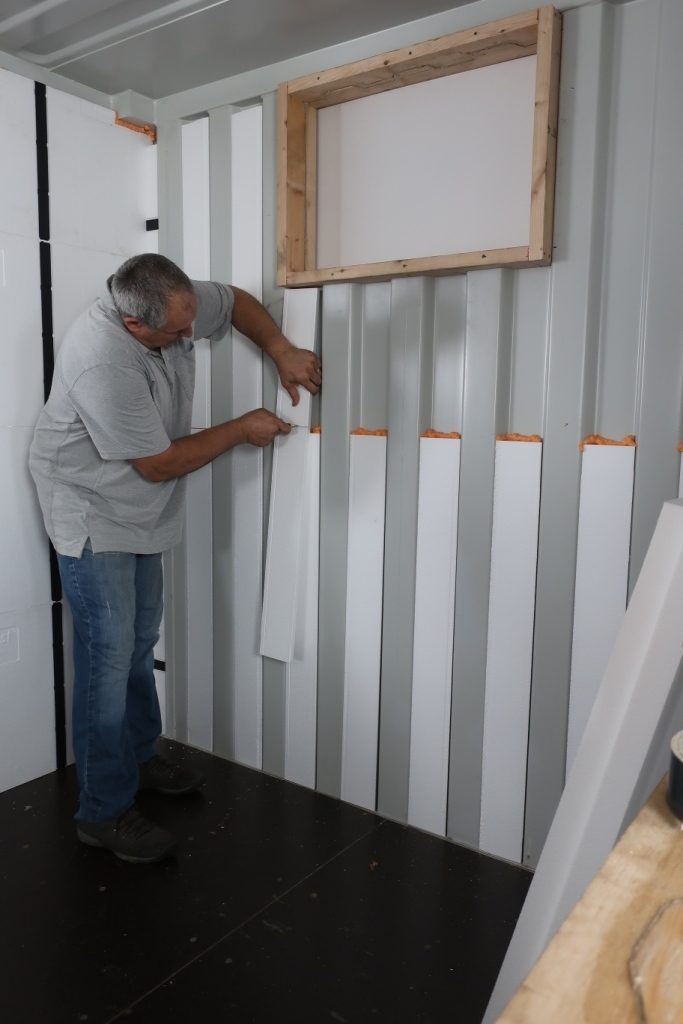
How to handle the outside corner
The outside corner present a few challenges as you turn the corner you have to choose how far the panel will have to extend beyond the end wall. The UX 2.0 it is 2″ and the Ex 2.5 2 1/2″

Here Ed is using a flat panel trimmed to fit and orientating the studs to providing a method of attachment for the metal corner angle (3″ x 3″, 25ga sheet metal)

Adding the metal corner with the fast setting spray foam and screws.
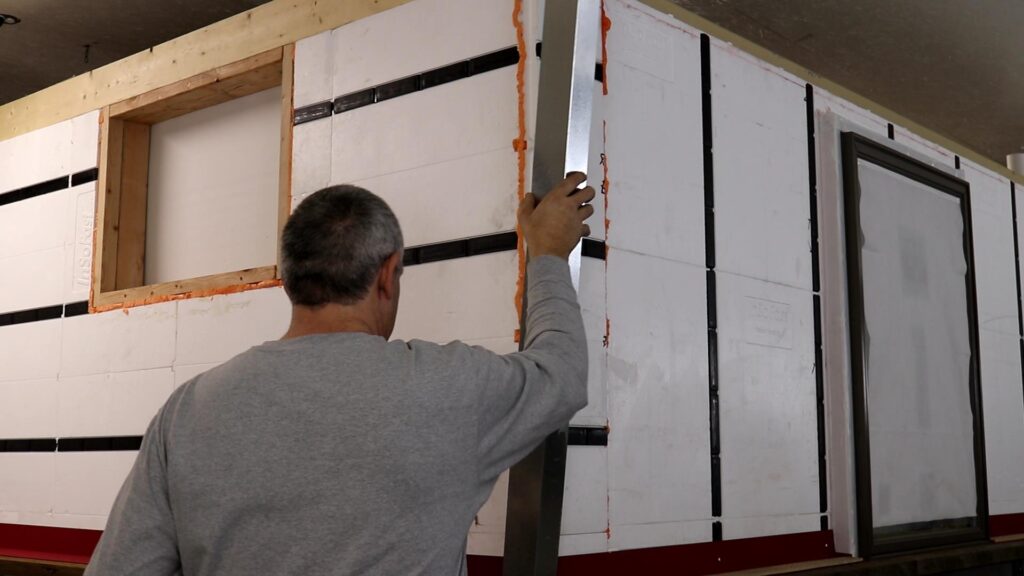
For outside corners use a 25-gauge utility angle to provide solid attachment for the siding materials. See Utility Angle:
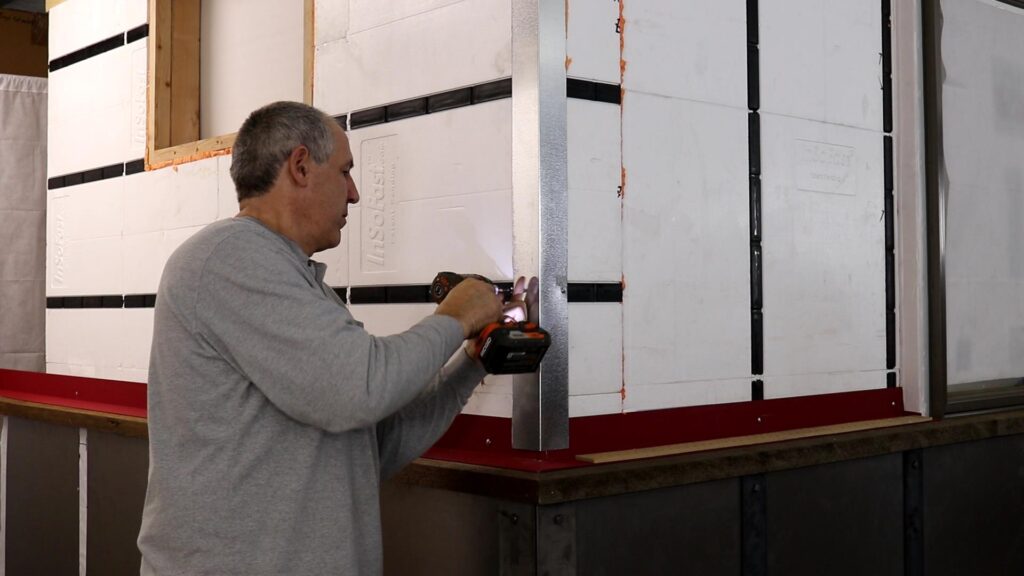
Screw attach the 25-gauge utility angle, note that the InSoFast studs run horizontally along the end wall.

Glue and mist the flat panels to the end wall
We recommend installing panels standing on end with the embedded studs running perpendicular to a shipping containers corrugated ribs. The goal is to provide as much contact between the studs and steel in order to maximize the holding power of the studs.
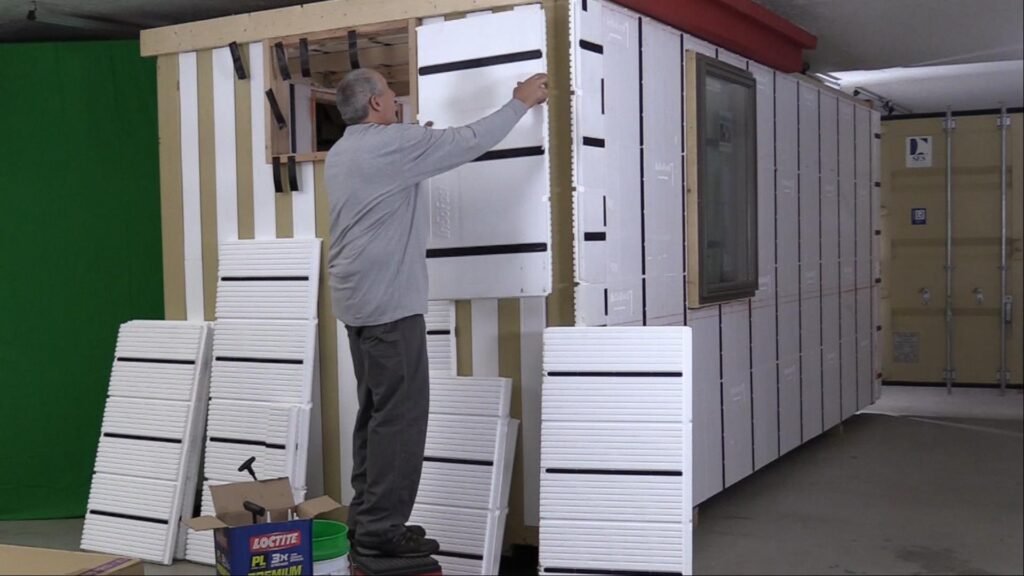
A simple trick of using duct tape to hold the panels in place to keep the from sliding down the wall is quick and effective.
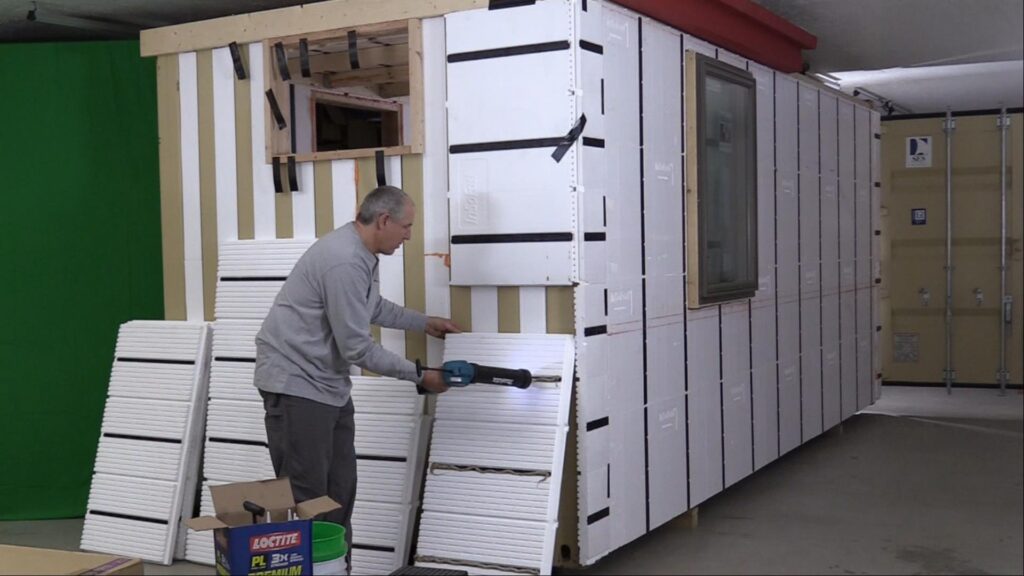
Use a generous 3/8″ bead of Loctite PL 3x on the studs and supplemental bead of spray foam on the EPS panel as a fast setting helper adhesive to reduce bracing time. Additionally, misting the panels with water will reduce bracing time.
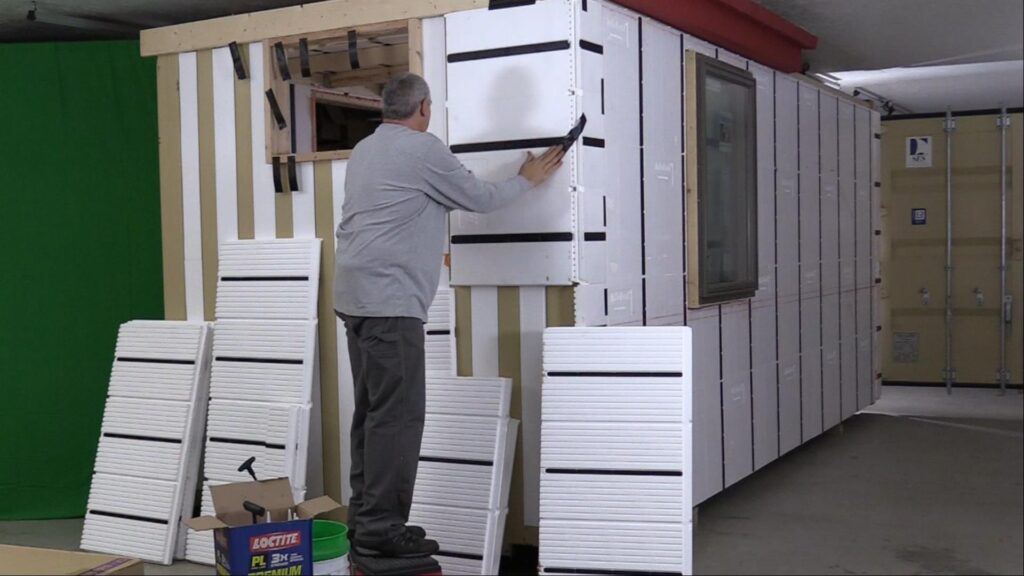
On the back of the panel, run a 3/8″ bead of adhesive along dove-tailed ribbing of each stud.

You can trim the end of the UX or EX panel to “move” the stud up or down to provide custom attachment placement.
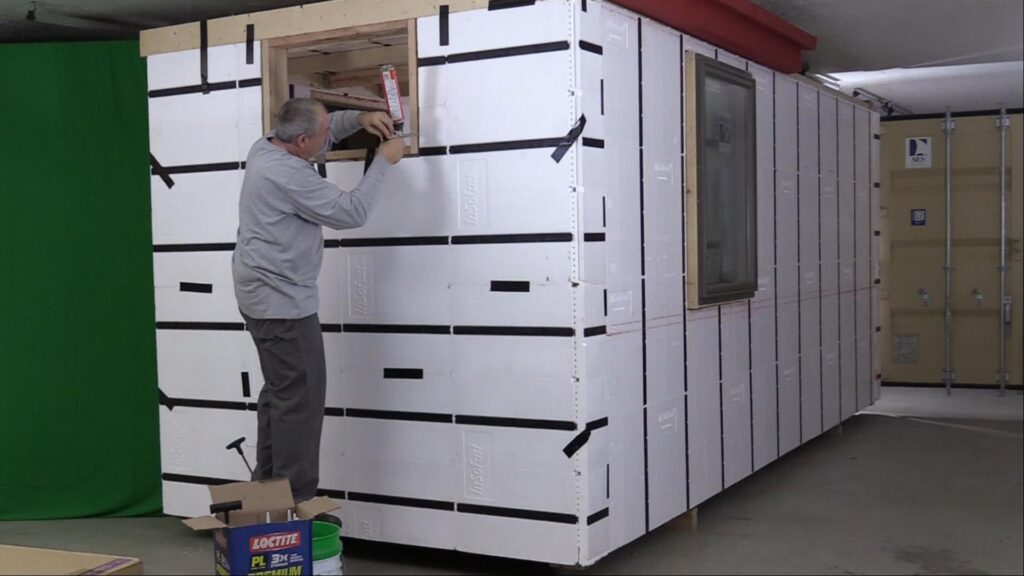
Foam and seal around all openings like the window and gaps in the insulation
LowPro Exterior Installation
CX LowPro a hybrid engineered solution for insulating containers. It is versatile and can be used for interior or exterior applications. The CX-LP studs are ideally suited for inter-modal container conversions and is suited for industrial applications where thin wall insulation and framing is the primary concern. If you are (not planning to embed) electric services like wiring in the wall, or if you are planning surface mounted conduit. One of the many benefits to the stud, it is smaller than the panels making them easier to handle and modify to accommodate working around dings and dents of older containers. The insulated stud eliminates framing cold spots and fastener condensation when insulating a container.
The CX-LP is a hybrid method for insulating a shipping container addresses limited rural delivery and overseas freight charges. CX-LP insulated stud method utilizes foam insulation that you source locally. Flat foam board purchased locally reduce bulk shipment costs.
First Things First
Installing opening into a Container;
Safety Precaution: Cut out all openings in the container and complete any welding, cutting or grinding operations prior to installing InSoFast panels. Do not expose the foam insulation or plastic studs of InSoFast panels to the flames, heat or sparks generated by welding, grinding or cutting on the steel container after panels have been installed.
See this page for in depth instruction for installing wood bucks. MORE
LP-EW Insulated Studs exterior application
The Endwalls of the shipping container using the LowPro Stud is a three step process and is insulated with endwall Inserts and locally sourced 3/4″ thick sheet foam insulation.
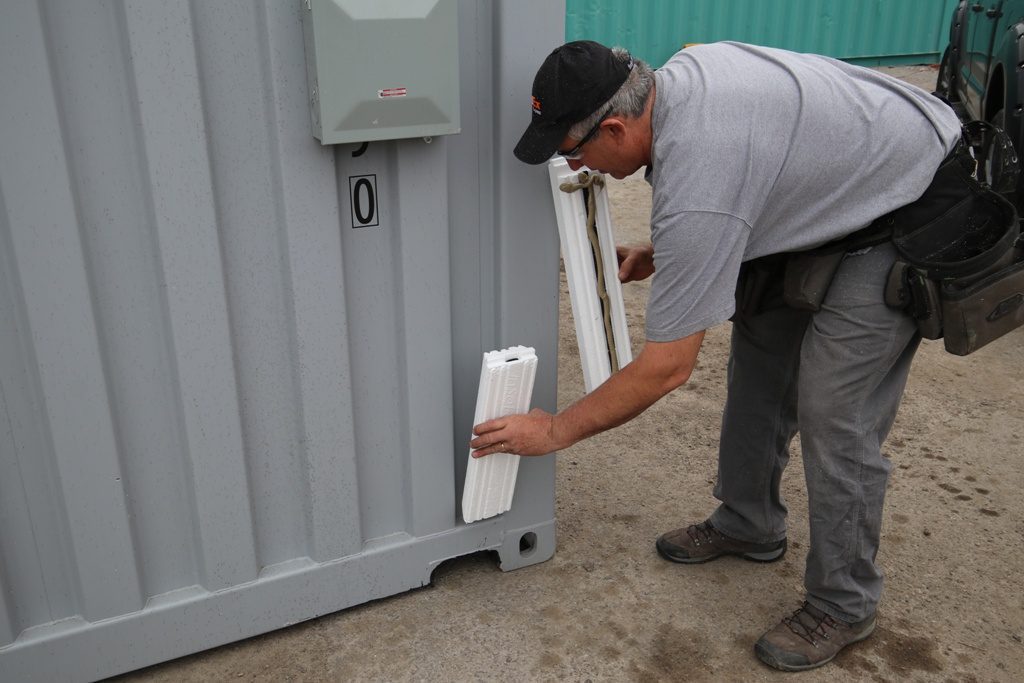
The adhesive applied CX-LPEW eliminates the hundreds of holes associated with shipping container or sea can modifications. The LP EW stud is part of a assembly to work with the Endwall Bundle. The corrugation infills are typically placed on alternating pattern with the (EWI) side wall inserts. The LP-EW insulated infill framing is ideally suited for container conversions in commercial, residential, industrial, interior or exterior applications where thin wall insulation and framing is the primary concern. LP-EW used in this configuration with 1/2″ thick siding, very little exterior space is lost.
Installing the LowPro Insulated Studs
Apply a 3/8″ bead of Loctite PL Premium 3x construction adhesive horizontally across the top and bottom then directly over the ribbed surface of the backside of the stud to form “I” pattern.
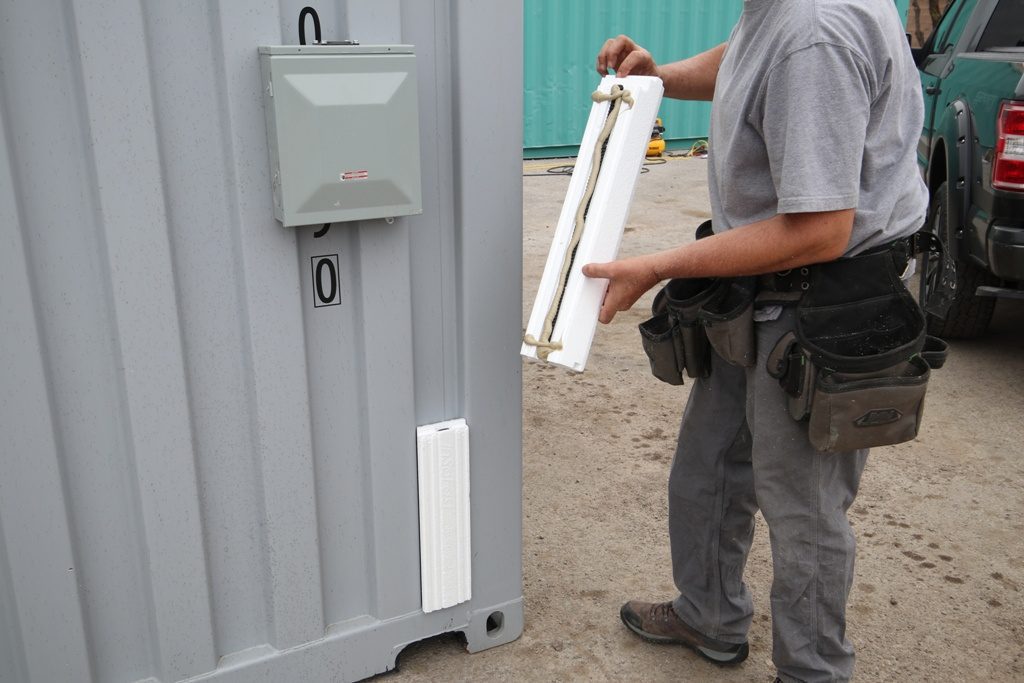
Installing insert infill insulation
Install insert insulation in-between the LP-EW .
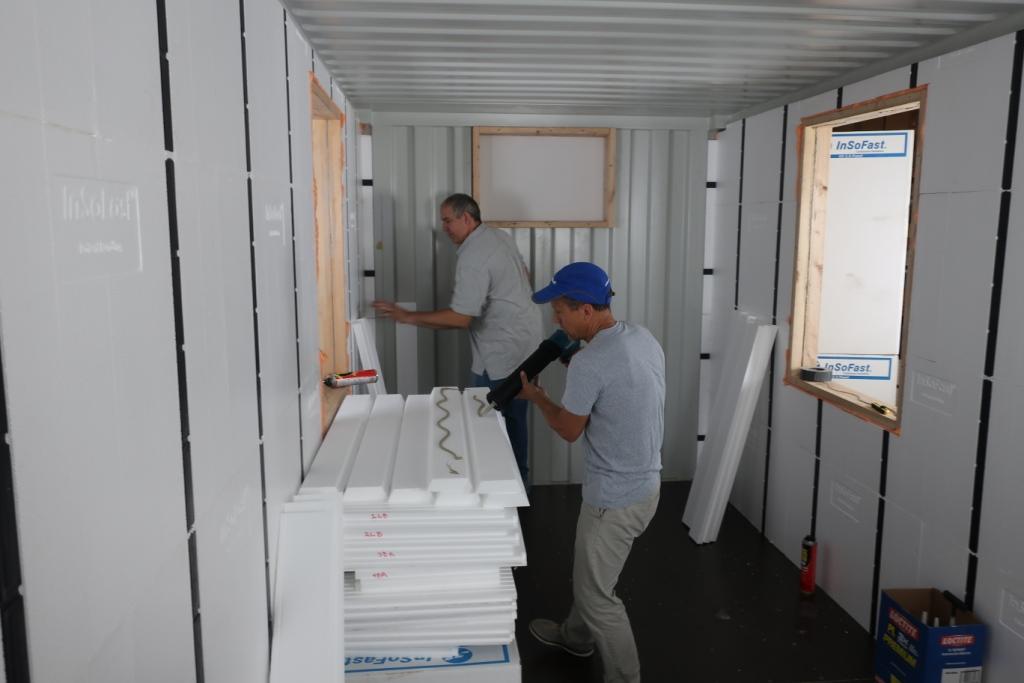
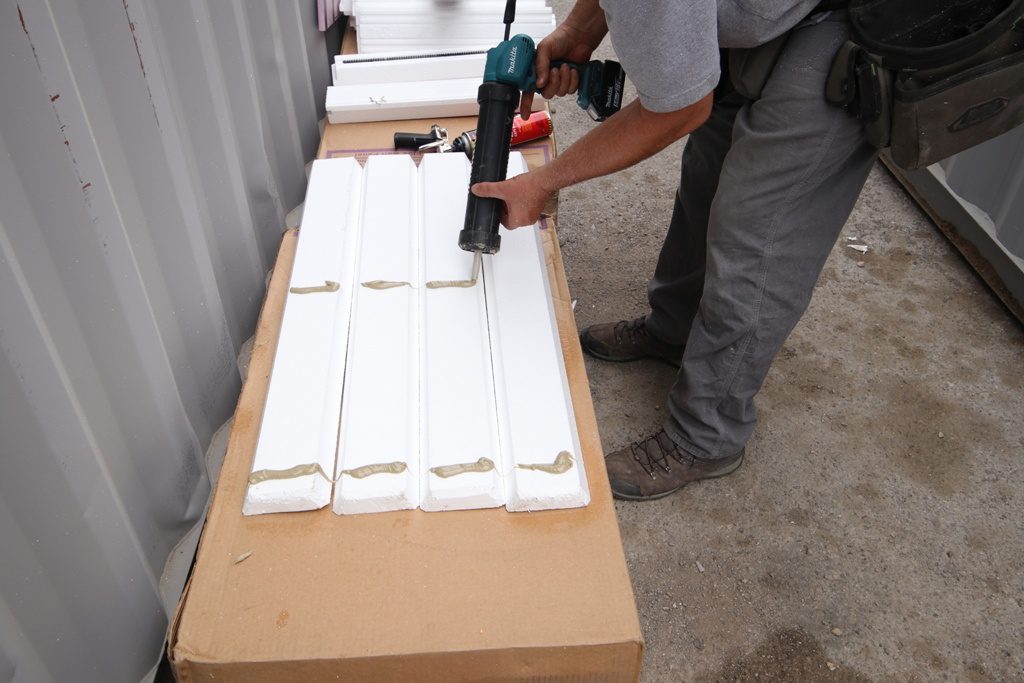

Place a bead of adhesive in an “S” pattern down the center of the backside of the sidewall insert. Or the adhesive can be applied across the width of the insert to secure the endwall of the shipping container.Continue to cut, fit and glue all the insert onto the endwall corrugations. The LowPro studs and inserts can be cut to fit with regular wood working tools or razor knife.
Set the inserts into the lower half of the sidewall corrugations. Alternate the LowPro studs or the endwall inserts.
Installing the the locally sourced 3/4″ sheet insulation
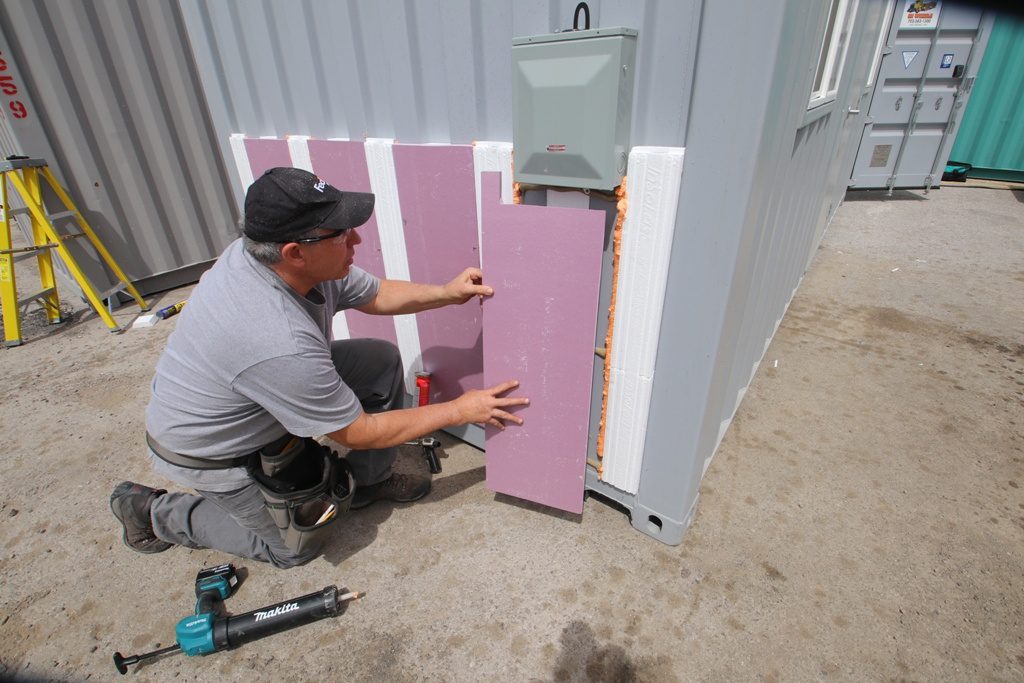
Install the the locally sourced 3/4″ sheet insulation.
When the LowPro Studs are installed in an alternating pattern of ” on center, the sheet foam is cut from a 48″ x 96″ (3/4″) into 12″ wide panels.
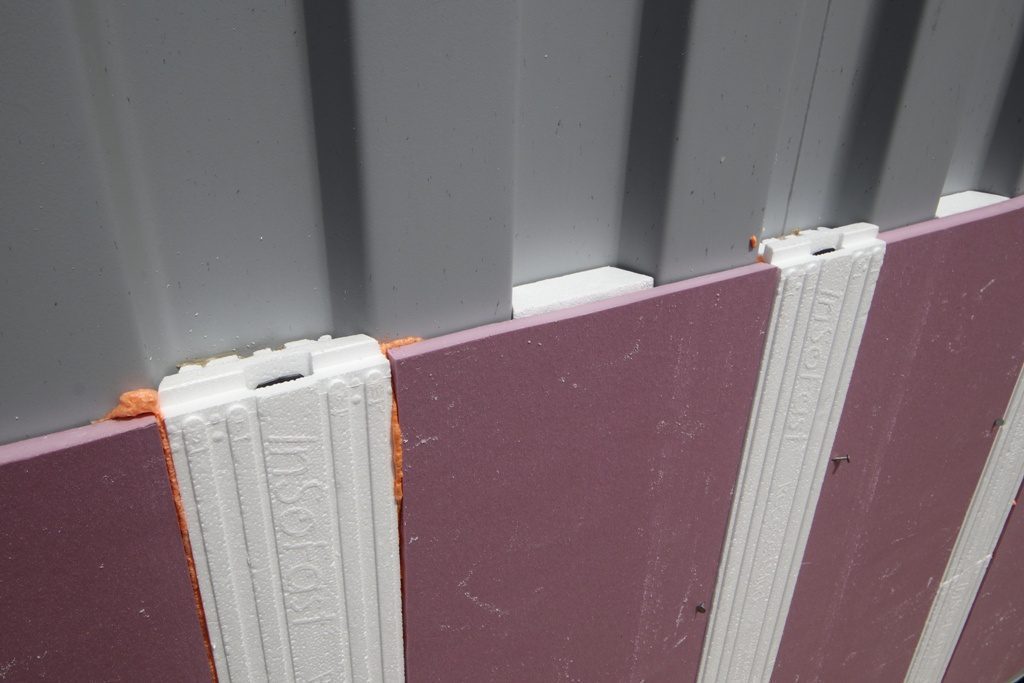
Insert 12” wide sheet foam between the LowPro Inserts. It is highly recommended that the 3 components be install at the same time. Once install tamp the panels with a straight edge like a 2×4 lumber to make sure that the wall is level and flat. Spray foam and seal all your work. Nails were used to hold the sheet foam in place until the adhesive sets.
Finishing the insulation and framing
Trim away any excess spray foam and the wall is ready for finishes.
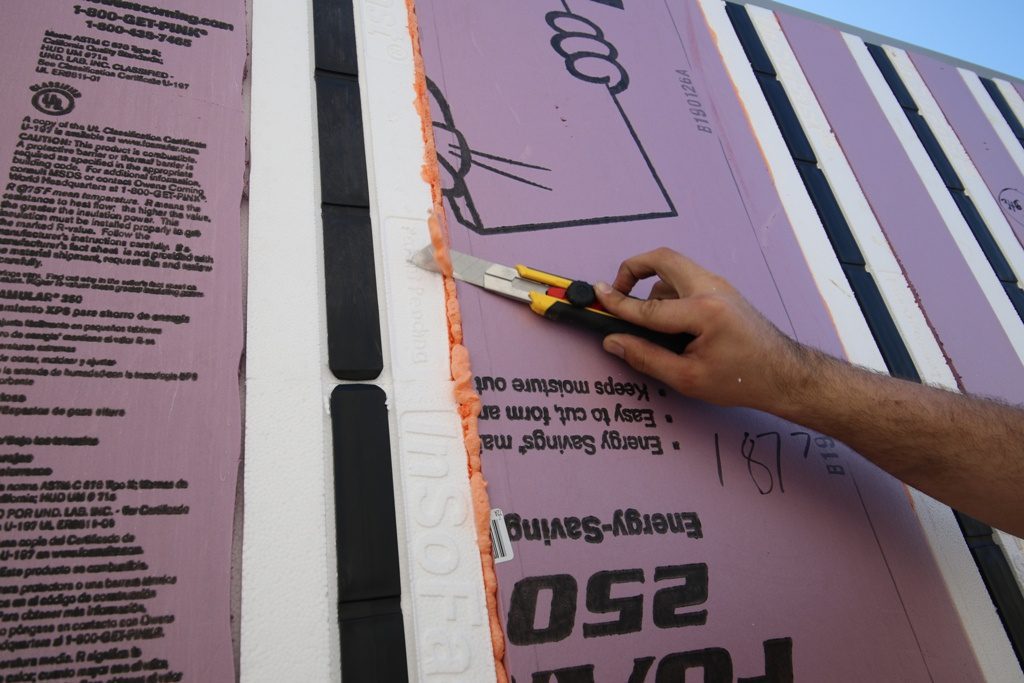
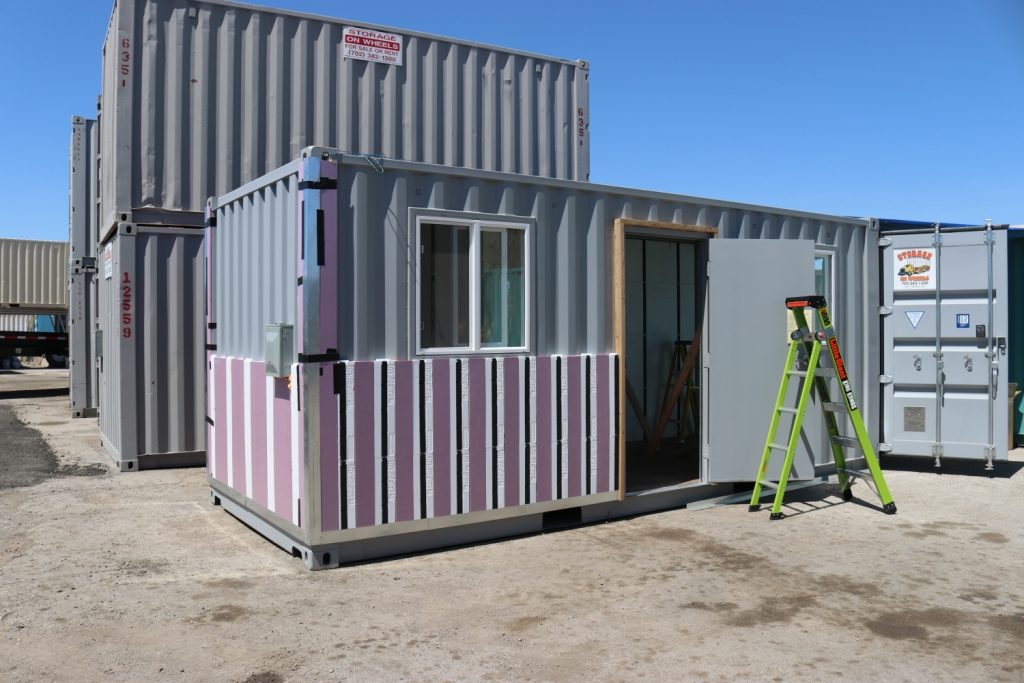
The LowPro’s versatility of traditional framing without the energy penalty of steel or wood studs. In this example the LowPro studs provide extra attachment around a window opening.
Products Required
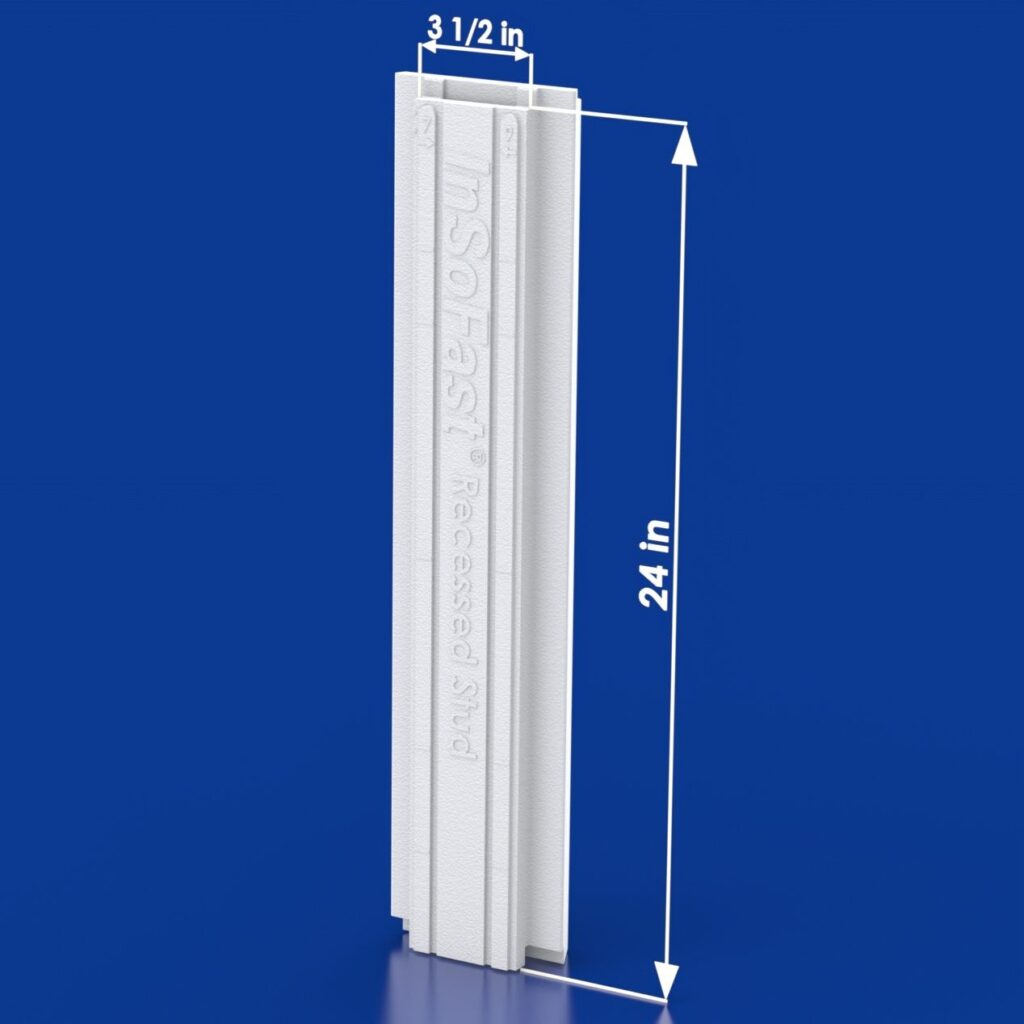
CX-LP LowPro Insulated Stud
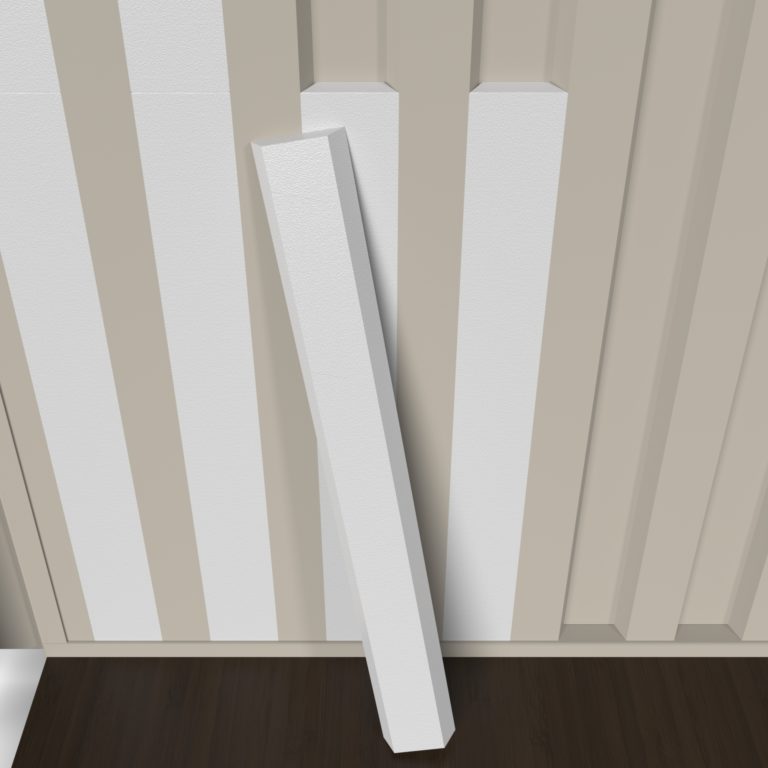
End Wall Inserts
End Wall or the containers nose 36 lineal feet of corrugation.
| CX LowPro-Side Wall Architectural Details | dwgdxfpdf CX-EW Zip | jpgzip file |
| Dimensions | 5 1/2in × 24in × 2 1/2 in | 5in × 48in × 1 3/4in |
| Coverage | 1.00 sq-ft | 1.67 sq-ft |
| R-Value ASTM C518 | R-10.5 | R-7.5 |
| Closed-Cell, injection-molded EPS | ASTM C578 Type II | ASTM C578 Type II |
| Canadian Standards | CAN/ULC S701 Type 2 | CAN/ULC S701 Type 2 |
| Foam Density | 1.35 lbs per cubic foot | 1.35 lbs per cubic foot |
| Polypropylene Studs | Surface | N/A |
| Ready for Finishes | √ | √ |
| Interior | √ | √ |
| Exterior | √ | √ |
The high-strength co-polymer plastic studs on 11 or 22-inches centers provide a positive attachment stud for finishing the container. The ribbed dovetails surface provides for adhesive applications against the metal surfaces.


