Product Overview
Sidewall bundle for one side wall of a 20′ Sidewall 8′ Standard container.
- This bundle contains:
- 2 (I-SWI) Side Wall Insert = 60 pcs.
- (30) 8′ tall sections
- 4 (FP-2.0RW) 2″ Flat Panel with raceways (5 panels/box) = 160 Sq.Ft.
- 2 (I-SWI) Side Wall Insert = 60 pcs.
- SKU: CON-SWUX-20ST
2.0 Flat Panel Side Wall Bundle for a standard height container 20' long
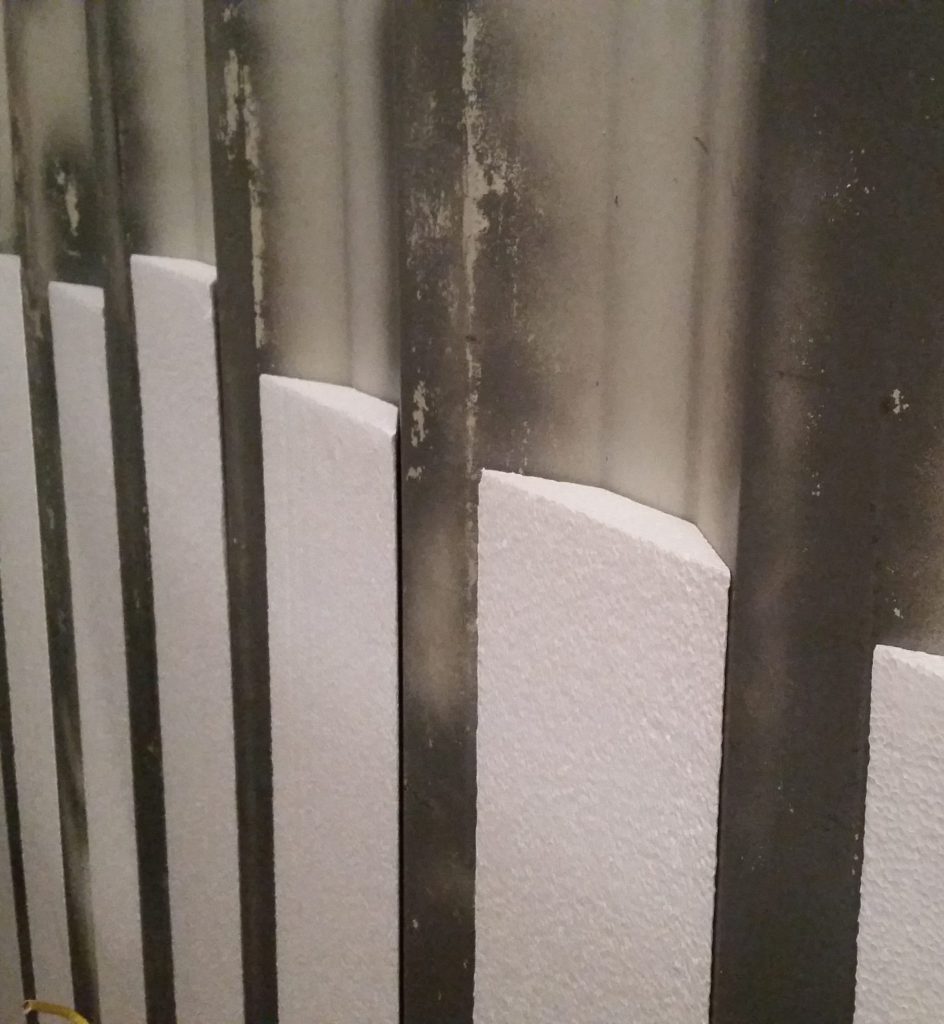
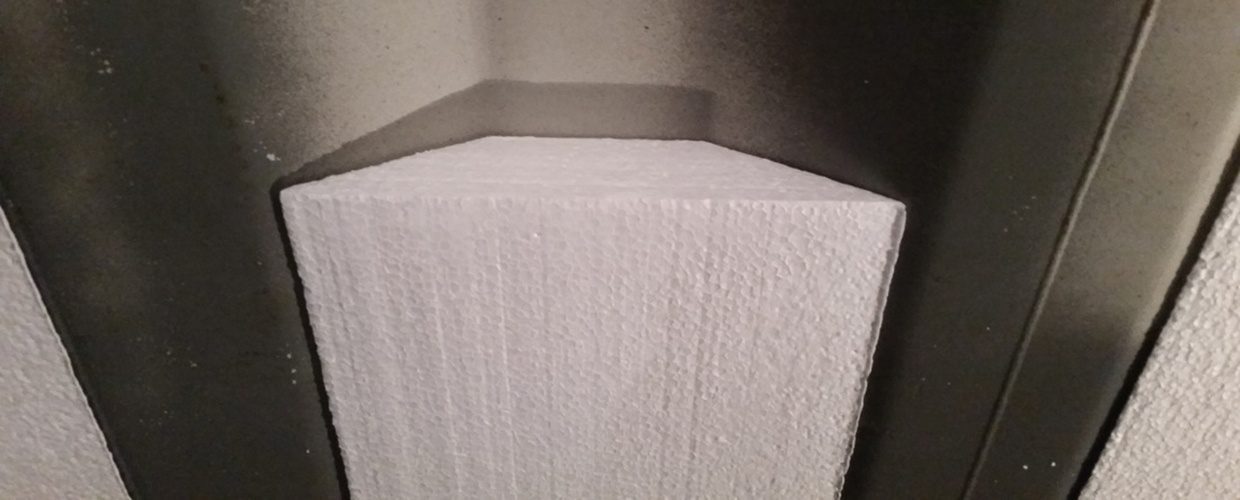
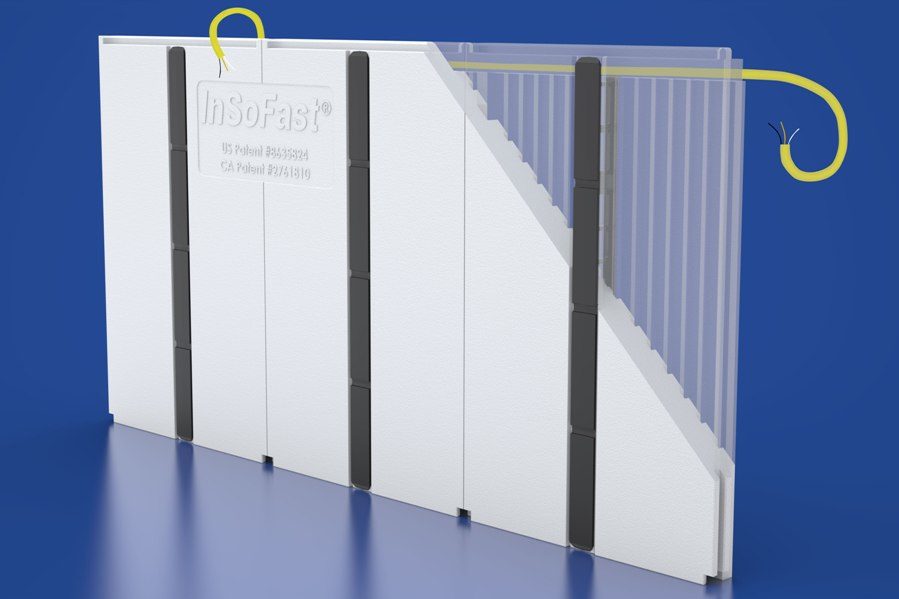
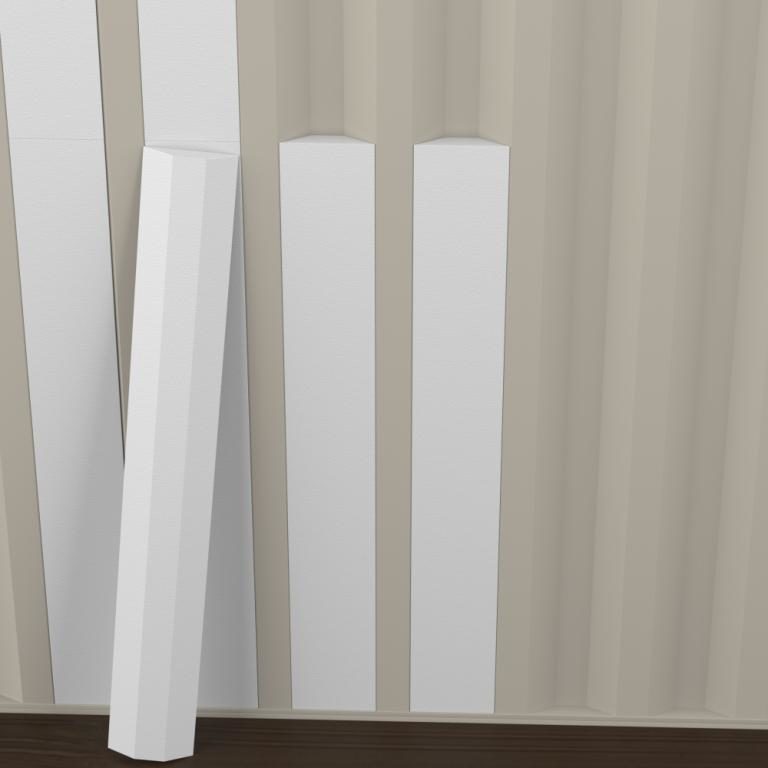
This sidewall bundle has the material to finish one side wall of a 20′ long x 8′ high standard container for interior or exterior applications. The sidewall of the shipping container is a two-step process insulated first with the (I-SWI) Side Wall Inserts to infill the wall’s corrugated voids preventing hidden condensation. The (FP-2.0RW) 2″ Flat Panel with raceways (48″ x 24″) panels are installed over the inserts so that the black studs run horizontally, crossing over the container’s corrugations, providing maximum contact between the InSoFast studs and the steel container.
-
- Preferred method when modifying older containers with dings and dents.
- When weld seams are greater than or less than 44″ on center.
- Industrial fast track application.
- (2) part fast track application.
 |
|||
|
Side Wall Inserts One box of Side Wall Inserts covers 112 Lineal feet of corrugation. |
|||
|
Sidewall Architectural Dimensions |
|
||
|
48in x 7 3/4in x 1 1/4 in |
|||
| Coverage |
2.5 sq-ft |
||
| R-Value ASTM C518 |
R-5 |
||
| Closed-Cell, injection-molded EPS |
ASTM C578 Type II |
||
|
Canadian Standards |
CAN/ULC S701 Type 2 |
||
|
Foam Density |
1 lbs per cubic foot |
||
|
|
||||
|
PROPERTIES |
||||
|
2.0, Flat Panel Details |
|
|||
|
Panel Dimensions |
24in × 48in × 2in |
|||
|
Horizontal Chase |
48in × 1in × ¾in |
|||
| Vertical Chase | 24in × ¾in × ¾in | |||
| Coverage |
8sq-ft |
|||
| R-Value ASTM C518 |
R-8.5 |
|||
| ASTM C578 Type II |
Closed-Cell, injection-molded EPS |
|||
| Canadian Standards CAN/ULC S701 Type 2 | ||||
| ASTM C303 Foam Density |
1.35 lbs per cubic foot |
|||
| ASTM E96 Water Vapor Permeability |
(Class III Vapor Retarder) 3.5perm/in |
|||
| Maximum Service Temperature (long term) |
167°F = 75 Celsius (°C) |
|||
| Co-Polymer Polypropylene Stud |
Surface |
|||
| Interlocking Edges |
√ |
|||
| Cutting Indication Lines |
√ |
|||
| Code Depth Raceways |
√ |
|||
| Ready for Finishing |
√ |
|||
| Interiors |
√ |
|||
| Exteriors |
√ |
|||
| Moisture Control |
Channels on Back only |
|||
InSoFast engineered system of continuous insulation is perfectly suited for shipping container fabrication.
- Simple to install
- Why work so hard?
- Adaptable Attachment
- No Special Tools Needed
- Built-in Studs*
- Engineered Framing Studs
- Non-conductive stud framing
- No energy penalty for the studs
- Non corrosive stud…non rusting
- Adhesive Application no holes
- Closed-cell high pressure fused EPS Insulation
- Continuous Insulation
- Tongue and Groove Interlocks
- Engineered for Shipping Containers
- Lives up to its name: In So Fast
*The high-strength co-polymer plastic studs provide a positive attachment stud for finishing the container. The ribbed dovetails surface provides a cast-in-place adhesive applications against the metal surfaces.
Estimating and ordering is simple. Measure height and width multiply the measurements together for your total square footage minus openings. Add how many high cube or standard wall surfaces your container project requires to complete the job. Divide the total square footage (xx) by 40 sq-ft. per box. This will determine the number of total boxes required for your project, (round up to the whole box count).
-
- One 2.0 Flat Panel (FP-2.0RW) = 8 sq.ft
- One box of 5 – 2.0″ Flat Panels (FP-2.0RW) = 40 sq.ft
- One boxes of 30 inserts 4′ long (I-SWI) – covers 13 1/2′ of the container wall 8’high)
- See Diagram.
- One side of a 20′ container would need 1 1/2 boxes of the Side Wall inserts
Don’t overestimate, cut studs and inserts can be re-used.
| Complete Container Insulation Panels; | 20′ Standard | 20′ High Cube | 40′ Standard | 40′ High Cube |
| Complete Flat Panel Application Container; | Sidewall | Sidewall | Sidewall | Sidewall |
| Flat Panel/Inserts Sidewall | ||||
| 2.0 Flat Panel (UX) | 8 | 9 | 18 | 18 |
| Sidewall Inserts: | 3 | 4 | 6 | 8 |
| Box Total: | 11 | 13 | 24 | 26 |
| Flat Panel/Insert Endwall | Endwall | Endwall | Endwall | Endwall |
| 2.0 Flat Panel (UX) | 2 | 2 | 2 | 2 |
| Inserts: Endwall | 1 | 1 | 1 | 1 |
| Box Total: | 3 | 3 | 3 | 3 |
| Ceiling 2.0 Flat Panel-Bundle | Ceiling | Ceiling | Ceiling | Ceiling |
| 2.0 Flat Panel (UX) | 4 | 4 | 8 | 8 |
| Inserts: Ceilings | 1 | 1 | 2 | 2 |
| Box Total: | 5 | 5 | 10 | 10 |
| Door 2.5 Flat Panel-Bundle (2) Doors | Door | Door | Door | Door |
| 2.5 Flat Panel (EXe) | 2 | 2 | 2 | 2 |
| Floor 2.0 Flat Panel-Bundle | Floor | Floor | Floor | Floor |
| 2.0 Flat Panel (UX) | 4 | 4 | 8 | 9 |
|
|
|
|
|
|
| Total Box Count | 25 | 27 | 47 | 50 |
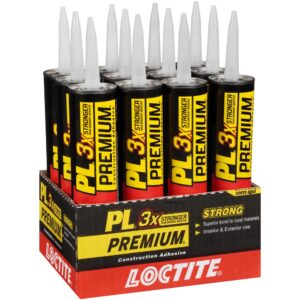
POLYURETHANE CONSTRUCTION ADHESIVE
 |
 |
Green Guard Certified Adhesive:
In Canada the Glue is LePage PL Premium
Estimating Adhesive Quantity
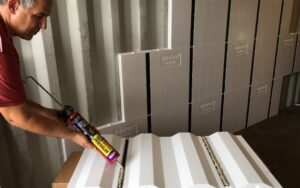
Estimating the amount of adhesive YOU will use has variables beyond our control like condition of your walls and how accurate are you with a glue gun? The example below is for one side wall of a 20′ standard height shipping container you will need approximately 3 tubes of the adhesive. That is in a perfect world. PL Premium 3x adhesive is applied in a ⅜” bead on the backside of the studs onto the ribbed surfaces. We realize that a 3/8″ bead of glue is very subjective. It is important that there is enough adhesive to squish the dovetails on the back side of the stud when pressed to the container wall. Adhesive follows the “Goldie Locks rule, too much, too little, and just right To verify that enough adhesive is used, press the panel into place. Pull the panel back and check to see if the adhesive has spread out beyond the full width of the stud. It is normal for the panel to “float out” from the side of the container when it is accommodating irregularities in the container walls. Additional adhesive may be necessary in some areas. If you are doing it just right you can expect that 1 large 28-fl oz tube will cover 18 of our 24″ long studs or enough glue at a 3/8″ bead to cover 36 foot long bead of glue.
Additionally you will have to estimate for glue around openings like windows and doors.
1 large 28-fl oz. / 828 mL tube = 18 (24″ studs or inserts)
- CX-LP 46 (46 studs) = 46
- 46 ÷ 18 = 2 1/2 tubes of the adhesive
- I-SWI (30) = 1 tube of the adhesive
|
POLYURETHANE CONSTRUCTION ADHESIVE Rough estimate for 28 ounce tubes of adhesive required |
|||||||
| Container | Side Wall | End Wall | Ceiling | Total Walls & Ceiling | Floors | Swing Doors | Total Estimate |
| 20′- Standard | 3 | 2 1/2 | 6 1/2 | 13 | 1 1/2 | 3 | 18 |
| 20′- High Cube | 3 | 2 1/2 | 6 1/2 | 14 | 1 1/2 | 3 | 19 |
| 40′- Standard | 6 | 2 1/2 | 13 | 28 | 3 | 3 | 34 |
| 40′- High Cube | 6 | 2 1/2 | 13 | 29 | 3 | 3 | 34 |
Important Notice: Container Surface Temperature Applications
When bonding EPS and XPS foam insulation, use above 40°F (4°C) and avoid cure and surface temperatures above 90°F (32°C). Surfaces must be clean, dry and free of frost, grease, dust and other contaminants. Pre-fit all materials and protect finished surfaces. If using cartridge format, cut nozzle at a 45° angle to desired bead size and puncture inner seal. Be very careful not to allow Loctite® PL® Premium to cure on a finished surface.
Please read all the current Shipping, Purchasing & Returns *
| Product Code |
Number of Parts |
Box Dimension |
Cubic Feet Per Box |
Weight Per Box |
||
|
Length |
Width |
Height |
||||
|
I-SWI |
30 pcs 4′ = 120 lnft |
11″ |
25″ |
49″ |
7.80 |
12 Lbs |
| FP-2.0RW | 5 Panels 40 SqFt | 11″ | 25″ | 49″ | 7.80 | 20 Lbs |
|
FP-2.5RW |
5 Panels 40 SqFt |
13″ |
25″ |
49″ |
9.22 |
22 Lbs |


